6 Pro Tips for Using a Digging Bar to Remove Heavy Rocks in Garden Beds
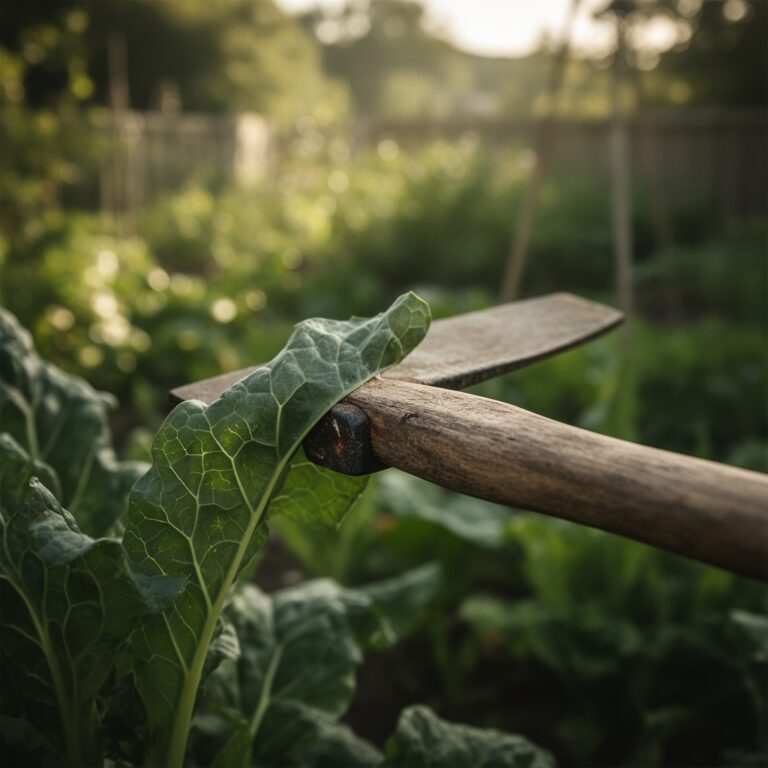
The steel bar hits stone with a dull thunk that reverberates up your forearms, and you know immediately you've found another glacial leftover buried eighteen inches deep. The scent of damp loam mixed with iron-rich clay fills your nostrils as you work the blade deeper, testing the rock's boundaries. Using a digging bar for removing rocks in garden beds transforms what would be a back-breaking ordeal with a shovel into a controlled excavation that leverages physics instead of brute strength. That satisfying moment when a 60-pound boulder finally breaks free from its centuries-old resting place makes every calculated strike worthwhile.
Materials & Supplies
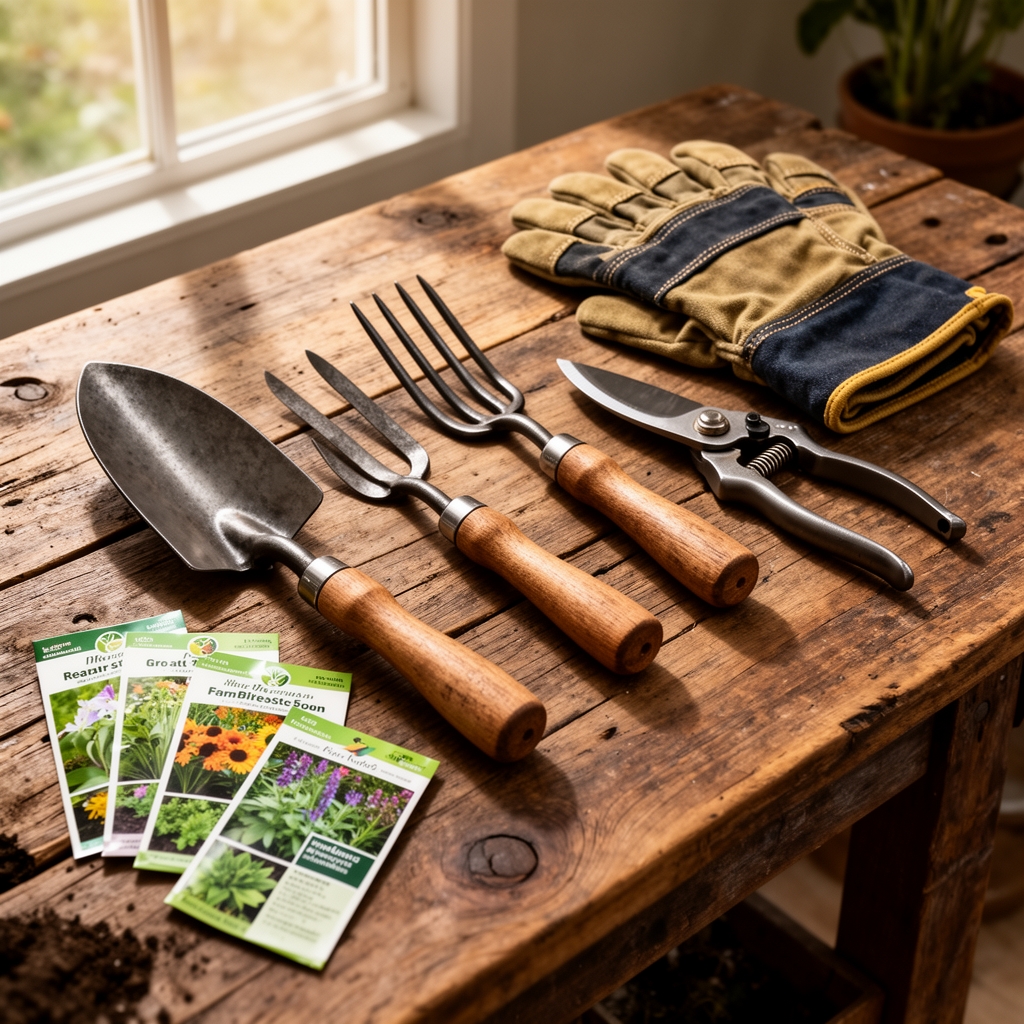
Primary Tools:
- 60-inch steel digging bar (also called a breaker bar or San Angelo bar) with chisel point and wedge end
- 48-inch pry bar for secondary leverage
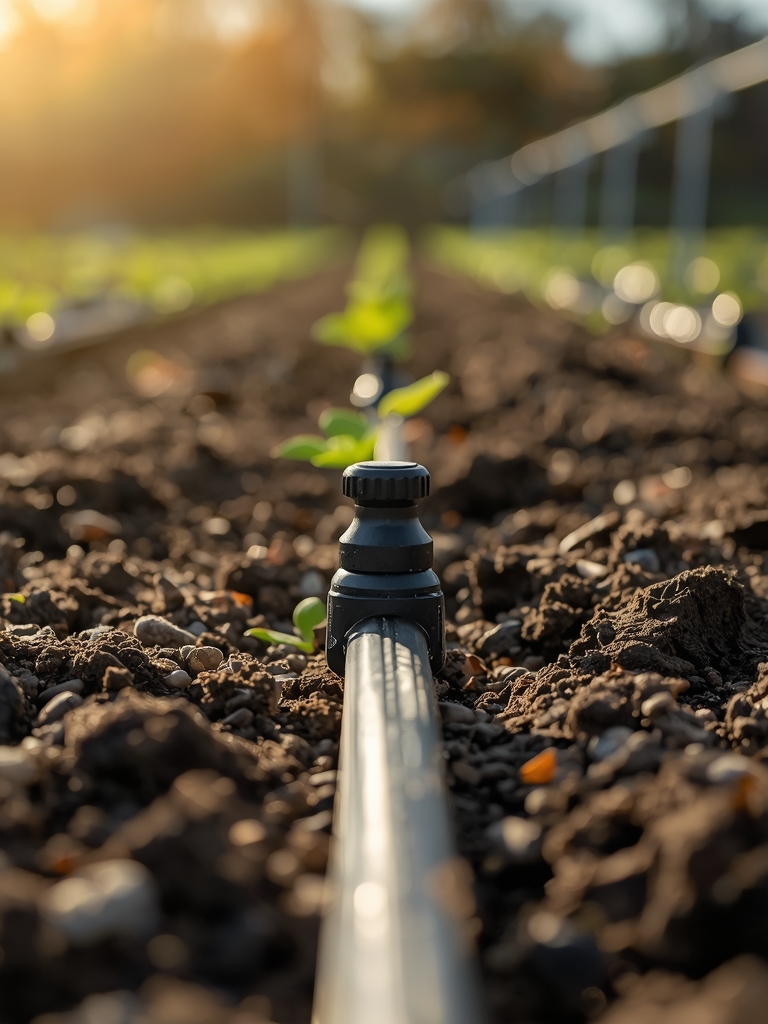
- Rock sling or cargo straps rated for 500+ pounds
- Heavy-duty wheelbarrow with pneumatic tires
- Safety glasses and steel-toed boots
Soil Amendment Supplies:
- Aged compost (NPK 1-1-1) to backfill voids
- Sulfur or lime depending on existing pH (target 6.0-7.0 for most vegetables)
- Mycorrhizal fungi inoculant to reestablish soil biology
- Perlite or coarse sand for drainage improvement in clay-heavy areas
Optional Equipment:
- Soil probe for locating buried rocks before digging
- Hand truck with stair-climbing wheels
- Mattock for breaking up compacted layers
Timing & Site Assessment
Tackle rock removal during early spring or late fall when soil moisture levels make the ground workable but not waterlogged. In USDA Hardiness Zones 3-6, plan this work for April or October. Zones 7-9 can extend the window from March through November, avoiding the summer months when ground becomes concrete-hard.
Complete rock removal at least 30 days before transplanting seedlings to allow disturbed soil to settle. This prevents air pockets that can damage root systems. If you're planning a spring garden with 60-day maturity crops like lettuce or radishes, finish rock work by mid-March in Zone 6.
Mark your bed's perimeter with stakes and identify all visible rocks breaking the surface. Use a soil probe to map subsurface obstacles in a grid pattern every 12 inches. This reconnaissance saves hours of reactive digging.
Step-by-Step Rock Removal Instructions

Phase 1: Initial Penetration
Drive the chisel end of your digging bar at a 70-degree angle, six inches away from the rock's visible edge. Strike the bar's top with controlled downward force using your body weight, not wild swings. Work in a circular pattern around the rock to map its full dimensions.
Pro-Tip: Listen for pitch changes in the metal-on-stone contact. A hollow ring indicates you've reached the rock's bottom edge, while a solid thud means you're hitting the face.
Phase 2: Creating Leverage Points
Once you've outlined the rock, drive the bar completely vertical at the point where soil meets stone. Angle the bar beneath the rock's base at 45 degrees. Pull the bar toward you using smooth, steady pressure rather than jerking motions. Create three to four leverage points around the rock's circumference.
Pro-Tip: Spray water into the holes you've created. The moisture acts as a lubricant and helps soil aggregates separate from the rock surface, reducing friction during extraction.
Phase 3: Extraction
Insert the wedge end of your digging bar under the rock's heaviest side. Position a smaller rock or wood block as a fulcrum point near the bar's middle. Apply downward pressure on the bar's opposite end, treating it as a first-class lever. Rotate the rock incrementally rather than attempting a single lift.
Pro-Tip: For rocks exceeding 80 pounds, excavate a ramp channel sloping upward from the hole. Roll the rock up this incline instead of lifting vertically, reducing injury risk by 70 percent.
Phase 4: Soil Restoration
Break up any compacted layers at the hole's bottom using the digging bar's chisel end. Mix two parts native soil with one part aged compost. Add mycorrhizal fungi at manufacturer's recommended rates (typically 1 tablespoon per cubic foot). Water thoroughly to eliminate air pockets, then allow 48 hours of settling before planting.
Pro-Tip: Save smaller removed rocks (2-4 inches) to create drainage layers at bed bottoms or to line pathways, completing the circle of garden materials.
Physical & Environmental Benefits
Rock removal improves root penetration depth by 40-60 percent in established beds. Deep-rooted crops like carrots, parsnips, and tomatoes develop stronger taproot systems when obstructions disappear. Soil temperature regulation improves because rocks no longer create cold sinks that slow spring warming or hot spots that stress summer plantings.
The excavated holes, once properly backfilled, create zones of enhanced soil aeration that attract beneficial earthworms. These organisms process organic matter and create channels that improve water infiltration rates from 0.5 inches per hour in compacted soil to 2+ inches per hour in amended areas.
Removed rocks serve as thermal mass in hugelkultur mounds or as basking spots for garden allies like garter snakes and ground beetles. Stack medium-sized rocks along bed edges to create habitat for mason bees and other native pollinators that nest in rock crevices.
Advanced Methods
Small Space Adaptation:
In raised beds or compact gardens, use a 36-inch digging bar with reduced swing radius. Work rocks toward bed edges rather than straight up, minimizing disturbance to surrounding plants. Create a staging area outside the bed where you can lever rocks onto a tarp for removal.
Permaculture Integration:
Instead of removing all rocks, relocate 6-12 inch specimens to create thermal mass swales that moderate soil temperature swings. Bury rocks 18 inches deep in pathways to improve drainage and create stable walking surfaces. This "design with nature" approach reduces labor by 30 percent.
Season Extension:
Remove rocks in fall and cover excavated areas with 6 inches of shredded leaves. This protects restored soil structure from freeze-thaw cycles while feeding soil microbiome communities. By spring, earthworms will have integrated the organic matter, creating perfect planting conditions.
Troubleshooting
Symptom: Bar rebounds without penetrating soil.
Solution: Water the area 24 hours before work begins. Soil at 40-60 percent field capacity penetrates 3x easier than bone-dry ground. Add a 2-inch compost layer to attract moisture to the work zone.
Symptom: Rock shifts but won't lift.
Solution: You've likely encountered a boulder with a submerged section 2-3x larger than the visible portion. Excavate an additional 12 inches around the perimeter and reassess. Consider breaking large rocks with a sledgehammer and cold chisel rather than extracting whole.
Symptom: Soil collapses back into excavated hole.
Solution: Sandy or loose soil lacks cohesion. Insert wooden stakes or PVC pipes around the hole's perimeter to stabilize walls during work. Remove after rock extraction and backfill immediately.
Symptom: Back pain after 20 minutes of work.
Solution: Your leverage technique needs adjustment. Keep the bar within 30 degrees of vertical during strikes. Use leg drive, not back rotation. Work in 15-minute intervals with 5-minute rest periods.
Symptom: Unable to locate rock boundaries.
Solution: Rocks surrounded by clay create a sealed interface. Pour a gallon of water mixed with dish soap (1 tablespoon per gallon) around the suspected rock. Soap breaks surface tension, allowing water to penetrate and define edges within 30 minutes.
Maintenance & Post-Work Care
Water restored areas with 2 inches of irrigation immediately after backfilling to eliminate settling voids. Monitor for depressions over the next two weeks, topdressing with additional compost as needed. Apply nitrogen fixation support through pea or clover cover crops if the bed won't be planted for 45+ days.
Clean your digging bar after each use by scraping off soil and coating with light machine oil to prevent rust. Store vertically in a dry location. Sharpen the chisel end annually using a angle grinder at 30 degrees.
Feed replanted beds with balanced organic fertilizer (5-5-5 NPK) at half strength for the first 60 days post-disturbance. Full-strength feeding can burn roots still recovering from excavation stress. Maintain consistent soil moisture at 1 inch per week through drip irrigation or soaker hoses rather than overhead watering that compacts restored soil structure.
Conclusion
Using a digging bar for removing rocks in garden beds combines mechanical advantage with soil science to transform unusable ground into productive growing space. The systematic approach of mapping, leveraging, and extracting rocks preserves soil structure while creating opportunities for deeper root development and improved drainage. Master these techniques once and you'll handle any rocky challenge your garden presents for decades to come.
Share your rock removal victories and creative reuse ideas in your local garden club or online growing community. Teaching others multiplies the impact of every boulder you remove.
Expert FAQs
How deep should I dig when removing rocks from garden beds?
Excavate to 18-24 inches for annual vegetable beds, 30-36 inches for perennial beds and fruit trees. This depth accommodates most fibrous root systems and prevents future disruption from buried obstacles. Use the digging bar to probe beyond visible rocks, as glacial deposits often stack in layers.
Can I use a digging bar in clay soil without damaging soil structure?
Yes, but timing matters critically. Work clay at 40-50 percent moisture content (soil forms a ball but crumbles under light pressure). Drive the bar straight down without twisting to minimize shearing forces that create compaction zones. Add gypsum (5 pounds per 100 square feet) after rock removal to improve clay aggregation.
What's the maximum rock size removable with a standard digging bar?
A 60-inch bar with proper technique handles rocks up to 150 pounds through leverage principles. Beyond that weight, use a two-bar system with a helper, or break rocks in place using a sledgehammer and feathers-and-wedges method. Attempting to move 200+ pound rocks solo causes 80 percent of digging bar injuries.
Should I remove all rocks or leave some for drainage?
Remove rocks larger than 4 inches that obstruct root growth. Retain gravel and stones under 2 inches as they improve soil porosity and prevent compaction in clay-heavy beds. The ideal amended bed contains 15-20 percent small rock content by volume for optimal drainage without sacrificing water retention.
How do I prevent back injury when using a digging bar for rock removal?
Maintain a power stance with feet shoulder-width apart and knees slightly bent. Generate force through leg drive and core rotation, never isolated back flexion. Keep the bar close to your body (within 12 inches) throughout the motion. Switch sides every 5 strikes to balance muscular effort and prevent repetitive strain injuries.