7 Layout Steps to Prepare a Companion Planting Garden
Crush a handful of moist soil and you should smell geosmin; the earthy scent produced by Actinomycetes bacteria indicates a biologically active rhizosphere. Healthy leaves display high turgor pressure, standing rigid against gravity due to the internal fluid force against cell walls. This structural integrity starts long before the first seed hits the furrow. Learning how to prepare a garden for a companion planting vegetable garden requires more than just digging holes. It demands an understanding of allelopathy, nutrient cycling, and spatial geometry. You are not just planting crops; you are engineering a self-sustaining ecosystem where root exudates from one species facilitate the mineral uptake of another. Success is measured by the millimeter of stem girth and the dark chlorophyll density of the foliage. Proper preparation ensures that nitrogen-fixing legumes are positioned to support heavy feeders like brassicas or nightshades. By mapping the garden based on botanical affinities and soil chemistry, you minimize the need for external inputs and maximize the yield per square foot of your growing space.
Materials:
The foundation of a companion garden is a friable loam with a high Cation Exchange Capacity (CEC). This substrate must hold onto essential ions like calcium and magnesium while allowing excess water to drain away from the root zone. Aim for a soil pH between 6.2 and 6.8 to ensure maximum bioavailability of micronutrients.
For the initial bed preparation, secure the following amendments:
- Nitrogen (N): Blood meal or feather meal for a slow-release 12-0-0 ratio to support vegetative growth.
- Phosphorus (P): Bone meal or rock phosphate with a 0-10-0 ratio to stimulate robust root architecture and floral initiation.
- Potassium (K): Sulfate of potash at a 0-0-50 ratio to regulate stomatal conductance and water use efficiency.
- Organic Matter: Well-aged compost with a carbon-to-nitrogen (C:N) ratio of 30:1 to fuel microbial respiration.
Timing:
Timing is dictated by the thermal properties of your soil and the specific Hardiness Zone of your region. In Zones 5 through 7, the spring planting window typically opens when soil temperatures consistently reach 55 degrees Fahrenheit (13 degrees Celsius) at a depth of four inches.
The biological clock of your garden follows the photoperiod. Long-day plants require more than 12 hours of sunlight to transition from the vegetative stage to the reproductive stage. Monitor the last frost date with precision; a late-season freeze can cause ice crystals to form within the extracellular spaces of the plant, leading to cell rupture and systemic necrosis. Use a soil thermometer to verify that the ground has moved past the dormancy phase before introducing sensitive transplants like peppers or basil.
Phases:
Sowing
Direct sow seeds at a depth exactly three times the diameter of the seed. For companion layouts, interleave fast-growing radishes between slow-germinating carrots to serve as row markers and to break up soil crusting. Maintain a consistent moisture level to prevent the delicate radicle from desiccating during the emergence phase.
Pro-Tip: Utilize the principle of hydrotropism. Roots will naturally grow toward moisture gradients. By deep-watering specific zones, you can encourage deeper root systems that tap into subsoil minerals.
Transplanting
When moving seedlings from the nursery to the garden, minimize root disturbance to prevent transplant shock. Dig a hole twice the width of the root ball and incorporate a handful of mycorrhizal inoculant. Ensure the root flare sits flush with the soil surface to prevent stem rot.
Pro-Tip: Understand auxin suppression. When you pinch back the apical meristem (the tip) of a young basil plant, you suppress the flow of the hormone auxin. This allows lateral buds to develop, creating a bushier plant that provides better ground cover for its neighbors.
Establishing
The establishment phase occurs when the plant transitions from relying on its nursery root ball to exploring the surrounding soil. During this window, maintain a high humidity dome if the weather is excessively dry. Monitor the leaf margins for signs of environmental stress.
Pro-Tip: Maximize mycorrhizal symbiosis. These beneficial fungi extend the reach of the root system by up to 100 times. Avoid tilling the soil after establishment, as mechanical disruption shears the delicate hyphae that transport phosphorus to your crops.
The Clinic:
Physiological disorders often mimic disease but are usually the result of environmental or nutritional imbalances.
-
Symptom: Interveinal chlorosis (yellowing between green veins) on older leaves.
-
Solution: This indicates Magnesium deficiency. Apply a foliar spray of Epsom salts (magnesium sulfate) at a rate of one tablespoon per gallon of water.
-
Symptom: Blossom end rot on tomatoes or peppers (dark, leathery spots on the fruit base).
-
Solution: This is a Calcium transport issue, often caused by inconsistent watering. Maintain steady soil moisture to allow the plant to move calcium through the xylem.
-
Symptom: Purpling of the undersides of leaves.
-
Solution: This signifies Phosphorus deficiency, often occurring in cold soils where the nutrient is chemically locked. Warm the soil using black plastic mulch to increase uptake.
-
Fix-It for Nitrogen Chlorosis: If the entire plant is pale green or yellow, apply a liquid fish emulsion with a 5-1-1 NPK ratio for immediate nitrogen absorption through the roots and foliage.
Maintenance:
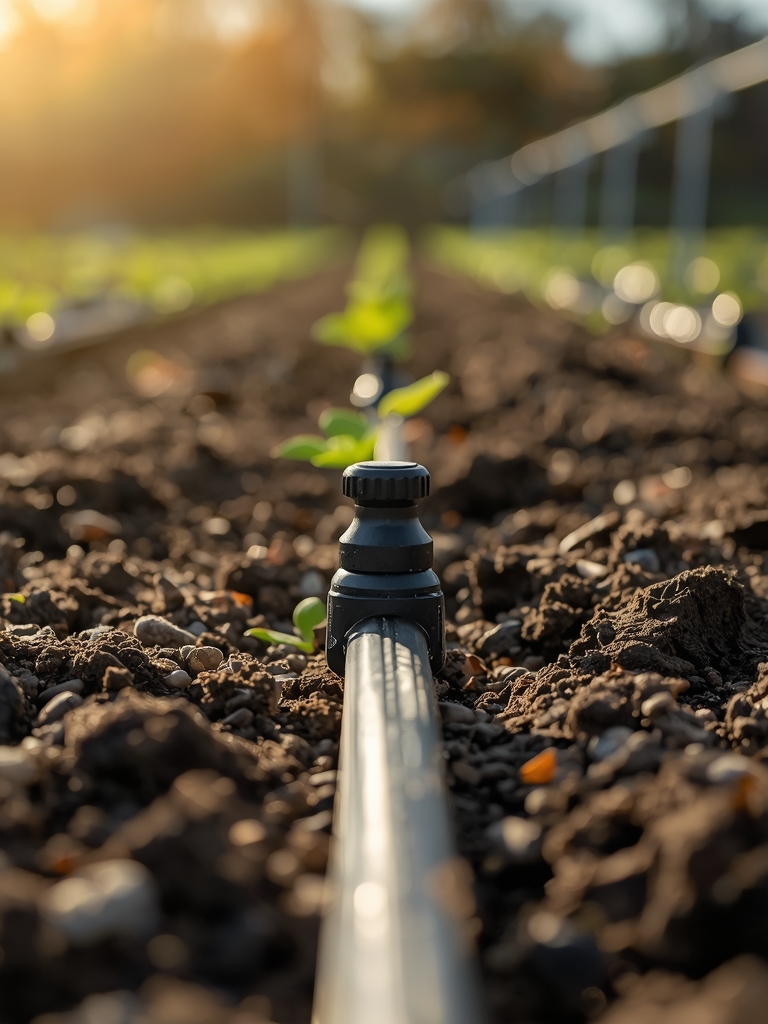
Precision maintenance prevents the systemic failure of a companion system. Deliver exactly 1.5 inches of water per week at the drip line. Use a soil moisture meter to verify that the moisture has penetrated at least six inches deep; shallow watering leads to weak, surface-level root systems.
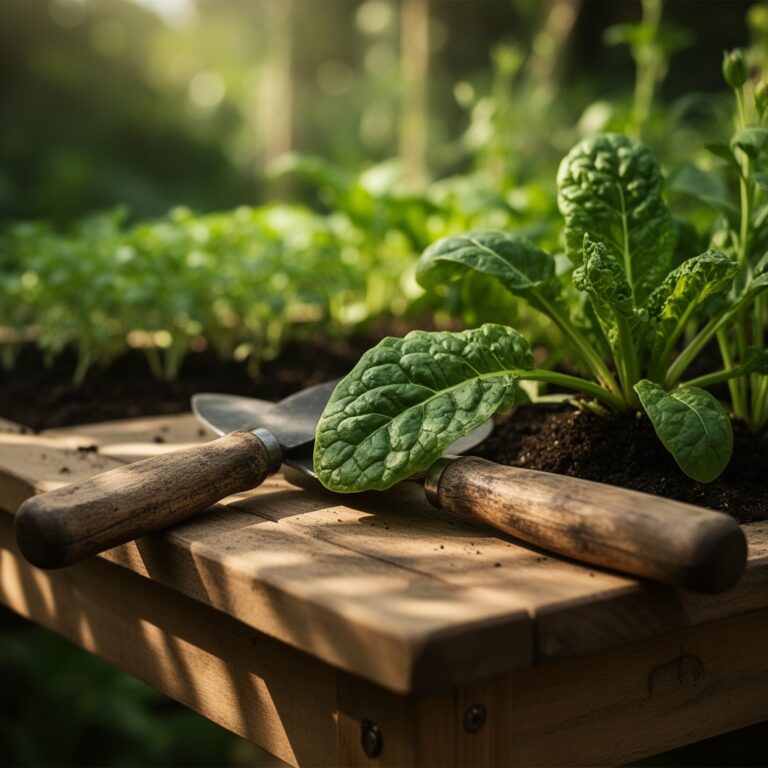
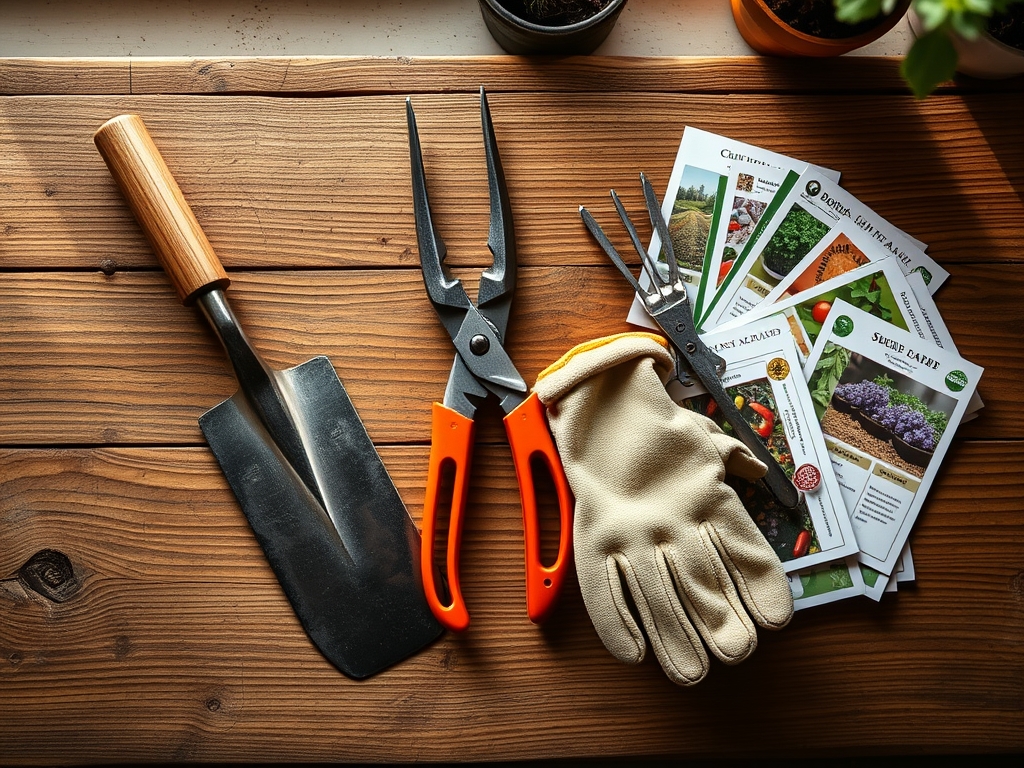
Keep your bypass pruners sharp and disinfected with a 70 percent isopropyl alcohol solution to prevent the spread of pathogens. Use a hori-hori knife for precise weeding near the stems of your vegetables; this tool allows you to extract taproots without disturbing the lateral roots of adjacent companion plants. Mulch the surface with two inches of shredded straw to suppress weed germination and reduce evaporation rates by up to 40 percent.
The Yield:
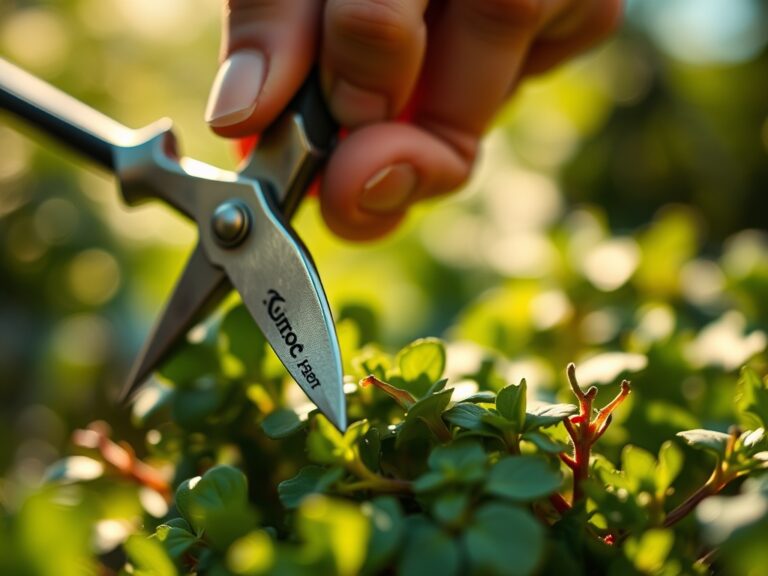
Harvesting is a physiological intervention. For leafy greens, harvest in the early morning when turgor pressure is at its peak; this ensures the leaves are crisp and have the highest nutrient density. Use a sharp blade to make clean cuts, which allows the plant to seal the wound quickly and reduces the risk of infection.
For fruiting crops like tomatoes or beans, harvest frequently to prevent the plant from entering senescence. Once a plant produces mature seeds, it shifts its energy from growth to death. To maintain "day-one" freshness, immediately move harvested produce to a cool, shaded area to reduce the field heat. Hydro-cooling (submerging in cold water) can further slow the metabolic rate of the vegetable, extending its shelf life.
FAQ:
What is the best soil pH for a companion garden?
A pH range of 6.2 to 6.8 is ideal. This range ensures that essential macronutrients and micronutrients remain chemically available for plant uptake through the rhizosphere.
How do I stop pests without using chemicals?
Utilize trap cropping. Plant nasturtiums or mustard away from your main vegetables to lure aphids and beetles. This biological diversion protects your primary crops while maintaining the local insect ecology.
How much water do my vegetables need?
Most vegetables require 1 to 1.5 inches of water per week. Use a rain gauge to track precipitation and supplement with drip irrigation to ensure consistent hydration at the root zone.
What is the benefit of nitrogen-fixing plants?
Legumes like peas and beans harbor Rhizobium bacteria in root nodules. These bacteria convert atmospheric nitrogen into a plant-available form, naturally enriching the soil for neighboring heavy-feeding crops.