7 Steps on How to Prepare a Shared Site for a Community Vegetable Plot
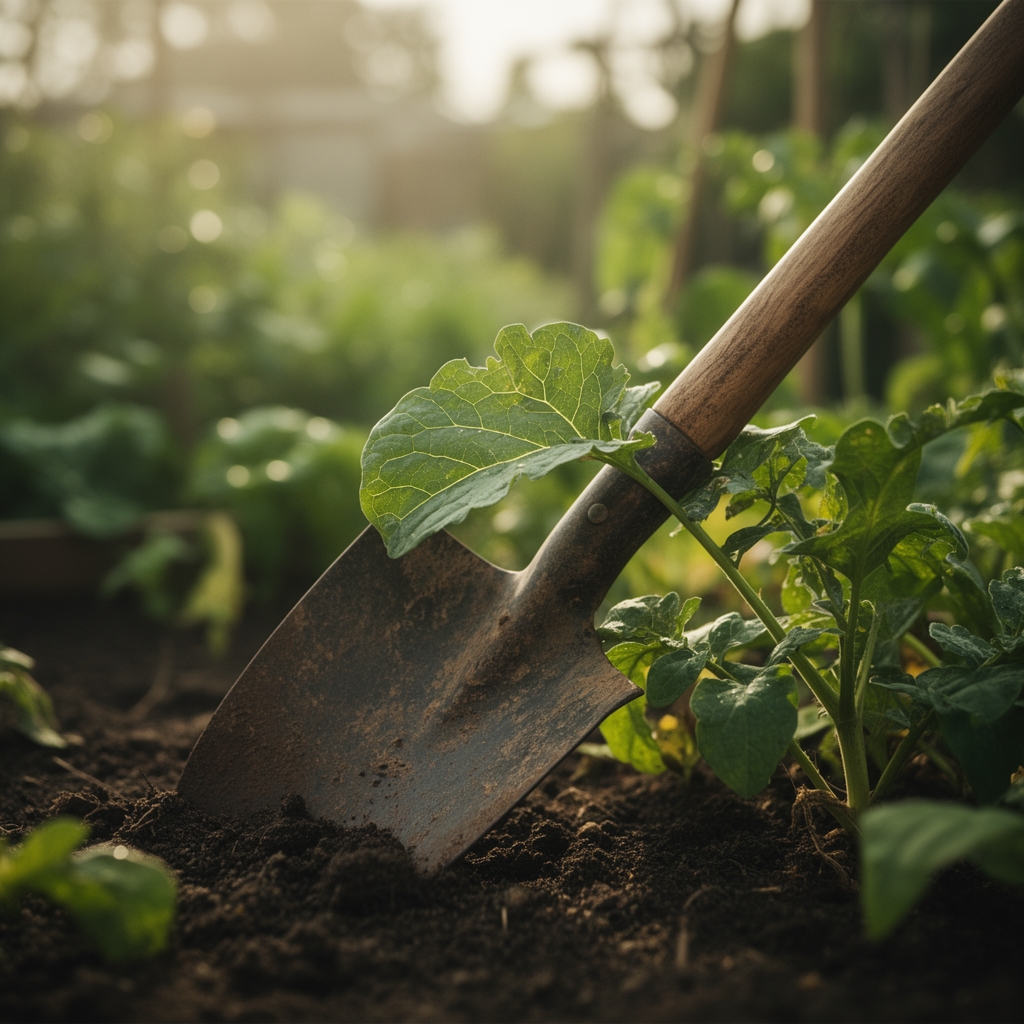
Turning neglected turf or compacted soil into productive ground requires more than enthusiasm. When learning how to prepare a garden for a community vegetable plot, success hinges on systematic assessment of drainage, exposure, and soil structure before a single seed enters the earth. The smell of freshly turned compost, the resistance of clay breaking under a broadfork, and the visual contrast between amended beds and raw subsoil mark the transformation from vision to cultivation space.
Materials
Soil testing kits should measure pH (target 6.0–7.0 for most vegetables), nitrogen, phosphorus, potassium, and organic matter percentage. Organic amendments include composted manure (typically 1-1-1 NPK), alfalfa meal (2.5-0.5-2.5), bone meal (3-15-0 for phosphorus-deficient soils), and kelp meal (1-0.5-2.5 with trace minerals). For acidic sites below pH 5.5, incorporate dolomitic limestone at 50 pounds per 1,000 square feet. For alkaline soils above pH 7.5, elemental sulfur at 10–20 pounds per 1,000 square feet lowers pH gradually over three months.
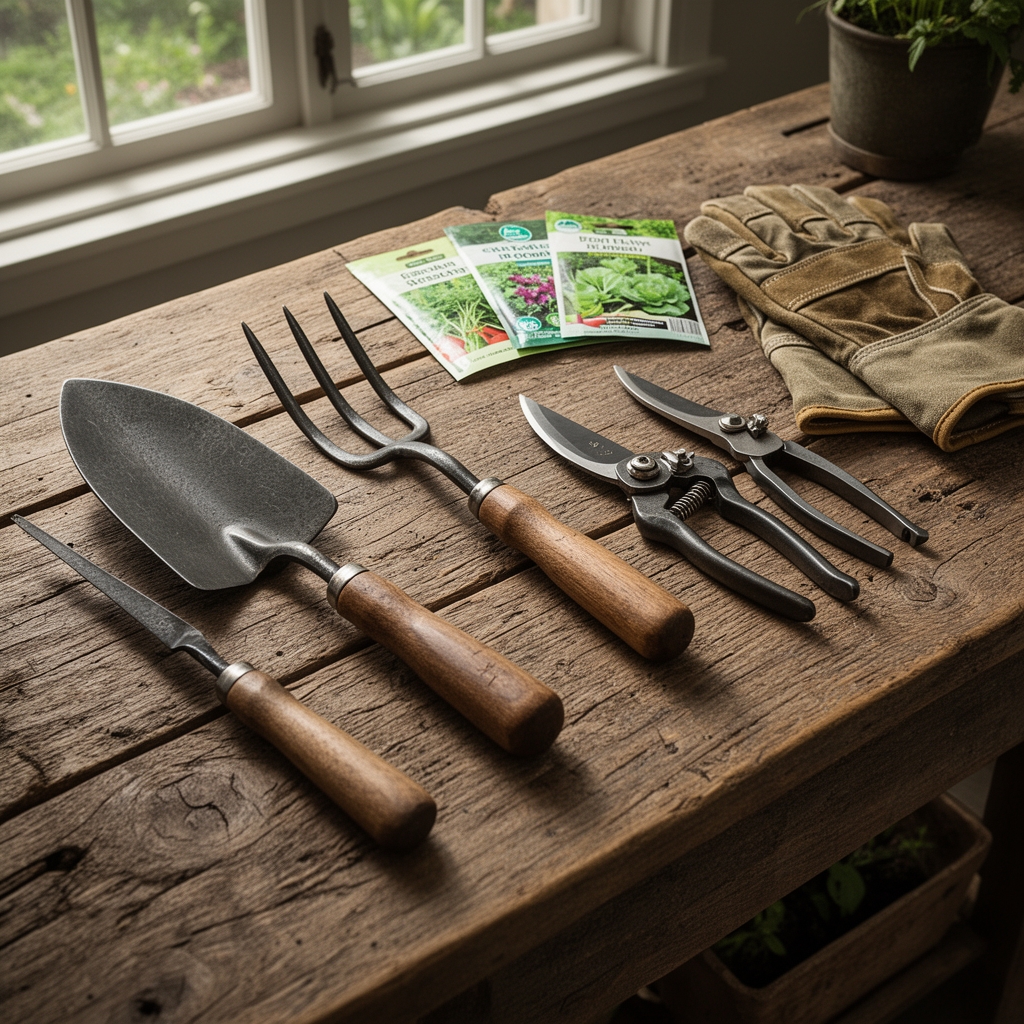
Tools must include a soil probe or auger for subsurface inspection, broadforks for deep aeration without inversion, tarps for solarization, landscape fabric or cardboard for sheet mulching, and wheelbarrows rated for 6 cubic feet. Mycorrhizal inoculant containing Glomus intraradices and Rhizophagus irregularis establishes symbiotic networks. A refractometer measures brix levels in transplants to assess nutrient density before planting.
Bulk materials include compost (minimum 2 inches across all beds), aged wood chips for pathways (3–4 inches to suppress weeds), and pea gravel for drainage channels if the site shows standing water after rain. Fencing materials depend on local herbivore pressure: 4-foot welded wire excludes rabbits, while 8-foot deer fencing with tensioned polytape prevents cervid browse.
Timing
Preparation phases align with USDA Hardiness Zones and regional frost windows. In Zones 5–6, begin site clearing in September for spring planting. Sheet mulching requires 4–6 months for grass and weed decomposition, making October application ideal for May transplanting. Zones 7–8 allow fall planting of garlic and overwintering brassicas if beds finish by late September. Zones 9–10 focus on summer soil building during heat stress, then plant cool-season crops in October.
Soil solarization demands 4–6 weeks of temperatures above 90°F. Apply clear plastic in June or July in most regions. This process kills weed seeds in the top 6 inches and reduces soilborne pathogens like Verticillium and Fusarium. Mycorrhizal inoculation occurs immediately before transplanting, as spores remain viable only 6–8 weeks in storage.
Frost date calculations determine transplant schedules. Last spring frost minus 8 weeks marks indoor seed starting for tomatoes and peppers. First fall frost minus 90 days signals the cutoff for warm-season plantings. Succession planting of lettuce and radishes occurs every 14 days from last frost through mid-summer.
Phases
Sowing Phase
Direct-sow carrots, beans, and peas when soil reaches 50°F at 2-inch depth. Carrot germination requires consistent moisture for 10–14 days. Create shallow furrows 0.25 inches deep, space seeds 1 inch apart, then thin to 3 inches after true leaves emerge. Beans need 1-inch depth with 3-inch spacing. Inoculate legume seeds with Rhizobium bacteria to fix atmospheric nitrogen, adding 2–3 pounds of nitrogen per 100 square feet over the growing season.
Pro-Tip: Mix radish seeds with carrot seeds at a 1:4 ratio. Radishes germinate in 4 days, marking rows and breaking soil crust for slower carrot emergence.
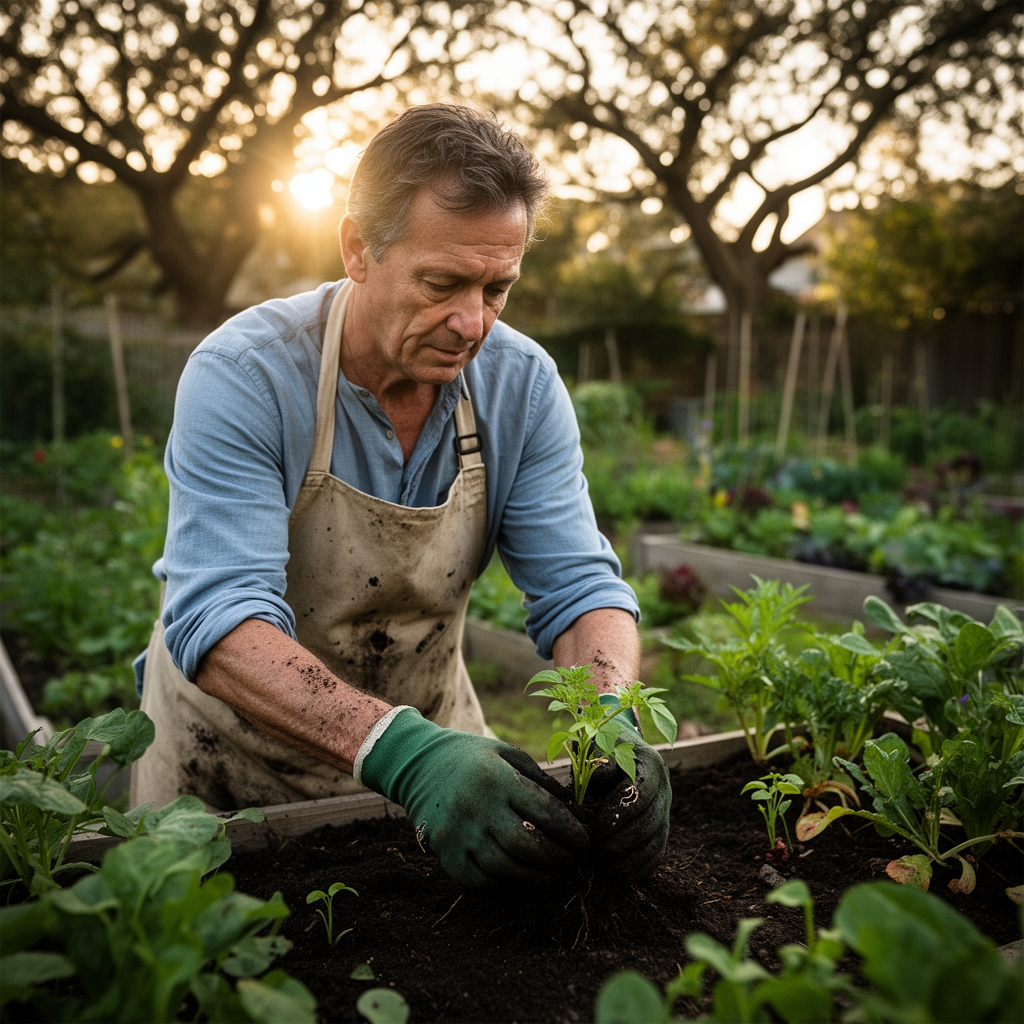
Transplanting Phase
Harden off seedlings over 7–10 days, gradually increasing UV exposure and reducing water. Transplant on overcast afternoons to minimize transplant shock. Dig holes 1.5 times root ball width. Tomatoes tolerate deep planting; bury stems up to first true leaves to generate adventitious roots along the buried portion. Apply mycorrhizal inoculant directly to root zones at 1 teaspoon per transplant. Water with diluted fish emulsion (5-1-1) at 2 tablespoons per gallon to provide immediate nitrogen without burning roots.
Pro-Tip: Prune tomato transplants at a 45-degree angle 0.25 inches above the node to encourage auxin distribution toward lateral branches, strengthening scaffold structure.
Establishing Phase
Mulch beds with 2–3 inches of straw or shredded leaves after soil warms to 60°F. Mulch conserves moisture, moderates temperature, and feeds soil organisms. Install drip irrigation with emitters every 12 inches, delivering 0.6 gallons per hour. Monitor soil moisture with a tensiometer; irrigate when readings exceed 30 centibars in the root zone.
Foliar feed every 14 days with liquid kelp (0-0-1 plus cytokinins and auxins) at 1 tablespoon per gallon. This enhances stress tolerance and boosts cation exchange capacity through increased organic colloids.
Pro-Tip: Side-dress heavy feeders (tomatoes, squash, brassicas) with compost tea containing Bacillus subtilis at 1 gallon per 4 linear feet when flowering begins. This increases phosphorus availability during fruiting.
Troubleshooting
Symptom: Yellowing lower leaves with green veins (interveinal chlorosis).
Solution: Iron deficiency in high-pH soils. Apply chelated iron (Fe-EDDHA) at 1 ounce per 100 square feet. Incorporate sulfur to lower pH long-term.
Symptom: Blossom end rot on tomatoes and peppers (dark, sunken spots on fruit bottoms).
Solution: Calcium uptake disrupted by inconsistent watering. Maintain even soil moisture. Apply gypsum (calcium sulfate) at 2 pounds per 100 square feet without altering pH.
Symptom: Stunted growth with purple leaf undersides.
Solution: Phosphorus deficiency, often in cold soils below 55°F. Warm soil with black plastic mulch. Side-dress with bone meal (3-15-0) at 3 pounds per 100 square feet.
Symptom: Holes in brassica leaves with green frass.
Solution: Cabbage loopers (Trichoplusia ni). Apply Bacillus thuringiensis var. kurstaki (Btk) at 1 tablespoon per gallon, spraying undersides at dusk. Repeat every 5–7 days.
Symptom: Wilting despite adequate moisture, vascular browning in stems.
Solution: Fusarium or Verticillium wilt. Remove infected plants. Solarize soil. Rotate to non-susceptible families (Apiaceae, Fabaceae) for 3 years.
Maintenance
Water 1–1.5 inches per week, delivered in one deep session rather than daily sprinkling. This encourages roots to grow 12–18 inches deep. Measure with rain gauges placed at bed level.
Weed when soil is moist but not saturated. Remove weeds before flowering to prevent seed set. Flame weeders eliminate seedlings between rows without disturbing soil structure.
Prune indeterminate tomatoes to 2–3 main stems, removing suckers when 2–4 inches long. This concentrates auxin flow into fruiting trusses and improves air circulation, reducing foliar disease pressure.
Harvest morning after dew dries but before midday heat. This maximizes turgor pressure and sugar content. Cut rather than pull to avoid root disturbance.
FAQ
When should I test soil for a community plot?
Test 6 months before planting to allow time for amendments to react. Retest every 3 years or when crop performance declines.
Can I plant immediately after tilling?
No. Allow 2 weeks for soil to resettle and microbial populations to recover. Tilling destroys fungal hyphae and reduces cation exchange capacity short-term.
How deep should beds be for root crops?
Carrots and parsnips need 12–18 inches of loose, stone-free soil. Double-dig beds or build raised frames filled with screened compost and topsoil mix.
What spacing prevents disease in high-density plantings?
Allow 18–24 inches between tomato plants, 12 inches for peppers, and 6 inches for lettuce. Adequate airflow reduces humidity and fungal spore germination on leaf surfaces.
How do I manage nitrogen for heavy feeders?
Apply compost at 0.5 inches every 4 weeks or use blood meal (12-0-0) at 1 pound per 100 square feet. Monitor leaf color; dark green indicates sufficiency, pale yellow signals deficiency.