7 Steps to Install a Garden Creek Pump
The cold water rushing past your ankles in early spring carries more than just runoff. It carries potential energy waiting to be harnessed for irrigation, pond circulation, or year-round garden hydration. The steps for installing a garden creek pump transform that natural flow into a reliable pressurized system without grid dependence. A correctly positioned intake, properly sealed check valve, and accurately calculated head pressure mean the difference between a pump that runs for fifteen seasons and one that fails after two winters.
Materials

The foundation begins with pH testing of the creek water. Most garden crops thrive between 6.0 and 7.0. Creek water often registers 6.5 to 7.5, making it ideal for direct irrigation without amendment. Test monthly during installation season.
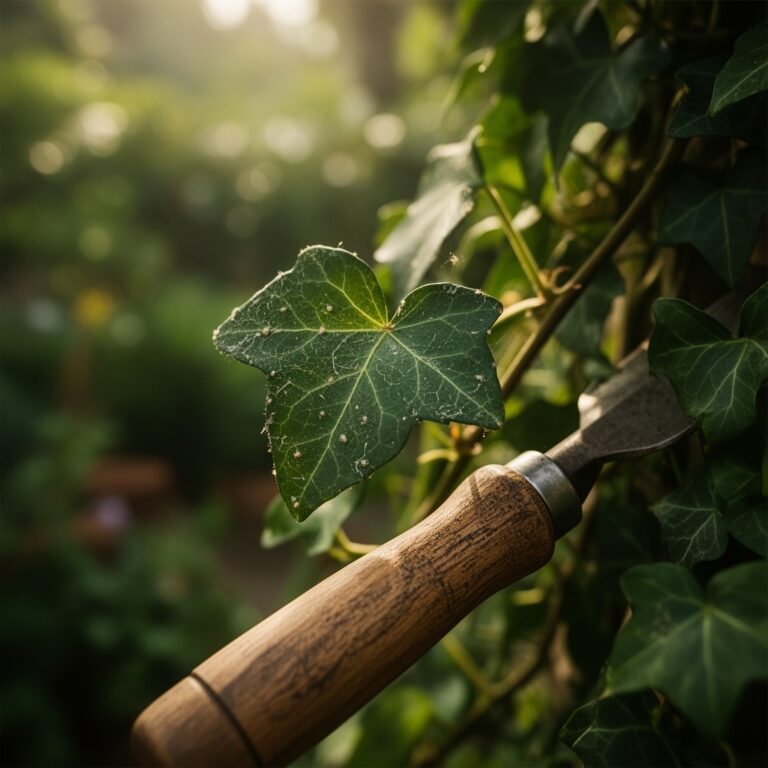
For the pump assembly itself, source a submersible utility pump rated for continuous duty, minimum 1/3 horsepower. The intake screen must be 1/4 inch mesh, small enough to exclude gravel yet large enough to prevent clogging from organic debris. Pair this with 1.5-inch PVC schedule 40 pipe for the delivery line. The thicker wall prevents collapse under vacuum if the pump momentarily runs dry.
Secure four 8-inch galvanized ground stakes to anchor the pump cage. Build the cage from 1/2-inch hardware cloth, dimensions 18 inches cubed. This excludes fish, frogs, and large leaf matter while allowing unrestricted flow.
For electrical supply, use 12-gauge outdoor-rated wire with GFCI protection. Bury conduit 18 inches deep, below frost line in Zones 6 and colder. Include a float switch rated for 10 amps to prevent dry running.
Apply diatomaceous earth (0-0-0, pH neutral) around exposed wire junctions as a moisture-wicking agent. While it provides no nutritive value, it prevents corrosion in junction boxes near water.
Timing
Installation windows align with low-water periods. In Zones 3-5, late August through September offers the most stable creek levels before autumn rains. Zones 6-8 should target July into early October. Zones 9-10 can install nearly year-round but avoid December and January when even mild climates see peak rainfall.
Coordinate with your county's water rights office. Most jurisdictions allow domestic pumping under 5 gallons per minute without permits, but regulations vary. Verify before breaking ground.
Frost dates matter for buried lines. In Zone 5, the final spring frost averages May 15, but soil at 18 inches depth does not thaw until April 25. Schedule trenching after that date to avoid frozen ground.
Phases

Step 1: Site Survey and Intake Placement
Walk the creek during two separate visits: one during normal flow, one after a heavy rain. Mark the low-water line. Position the intake 6 inches below this mark to ensure year-round submersion. Avoid bends where sediment accumulates. Straight runs provide the cleanest draw.
Step 2: Excavate the Trench
Dig from pump site to garden endpoint. Maintain a 2 percent slope, dropping 2 inches per 100 linear feet. This prevents air pockets that reduce flow efficiency. Use a 4-foot level and string line to verify grade.
Step 3: Assemble the Pump Cage
Cut hardware cloth with aviation snips. Form the cube and secure corners with 16-gauge galvanized wire, wrapping each joint three times. Attach the pump inside using stainless steel hose clamps. The pump outlet should face the downstream side to reduce debris capture.
Pro-Tip: Coat all metal fasteners with marine-grade lanolin paste. This displaces water at the molecular level and prevents rust for 8-10 years.
Step 4: Install the Check Valve
Thread a brass swing-check valve onto the pump outlet before attaching PVC. This component prevents backflow when the pump shuts off, protecting the motor from reverse spin. Apply Teflon tape, three wraps clockwise, to all threaded connections.
Step 5: Anchor and Submerge
Drive the four ground stakes into the creek bed in a square pattern, 24 inches apart. Attach the cage using aircraft cable rated for 250 pounds. Submerge slowly. Watch for bubbles indicating leaks. The intake screen should sit 4 inches above the creek bed to avoid sucking sediment.
Pro-Tip: Add 2 tablespoons of food-grade citric acid to the initial water column inside the PVC. This dissolves any manufacturing residue and improves first-run clarity.
Step 6: Lay Pipe and Backfill
Connect PVC sections with primer and cement. Hold each joint for 30 seconds before moving to the next. Backfill trenches in 6-inch lifts, tamping with a hand compactor between layers. This prevents settling and pipe stress.
Step 7: Electrical Connection and Testing
Run power to the GFCI-protected outlet. Activate the pump and time how long it takes to fill a 5-gallon bucket. A 1/3 HP pump should deliver 15 gallons per minute at 20 feet of head. Adjust expectations for higher lifts. Calculate head by measuring vertical rise from water surface to discharge point.
Pro-Tip: Install a pressure gauge at the garden endpoint. Optimal drip irrigation runs at 25-30 PSI. Adjust flow valves accordingly.
Troubleshooting
Symptom: Pump runs but no water flows.
Solution: Air lock in the line. Disconnect the discharge end and prime by pouring water into the pipe until it flows freely from the submerged end. Reconnect and restart.
Symptom: Reduced flow after two weeks.
Solution: Intake screen clogged with biofilm. Retrieve cage monthly during growing season and spray with a 10 percent vinegar solution. The acetic acid dissolves algae without harming aquatic life.
Symptom: Pump cycles on and off rapidly.
Solution: Float switch positioned too close to intake. Lower it 3 inches to increase the activation differential.
Symptom: Milky or cloudy water.
Solution: Suspended sediment from recent rain. Install a 50-micron inline filter before the garden distribution manifold. Replace cartridges every 40 hours of run time.
Symptom: Electrical breaker trips when pump starts.
Solution: Voltage drop due to undersized wire over long runs. For distances beyond 100 feet, upgrade to 10-gauge wire to reduce resistance.
Maintenance
Inspect the intake screen every 21 days during active irrigation season. Remove the cage, brush clean, and check for cracks in the hardware cloth.
Lubricate the check valve annually. Disassemble, clean the flapper with a wire brush, and apply silicone-based grease to the hinge pin.
Flush the delivery line each spring before first use. Open the end cap and run the pump for 5 minutes to clear winter sediment and any freeze-damaged PVC fragments.
Monitor power consumption with a plug-in wattmeter. A 1/3 HP pump draws 375-425 watts under normal load. Readings above 500 watts indicate bearing wear or impeller obstruction.
Apply 1 inch of water per week to garden beds using this system. A 400-square-foot bed requires 250 gallons weekly, which a small creek pump delivers in approximately 20 minutes of run time at 12 GPM.
FAQ
Can I use a garden creek pump in freezing climates?
Yes. Retrieve the pump before first hard freeze and store indoors. Leave the pipe in place; freezing water expands but schedule 40 PVC tolerates this in buried applications.
What flow rate do I need for a vegetable garden?
Calculate 1 gallon per square foot per week. A 500-square-foot garden needs 500 gallons weekly, achievable with a pump delivering 8 GPM in roughly 60 minutes of weekly operation.
Do I need a pressure tank?
Not for drip irrigation. For sprinklers or household use, install a 20-gallon pre-charged tank to buffer pressure fluctuations and reduce motor cycling.
How deep can I install the pump?
Submersible utility pumps function reliably to 25 feet of submersion. Beyond this depth, consult with a well pump specialist for appropriate motor cooling.
Will this harm fish populations?
A 1/4-inch screen prevents fish entry. Keep intake flow under 5 GPM to avoid creating suction zones that disorient spawning fish during spring runs.