7 Steps to Prepare a DIY Tool Sharpening Guide
Crushing a handful of friable loam reveals the structural integrity of your soil; the earthy scent of geosmin indicates a healthy microbial population. When the turgor pressure in your crops is optimal, every cell wall stands rigid. Maintaining this botanical health requires precision cuts that only a honed blade can provide. Learning how to prepare a tool sharpening guide at home ensures your bypass pruners and hori-hori knives slice through vascular tissue without crushing the xylem or phloem. Dull steel tears at the plant fibers, creating jagged entry points for pathogens and increasing the risk of localized necrosis. A sharp edge facilitates rapid wound closure, allowing the plant to allocate energy toward biomass production rather than defense mechanisms. By constructing a dedicated sharpening station, you standardize the bevel angles required for different horticultural implements. This systematic approach preserves the tool's temper and extends its operational lifespan across multiple growing seasons. Precision in the workshop translates directly to precision in the rhizosphere.
Materials:

A successful sharpening guide requires a stable substrate and specific abrasives. While soil pH typically governs nutrient availability, the workshop environment focuses on physical stability. The ideal base is a heavy, dense material like kiln-dried maple or a high-density polyethylene block to minimize vibration. You will need a **400/1000 grit combination whetstone** for initial edge setting and a **3000/6000 grit stone** for polishing. Use a digital protractor to verify angles; most bypass pruners require a **20 to 23 degree bevel**. For the chemical aspect of maintenance, use a light mineral oil to prevent oxidation of the carbon steel. If you are working near sensitive seedlings, ensure the workspace is free of heavy metal dust. The physical texture of your sharpening surface must be perfectly level to ensure uniform metal removal across the entire length of the blade.
Timing:
Timing your tool maintenance aligns with the biological clock of your landscape. In Hardiness Zones 5 through 7, the ideal window for major tool overhauls is during the dormant period, typically between the first killing frost and the late winter thaw. This precedes the transition from the vegetative to the reproductive stage in many perennials. Sharpening should occur before the sap begins to rise in early spring; clean cuts are vital when the plant's metabolic activity increases. Performing this task in a temperature-controlled environment prevents the thermal expansion of metal components, which can occur if tools are left in direct sunlight or freezing sheds. Aim to complete your sharpening guide assembly at least three weeks before the spring equinox to ensure all equipment is ready for the first heavy pruning of the season.
Phases:

Sowing the Foundation
Begin by securing a flat board to your workbench. This serves as the "root system" for your sharpening guide. Use a square to mark a centerline. This ensures that every stroke of the blade remains perpendicular to the stone. A stable foundation prevents the skipping that leads to "nicks" in the steel.
Pro-Tip: Stability in your guide prevents micro-fractures in the blade edge. This is analogous to mycorrhizal symbiosis; just as fungi provide a stable nutrient network for roots, a fixed guide provides the structural support necessary for the steel to perform under the high tension of cutting woody stems.
Transplanting the Angles
Mount two wooden blocks at the specific angle required for your most-used tool. For a standard spade, an angle of 45 degrees is sufficient; for delicate grafting knives, aim for 15 degrees. Use a drill press to ensure the pilot holes are perfectly vertical. This phase establishes the "DNA" of your sharpening process, ensuring repeatability.
Pro-Tip: Consistent angles prevent the "rounding" of the edge. This relates to auxin suppression; just as apical dominance directs growth in a single direction, a fixed angle directs the force of the abrasive to a single point, maximizing the efficiency of the cutting edge.
Establishing the Edge
Once the guide blocks are set, place your whetstone between them. Lubricate the stone with water or oil depending on the manufacturer's specifications. Draw the blade across the stone using long, even strokes. Monitor the "burr" or wire edge that forms on the opposite side of the bevel. This indicates that you have successfully reached the apex of the edge.
Pro-Tip: Polishing the edge to a high grit reduces friction during the cut. This mimics the cuticular wax on a leaf; a smooth surface sheds water and pathogens more effectively, protecting the internal tissues from environmental stress and desiccation.
The Clinic:
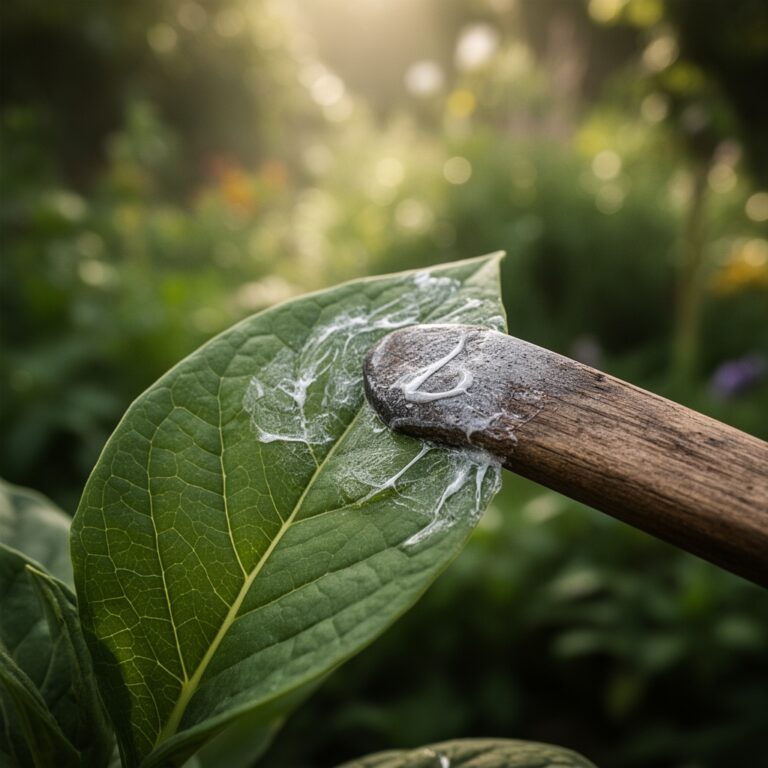
Physiological disorders in plants often stem from poor tool maintenance. If you observe ragged leaf margins or "crushing" of the stem after pruning, your blade is likely dull or the guide angle is too obtuse. This leads to localized cell death and slow callus formation.
Symptom: Stem dieback after pruning.
Solution: Re-calibrate your sharpening guide to a sharper 20-degree angle and ensure the blade is sterilized with 70 percent isopropyl alcohol to prevent the spread of pathogens.
Symptom: Nitrogen chlorosis (yellowing of older leaves).
Fix-It: While often a soil issue, check if dull tools are causing root damage during transplanting. Ensure the soil has a Cation Exchange Capacity (CEC) of at least 15 to hold onto ammonium and nitrate ions. Apply a balanced 10-10-10 NPK fertilizer to boost vegetative growth.
Symptom: Iron deficiency (interveinal chlorosis in new growth).
Fix-It: This often occurs in high pH soils (above 7.5). Use your soil moisture meter to ensure the rhizosphere is not waterlogged, which inhibits iron uptake. Lower the pH using elemental sulfur to reach a target of 6.5.
Maintenance:
A high-performance garden requires rigorous maintenance schedules. Provide exactly 1.5 inches of water per week at the drip line of your trees; use a soil moisture meter to verify that the water reaches a depth of 6 to 8 inches. For tool maintenance, wipe your blades with a dry cloth after every use to remove acidic plant resins. Every 50 cuts, check the blade for sharpness. Use your hori-hori knife to weed deeply without disturbing the primary root mass of your cultivars. If the bypass pruners begin to stick, check the tension of the pivot bolt. A drop of oil on the spring mechanism maintains the kinetic energy required for clean, one-handed operation.
The Yield:
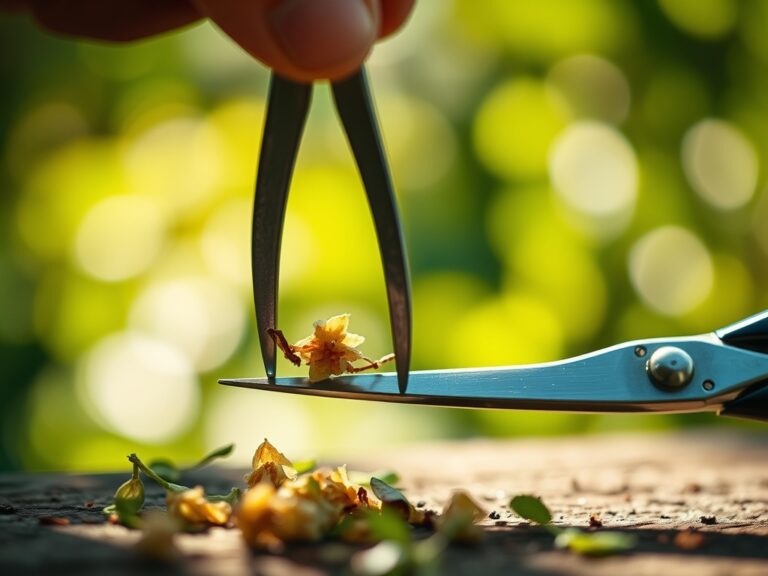
Harvesting is the culmination of the biological cycle. For most fruiting crops, harvest when the fruit reaches its "ripe" color but remains firm to the touch. This indicates peak sugar concentration and optimal turgor pressure. Use your sharpened shears to cut the peduncle, leaving a small stub to prevent rot from entering the fruit. For leafy greens, harvest in the early morning when the plant is most hydrated. Post-harvest, immediately submerge the stems in 40-degree Fahrenheit water to remove field heat. This process slows down senescence, the natural aging process of the plant tissue, ensuring your yield maintains "day-one" freshness and maximum nutrient density.
FAQ:
How often should I use my sharpening guide?
Sharpen your primary pruning tools every 10 hours of active use. For heavy-duty clearing tools like loppers, a monthly check is sufficient. Regular maintenance prevents the accumulation of "nicks" that require significant metal removal to repair.
What is the best angle for a garden spade?
Set your sharpening guide to a 45-degree angle for spades and shovels. This provides a durable edge that can penetrate compacted soil and slice through roots without becoming brittle or chipping against subterranean rocks.
Can I use a bench grinder instead of stones?
Bench grinders generate excessive heat that can ruin the temper of the steel. Unless you are an expert, stick to manual whetstones and a guide to maintain the molecular integrity and hardness of your high-carbon steel tools.
Why does my tool keep rusting after sharpening?
Sharpening exposes raw steel to oxygen. Always apply a thin layer of mineral oil or specialized tool wax immediately after using your guide. This creates a hydrophobic barrier that prevents oxidation and the subsequent pitting of the blade surface.