7 Steps to Remove Sticky Residue from Grafting Tape
Grafting tape binds fresh scions to rootstock with remarkable tenacity, but once the union calluses over, that same adhesive becomes a stubborn film clinging to bark and cambium. The residue interferes with visual inspection of graft success, traps moisture that invites canker pathogens, and complicates future pruning cuts. Steps for removing sticky residue from garden tape require precision and chemical awareness to avoid damaging the delicate vascular tissues beneath. Each removal method balances mechanical action against solvent chemistry, protecting both the structural integrity of the graft union and the auxin distribution pathways that govern vertical growth.
Materials
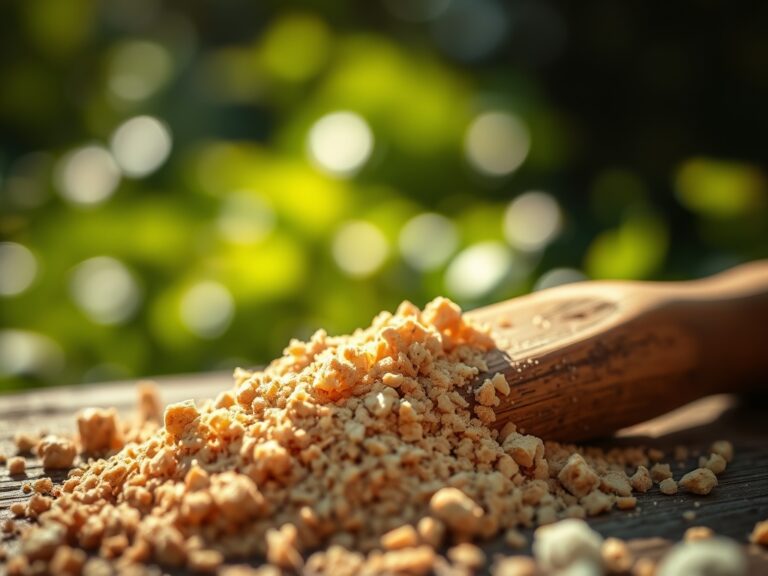
Assemble tools and compounds with attention to pH and solubility profiles. Isopropyl alcohol at 70% concentration serves as the primary solvent, breaking down petroleum-based adhesives without penetrating the waxy cuticle layer. For organic operations, citrus-based limonene cleaners (d-limonene content above 95%) offer comparable efficacy while maintaining OMRI compliance. Coconut oil or jojoba oil acts as a lipid carrier, softening residue through emulsification rather than dissolution.
Physical abrasives include nylon brushes with 0.2 mm bristle diameter, microfiber cloths rated at 100,000 fibers per square inch, and baking soda (sodium bicarbonate, pH 8.3) as a mild alkaline scrub. Wooden tongue depressors prevent bark gouging during scraping. A 4-4-4 organic fertilizer blend enriches soil afterward to offset stress, providing balanced nitrogen, phosphorus, and potassium to support recovery growth. Keep distilled water on hand for final rinses that prevent mineral deposits from well water.
Timing
Execute residue removal between hardiness zone-appropriate growth flushes. In zones 5 through 7, address grafts in late April through mid-May, after bud break but before maximum auxin flow during shoot elongation. In zones 8 through 10, a secondary window opens in late September when cambial activity slows but temperatures remain above 50°F, minimizing shock to the vascular cambium.
Avoid removal during the dormant season. Frozen tissues tear rather than flex, creating wounds that desiccate over winter. Similarly, peak summer heat in July and August concentrates solvents rapidly, increasing penetration risk into phloem tissues. Monitor local frost dates. Schedule removal at least four weeks after the last spring frost and six weeks before the first fall frost to allow wound periderm formation.
Phases

Step 1: Assessment and Softening
Inspect the graft union for complete callus formation. The scion and rootstock should show continuous bark across the junction with no gaps exposing cambium. Apply coconut oil liberally to the residue using a cotton swab, saturating the adhesive for 15 minutes. The lipid molecules penetrate the polymer matrix, reducing intermolecular bonding strength.
Pro-Tip: Apply oil in the early morning when stomata are open. Slight vapor pressure from warming tissues accelerates absorption into the adhesive without affecting transpiration rates.
Step 2: Mechanical Loosening
Use a wooden tongue depressor at a 30-degree angle to the bark surface. Apply pressure parallel to the grain, lifting residue edges without gouging the periderm. Work from the edges inward toward the thickest accumulation. This gradual approach prevents tearing of the cork cambium layer.
Pro-Tip: For young grafts under 6 months old, wrap the union with damp cheesecloth during this step to maintain 95% relative humidity at the bark surface, preventing desiccation cracks.
Step 3: Solvent Application
Saturate a microfiber cloth with isopropyl alcohol. Press the cloth against residue for 10 seconds, then wipe in a single direction following the bark's natural texture. Reapply alcohol to the cloth after each pass to avoid redistributing dissolved adhesive.
Pro-Tip: Test solvent on a small bark section on the rootstock below the graft first. Watch for 5 minutes. Any darkening or softening indicates excessive cuticle penetration. Dilute alcohol to 50% if this occurs.
Step 4: Alkaline Scrub
Mix baking soda with distilled water to form a paste with the consistency of toothpaste. Apply with a nylon brush using circular motions at 1 psi pressure. The mild abrasive action combined with pH 8.3 saponifies remaining oil-residue mixtures, converting them to water-soluble compounds.
Step 5: Citrus Rinse
Apply limonene cleaner sparingly with a cotton swab. The terpene solvent targets any petroleum residue missed by alcohol, particularly on rough bark textures where adhesive collects in fissures. Limit contact time to 30 seconds per section to prevent cuticle disruption.
Step 6: Water Flush
Rinse the entire graft zone with distilled water at ambient temperature. Use a spray bottle set to mist, not stream, to avoid hydraulic pressure damage to young vascular connections. This step removes all solvent traces and neutralizes alkaline residue from baking soda.
Step 7: Protection and Monitoring
Pat the area dry with a clean microfiber cloth. Leave the graft exposed to air for 2 hours to allow moisture evaporation from bark crevices. Apply a thin layer of grafting wax only if bark damage occurred during removal. Otherwise, leave the union bare to permit gas exchange. Monitor for 72 hours for signs of phloem disruption or canker initiation.
Pro-Tip: Inoculate the root zone with mycorrhizal fungi (Glomus intraradices, 300 propagules per gram) within 24 hours post-cleaning. The symbiotic relationship enhances phosphorus uptake, compensating for temporary stress-induced root hair dieback.
Troubleshooting
Symptom: Brown streaking radiating from cleaned areas within 48 hours.
Solution: Indicates solvent penetration into cambium. Spray affected area with 0.5% calcium chloride solution to stabilize cell membranes. Apply kaolin clay at 2 lb per gallon as a protective barrier.
Symptom: Adhesive returns to sticky state after cleaning.
Solution: Residual moisture reactivated the polymer. Re-clean with anhydrous isopropyl alcohol (99%), then immediately seal with carnauba wax to create a hydrophobic barrier.
Symptom: Bark flaking at graft union edges.
Solution: Over-scrubbing damaged the cork cambium. Apply lanolin ointment to seal exposed cells. Reduce irrigation by 0.25 inches per week to lower turgor pressure while healing occurs.
Symptom: White fuzzy growth appearing within one week.
Solution: Saprophytic fungi colonizing oil residue. Spray with copper octanoate at 0.5% concentration. Ensure complete oil removal in future applications by extending solvent contact time to 20 seconds.
Symptom: Graft union swelling with gummy exudate.
Solution: Mechanical damage during scraping disrupted resin ducts. Do not remove exudate as it forms a natural barrier. Monitor for bark beetle attraction. Install pheromone traps within 10 feet if Scolytidae activity appears.
Maintenance
Inspect cleaned grafts weekly for four weeks post-removal. Provide 1 inch of water per week through drip irrigation positioned 6 inches from the trunk base. Avoid overhead watering that collects in residue-removal sites. Apply a 2-inch layer of aged pine bark mulch (pH 4.5 to 5.5) in a 24-inch diameter circle, keeping the mulch 4 inches away from the trunk to prevent moisture accumulation at the graft union.
Feed with fish emulsion (5-1-1 NPK) at 1 tablespoon per gallon every two weeks during active growth. The elevated nitrogen supports new phloem cell production in the callus tissue. Monitor cation exchange capacity in the root zone. Maintain soil pH between 6.0 and 6.8 for optimal nutrient availability. Prune any watersprouts emerging below the graft at a 45-degree angle, flush with the branch collar to redirect auxin flow upward.
FAQ
How long should I wait after tape removal to check graft success?
Wait 10 days minimum. Cambial reconnection shows as green tissue continuity when you gently scrape a 2 mm test window with a fingernail above and below the union. Both sections should reveal matching green layers.
Can I use vegetable oil instead of coconut oil?
Yes, but choose oils with saturated fat content above 80%. Corn and soybean oils contain polyunsaturated fats that oxidize rapidly, forming sticky peroxides that compound residue problems. Coconut and palm kernel oils remain stable.
Will residue removal harm mycorrhizal colonization?
Solvents do not translocate to roots in concentrations that affect fungal hyphae. However, avoid soil contact with isopropyl alcohol. A single tablespoon in the root zone reduces mycorrhizal infection points by 40% for up to three weeks.
What if the graft tape embedded into the bark?
Do not attempt forceful removal. Embedded tape becomes encased by subsequent growth rings. Remove only the surface layer. The buried portion becomes inert and will not restrict vascular flow in healthy unions.
Is residue removal necessary for all graft types?
Whip-and-tongue and cleft grafts require cleaning due to large surface areas. Bud grafts with minimal tape contact often self-clean through natural bark exfoliation within one growing season. Prioritize removal on species prone to gummosis like Prunus species where any foreign material triggers resin overproduction.