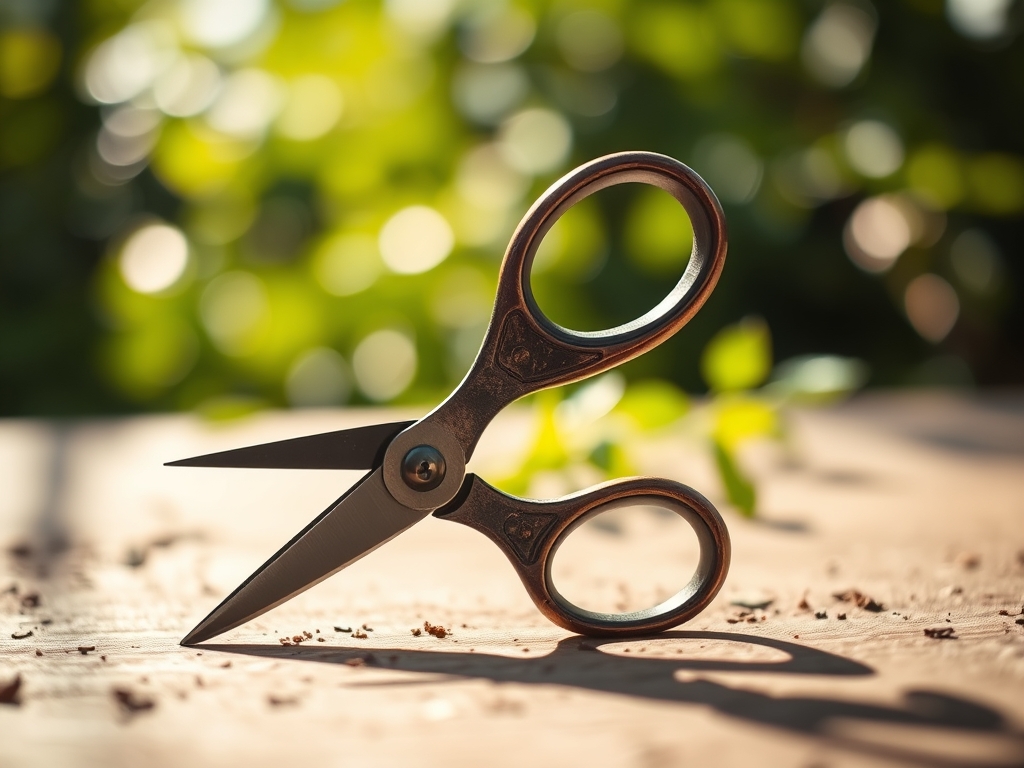
8 Best Sharp Plant Scissors for Delicate Pruning
The smell of damp earth and the crisp snap of a leaf with high turgor pressure define the reality of precision horticulture. When you make a cut, you are not merely removing tissue; you are altering the vascular architecture of the plant and managing its hydraulic conductivity. A jagged tear from a dull blade creates an entry point for pathogens and slows the healing of the cambium layer. Finding the best plant scissors is a technical necessity for maintaining the health of delicate specimens, particularly when working within the tight nodes of a bonsai or the soft stems of a herbaceous perennial. Clean cuts allow the plant to seal the wound through the production of callus tissue, preventing the desiccation of the xylem and phloem. This guide focuses on the mechanical specifications and horticultural applications of precision cutting tools designed for high-stakes maintenance.
Materials:
Success in the garden begins with the substrate. For delicate plants requiring precision pruning, the ideal medium is a **friable loam** with a high **Cation Exchange Capacity (CEC)**, typically ranging between **15 and 25 meq/100g**. This ensures the plant has the nutrient reserves necessary to recover from the stress of pruning. The soil pH should be maintained between **6.0 and 7.0** to optimize nutrient availability. When prepping for a growth cycle that will require frequent thinning with the **best plant scissors**, provide a balanced **NPK ratio of 10-10-10** during the vegetative stage. Transition to a **5-10-10** ratio as the plant nears its reproductive phase to prioritize root and flower development over excessive foliage. The physical texture must allow for **15% to 20% air porosity** to ensure the rhizosphere remains oxygenated.
Timing:
Pruning schedules are governed by the Hardiness Zone and the specific photoperiod requirements of the species. In Zones 5 through 8, the primary window for structural pruning opens in late winter, roughly four to six weeks before the average last frost date. This timing leverages the plant's dormant state, reducing sap loss and minimizing the risk of fungal infection. The "Biological Clock" of the plant dictates that once the transition from vegetative to reproductive stages occurs, the metabolic focus shifts to seed production. Pruning during this transition must be surgical. For indoor specimens, monitor the photoperiod; reducing light exposure can trigger senescence, making it the ideal time to remove dead or dying tissue to redirect energy to the core biomass.
Phases:
Sowing
Start seeds in a sterile medium with a pH of 5.8 to 6.2. Maintain a consistent temperature of 70 to 75 degrees Fahrenheit to ensure high germination rates. Once the first set of true leaves appears, the plant begins active photosynthesis.
Pro-Tip: Use the best plant scissors to thin seedlings at the soil line rather than pulling them. This prevents the disruption of the mycorrhizal symbiosis developing in the root zone of the remaining plants.
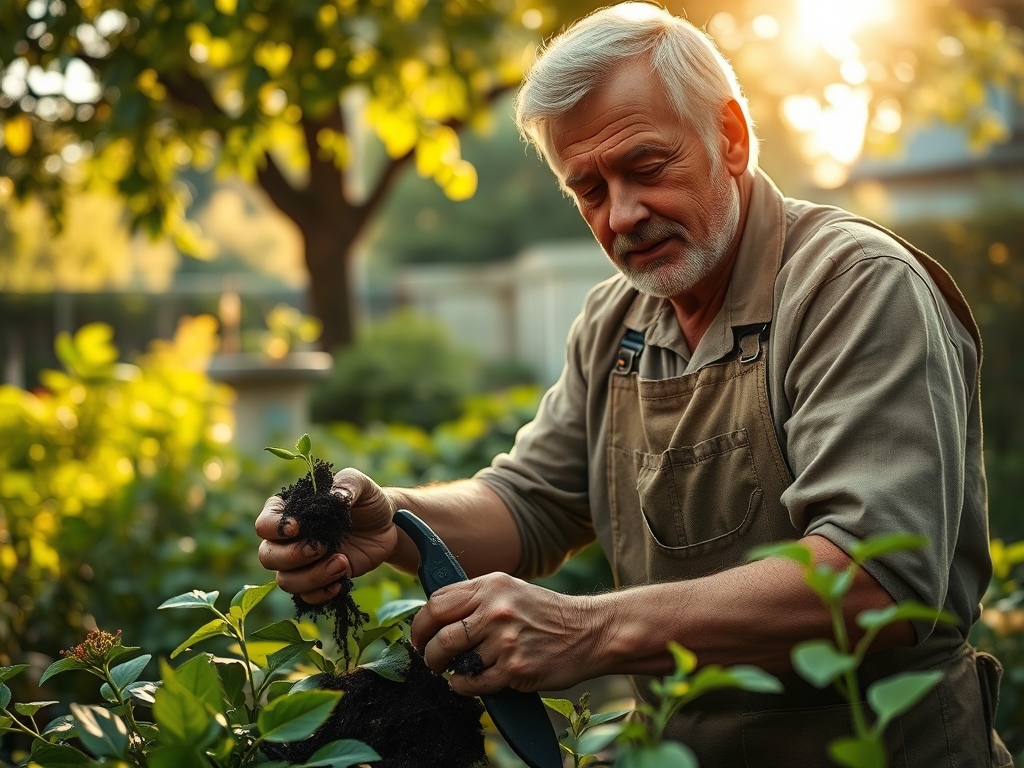
Transplanting
Move plants when they have developed three to five sets of true leaves. Ensure the destination soil has been amended with organic matter to improve the water holding capacity. Dig a hole twice the width of the root ball to allow for rapid lateral root expansion.
Pro-Tip: Pinching the terminal bud during transplanting suppresses auxin production at the apex. This neutralizes apical dominance and encourages lateral branching, creating a bushier, more structurally sound plant.
Establishing
During the first 21 to 30 days after transplanting, focus on root establishment. Maintain soil moisture at 60% of field capacity. Avoid heavy fertilization during this window to prevent salt buildup, which can lead to osmotic stress and root burn.
Pro-Tip: Removing early flower buds with precision scissors redirects the plant's ATP reserves from reproduction to root development. This investment in the rhizosphere leads to higher yields in the final harvest.
The Clinic:
Physiological disorders often manifest as visible changes in leaf morphology or color.
- Symptom: Interveinal chlorosis on young leaves.
- Solution: This indicates an Iron deficiency, often caused by a pH above 7.0. Lower the pH using elemental sulfur to increase iron solubility.
- Symptom: Marginal necrosis or "leaf burn" on older foliage.
- Solution: This is a classic sign of Potassium deficiency. Apply a water soluble 0-0-50 fertilizer to restore osmotic balance within the cells.
- Symptom: "Leggy" growth with long internodal spacing.
- Solution: This is etiolation, caused by insufficient light. Increase the Photosynthetic Photon Flux Density (PPFD) and prune the elongated stems to encourage compact growth.
Fix-It: For Nitrogen chlorosis, characterized by the uniform yellowing of older leaves, apply a quick release high-N fertilizer (21-0-0). Nitrogen is a mobile nutrient; the plant will translocate it from old growth to new growth if soil levels are depleted.
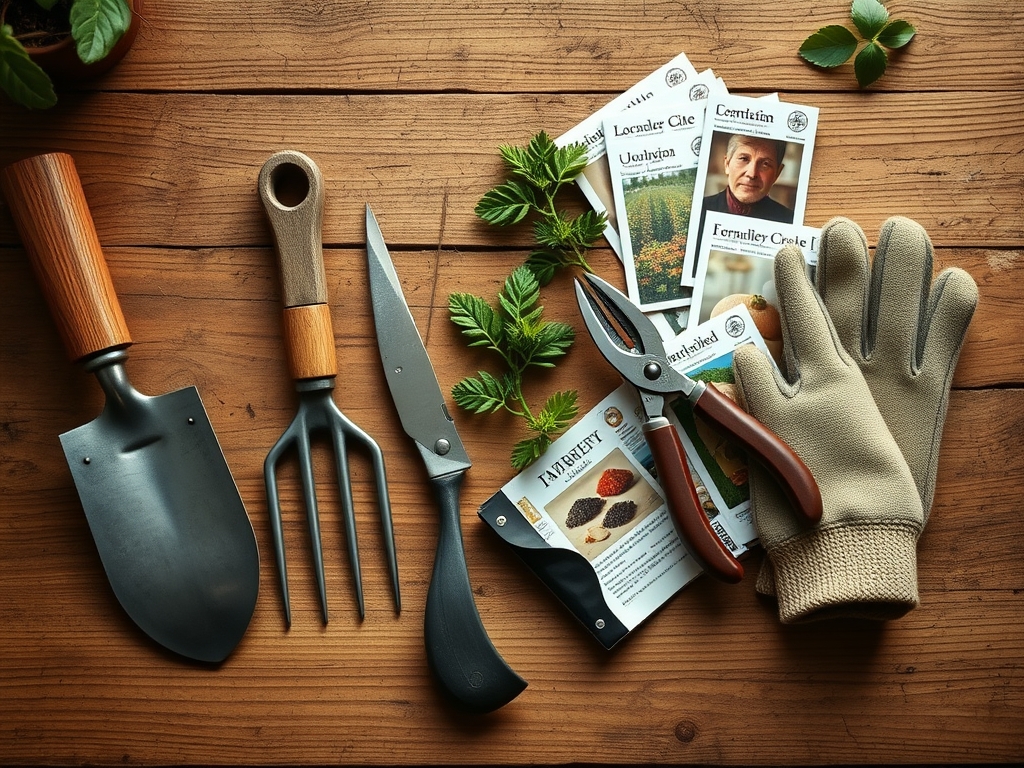
Maintenance:
Precision maintenance requires a data driven approach to irrigation and tool care. Provide exactly 1.5 inches of water per week, delivered at the drip line to ensure deep root penetration. Use a soil moisture meter to verify that the root zone is not anaerobic. Your toolkit must include a hori-hori knife for weeding and root work, and high quality bypass pruners for larger stems. However, for soft tissue and deadheading, the best plant scissors with stainless steel blades are mandatory. Sterilize your blades with 70% isopropyl alcohol between every plant to prevent the mechanical transmission of viruses or bacterial blights.
The Yield:
Harvesting is the culmination of the plant's metabolic cycle. For herbs and leafy greens, harvest in the early morning when turgor pressure is at its peak and essential oil concentrations are highest. Use your scissors to cut at a 45 degree angle just above a node; this maximizes the surface area for the parent plant to heal while preserving the vascular integrity of the harvested portion. To maintain "day-one" freshness, immediately submerge the cut ends in 40 degree Fahrenheit water to slow the rate of respiration and prevent wilting. For flowers, remove the lower leaves to ensure no organic matter decomposes in the vase water, which would otherwise trigger premature senescence via ethylene gas production.
FAQ:
What makes a pair of scissors the best for plants?
The best scissors feature high-carbon stainless steel blades and a fine tip. They must provide a clean, bypass cut that does not crush the vascular tissue, ensuring the plant can maintain hydraulic conductivity after the pruning event.
How often should I sharpen my pruning scissors?
Sharpen blades after every 10 to 15 hours of use or whenever you notice resistance during a cut. A dull blade causes cellular trauma, increasing the plant's vulnerability to fungal pathogens and slowing the healing process.
Can I use regular household scissors for my plants?
No. Household scissors utilize a crushing motion that damages the xylem and phloem. Specialized plant scissors are engineered for a shearing action that preserves the structural integrity of the stem and promotes rapid callus formation.
Why is sterilization important for pruning tools?
Sterilization prevents the cross-contamination of pathogenic microbes. Using 70% isopropyl alcohol kills bacteria, fungi, and viruses on the blade surface, ensuring that a routine pruning task does not turn into a systemic disease outbreak within your garden.