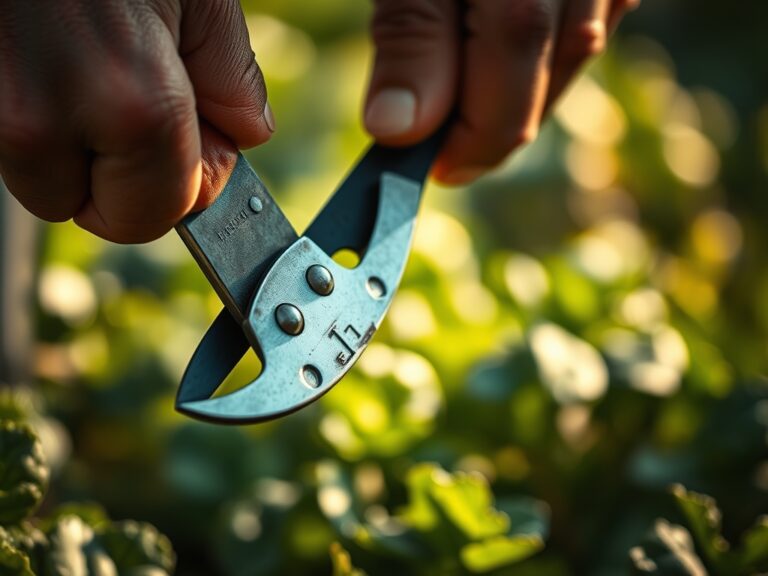
8 Precision Tips to Use a Garden Pruner for Shaping
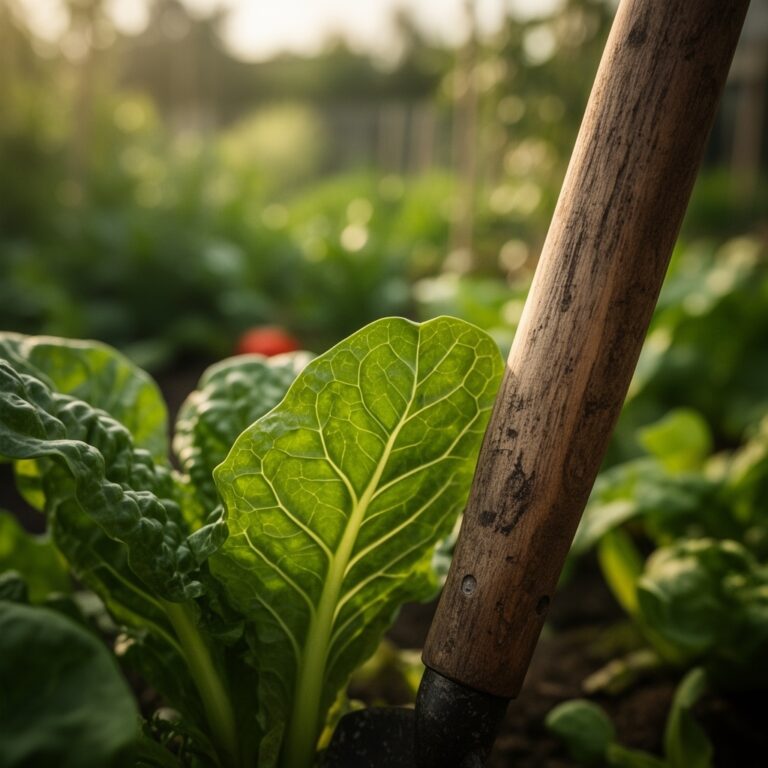
Crushing a handful of friable loam releases the sharp, metallic scent of geosmin; it is the smell of a high Cation Exchange Capacity (CEC) in action. A healthy vegetable plant maintains high turgor pressure, keeping stems rigid and leaves perpendicular to the light source for maximum photosynthetic efficiency. Precision is the difference between a chaotic canopy and a productive harvest. Using a garden pruner for vegetable shaping allows a grower to manipulate the plant architecture, redirecting energy from excessive foliage to fruit development. This technical intervention requires sharp bypass blades to ensure clean vascular cuts that heal without inviting pathogens into the xylem. By managing the apical dominance of the plant, you force the redistribution of auxins to lateral buds. This process increases the structural integrity of the plant and maximizes the yield per square foot. Success begins with understanding the cellular response to every snip.
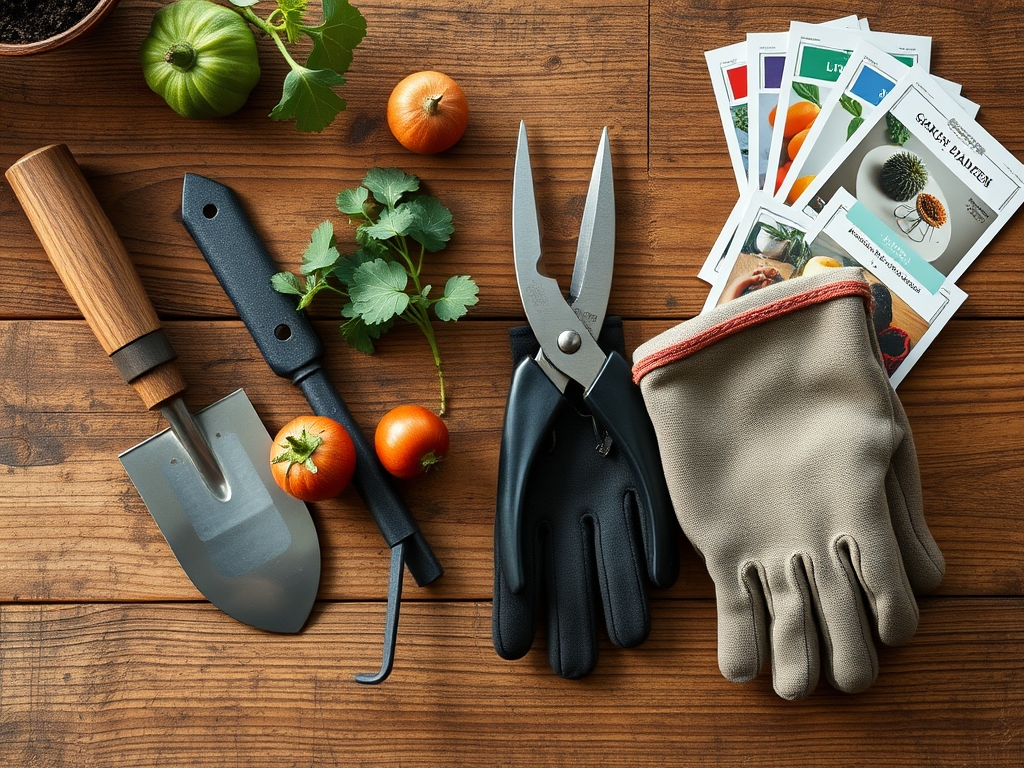
Materials:
The foundation of any structural shaping program is the substrate. For heavy feeders like Solanaceae (tomatoes, peppers), the soil must maintain a **pH between 6.2 and 6.8**. This range ensures optimal availability of phosphorus and potassium. The physical texture should be a **friable loam**, consisting of roughly **40 percent sand, 40 percent silt, and 20 percent clay**. This balance provides a high surface area for nutrient ion exchange while maintaining a **pore space of 50 percent** for oxygen diffusion to the rhizosphere.
Nutrient management requires specific NPK ratios tailored to the growth phase. During the initial structural development, use a 10-10-10 balanced fertilizer to build cellular strength. Once the shaping process begins to favor reproductive growth, shift to a 5-10-15 ratio. High potassium (K) levels are critical for osmoregulation and the strengthening of cell walls at the site of pruning cuts. Ensure the soil has a CEC of at least 15 to 20 milliequivalents per 100 grams to prevent the leaching of these essential cations during heavy irrigation cycles.
Timing:
Timing is dictated by the USDA Hardiness Zones and the specific photoperiod requirements of the cultivar. In Zones 5 through 7, the window for aggressive shaping typically opens 14 to 21 days after the last spring frost. You must execute major structural cuts when the ambient temperature consistently remains between 65 and 75 degrees Fahrenheit. This temperature range facilitates rapid callus formation over the wound.
The biological clock of the plant moves from the vegetative phase to the reproductive phase based on heat units or day length. Shaping must occur during the vegetative surge. If you delay pruning until the plant has reached full senescence or heavy fruit set, you risk a permanent reduction in total biomass. For indeterminate varieties, begin shaping when the plant reaches 12 to 18 inches in height. This early intervention establishes the primary scaffold and prevents the development of "sucker" branches that drain nitrogen reserves without contributing to the final yield.
Phases:
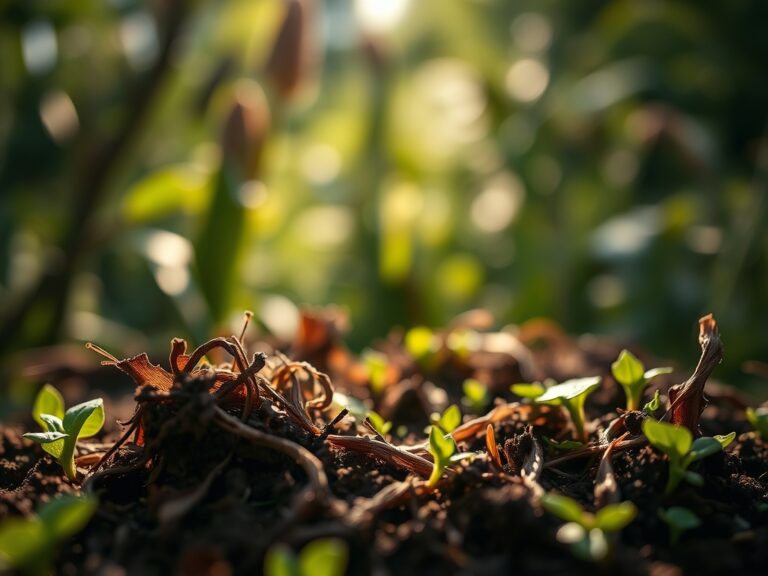
Sowing and Germination
Start seeds in a sterile medium with a fine texture to ensure maximum seed to soil contact. Maintain a constant temperature of 70 degrees Fahrenheit. During this phase, the plant focuses on radicle emergence and the development of cotyledons. Do not use a pruner at this stage; the plant lacks the carbohydrate reserves to recover from tissue loss.
Pro-Tip: Monitor the hypocotyl for stretching. If the plant becomes "leggy," it is a sign of low light intensity causing positive phototropism. Increasing light levels to 2,000 foot-candles prevents the need for corrective pruning later by ensuring a thick, lignified stem from the start.
Transplanting and Hardening
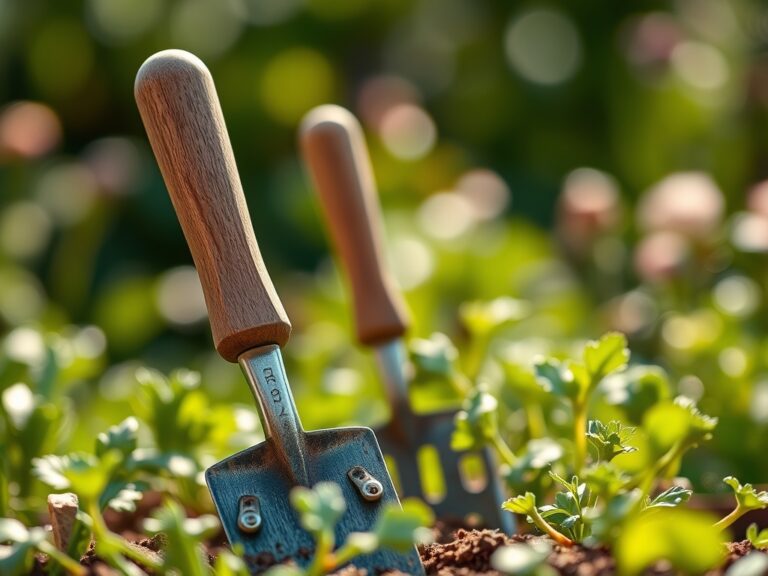
Move seedlings to the field once they possess three to four sets of true leaves. Prior to transplant, reduce irrigation for 48 hours to toughen the cell walls. Dig a hole twice the width of the root ball using a hori-hori knife to minimize root disturbance.
Pro-Tip: Inoculate the planting hole with endomycorrhizal fungi. This establishes a symbiotic relationship that increases the effective root surface area by up to 1,000 times, enhancing the uptake of immobile nutrients like phosphorus which are vital for recovering from the stress of shaping.
Establishing and Initial Shaping
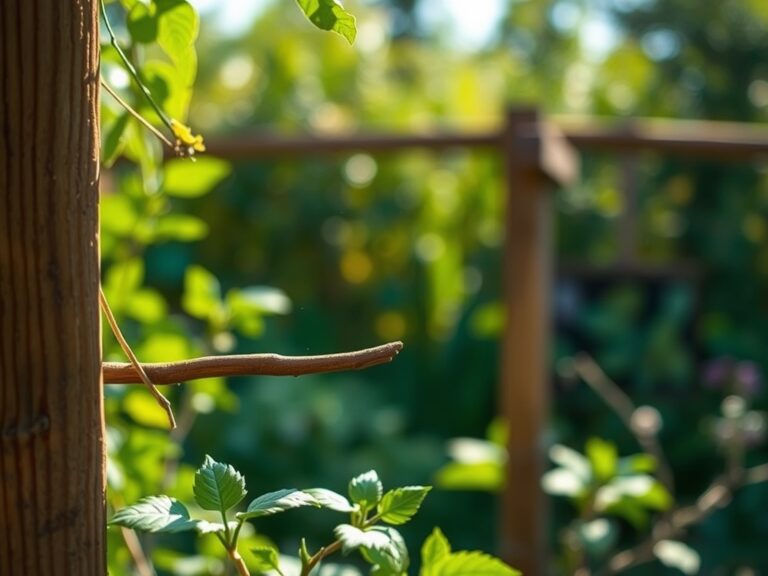
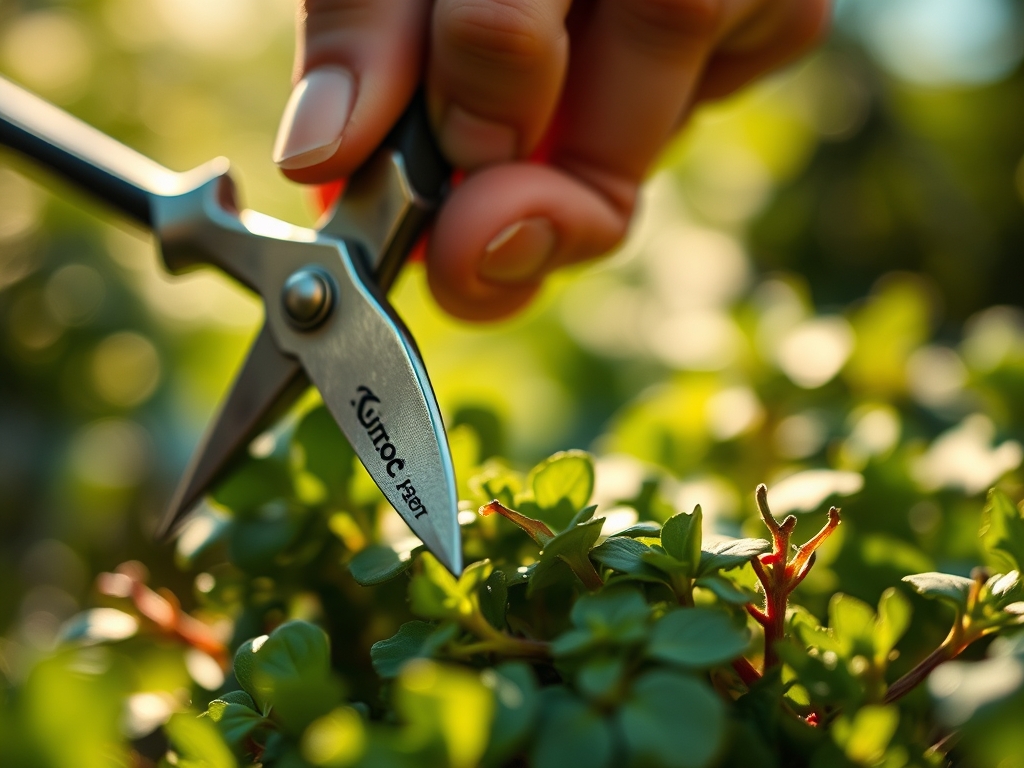
Once the plant is established and showing new terminal growth, use a bypass pruner to remove the lowest branches. These branches often touch the soil, creating a bridge for soil-borne pathogens. Aim for a 45-degree angle cut approximately 1/4 inch above the node.
Pro-Tip: Removing the apical meristem (the top growing tip) triggers auxin suppression. When the lead tip is removed, the concentration of auxins drops, allowing cytokinins to stimulate the growth of lateral buds. This results in a bushier, more stable plant architecture that can support heavier fruit loads.
The Clinic:
Physiological disorders often mimic disease but are usually the result of environmental stress or nutrient imbalances.
-
Symptom: Blossom End Rot. Sunken, leathery spots on the bottom of the fruit.
-
Solution: This is a localized calcium deficiency often caused by inconsistent moisture. Calcium is non-mobile in the plant; it moves only through the transpiration stream.
-
Fix-It: Maintain consistent soil moisture and ensure the soil pH is not below 6.0, which can lock out calcium ions.
-
Symptom: Interveinal Chlorosis. Yellowing between the leaf veins while the veins remain green.
-
Solution: This indicates a magnesium deficiency, common in sandy soils with low CEC.
-
Fix-It: Apply a foliar spray of magnesium sulfate (Epsom salt) at a rate of 1 tablespoon per gallon of water for immediate uptake.
-
Symptom: Nitrogen Chlorosis. General paling or yellowing of the entire leaf, starting with the older, lower leaves.
-
Solution: The plant is translocating nitrogen from old growth to support new terminal growth.
-
Fix-It: Side-dress with a high-nitrogen organic meal or a 20-0-0 liquid fertilizer to restore the chlorophyll density.
Maintenance:
Precision maintenance requires data. Use a soil moisture meter daily to ensure the root zone stays within the "moist but not saturated" range. Most vegetable crops require 1.5 inches of water per week, delivered directly at the drip line to avoid wetting the foliage. Wet leaves increase the risk of fungal spores germinating on the leaf surface.
Keep your bypass pruners sterilized. Dip the blades in a 70 percent isopropyl alcohol solution between every plant to prevent the mechanical transmission of viruses. Check the tension of the pruner pivot bolt regularly; a loose blade will chew the tissue rather than slicing it, leading to ragged wounds that take longer to compartmentalize. For thick, woody stems on older pepper plants, use the hori-hori knife for a clean vertical shave if the pruner cannot reach the tight crotch angle of the branch.
The Yield:
Harvesting is the final act of shaping. For most vegetables, harvest timing is determined by "physiological maturity." For peppers, this is when the fruit wall reaches maximum thickness and the color transition is complete. For determinate tomatoes, harvest when the fruit reaches the "breaker stage," where the first blush of pink appears at the blossom end.
Use your garden pruner to cut the pedicel (the fruit stem) rather than pulling the fruit. Pulling can cause "stem-end tearing," which creates an entry point for bacteria and reduces shelf life. To maintain day-one freshness, harvest in the early morning when the plant is at maximum turgor. Immediately move the produce to a shaded, cool environment to remove "field heat" and slow the rate of respiration.
FAQ:
How do I sanitize my garden pruners?
Wipe blades with 70 percent isopropyl alcohol or a 10 percent bleach solution between each plant. This kills pathogens like tobacco mosaic virus. Clean blades ensure a smooth cut that facilitates faster vascular healing and prevents tissue necrosis.
When is the best time of day to prune?
Prune in the early morning after the dew has evaporated but before the heat of the day. High turgor pressure makes stems easier to cut cleanly. Avoid evening pruning, as wounds need sunlight and airflow to dry and callus.
Can I prune vegetables during a drought?
No. Avoid pruning when the plant is under moisture stress. Pruning triggers a metabolic response that requires water and nutrients. Cutting a dehydrated plant increases the risk of permanent wilting and reduces the plant's ability to seal the wound.
What is the difference between bypass and anvil pruners?
Bypass pruners use two sharp blades that slide past each other like scissors, making clean cuts on live tissue. Anvil pruners have one blade that closes against a flat metal plate, which crushes live stems and inhibits vascular recovery.