8 Steps on How to Prepare a Functional Potting Bench for Vegetable Seedlings
The cold ceramic edge of a potting bench at dawn feels like a promise. Moist peat moss clings to your palms while the sharp mineral scent of vermiculite cuts through March air. Learning how to prepare a potting bench for vegetable starts transforms chaotic spring mornings into efficient production lines, where tomato and pepper seedlings graduate from cell trays to hardened transplants in eight repeatable steps. This isn't about aesthetics. A functional potting bench is a biological workstation where soil pH, moisture gradients, and root development converge under your fingertips.
Materials and Supplies
Structural Components:
- Potting bench with minimum 24-inch depth and waterproof surface (cedar or HDPE)
- Galvanized wire shelving for vertical storage (adjustable heights at 8-inch intervals)
- Three-sided splash guard (minimum 4-inch height)
- Overhead grow light fixture with T5 fluorescent or full-spectrum LED (6,500K color temperature)
Growing Media and Amendments:
- Seed-starting mix (sterile peat or coconut coir base with perlite, pH 5.5–6.2)
- Mycorrhizal fungi inoculant (Glomus species, apply at 0.5 oz per cubic foot)
- Granular organic fertilizer (5-10-5 NPK ratio for root development)
- Powdered lime (calcium carbonate) to adjust pH upward
- Elemental sulfur to lower pH (use 0.3 oz per gallon of media)
Containers and Tools:
- 72-cell plug trays (1.5-inch cell depth for brassicas)
- 50-cell trays (2.25-inch depth for Solanaceae family)
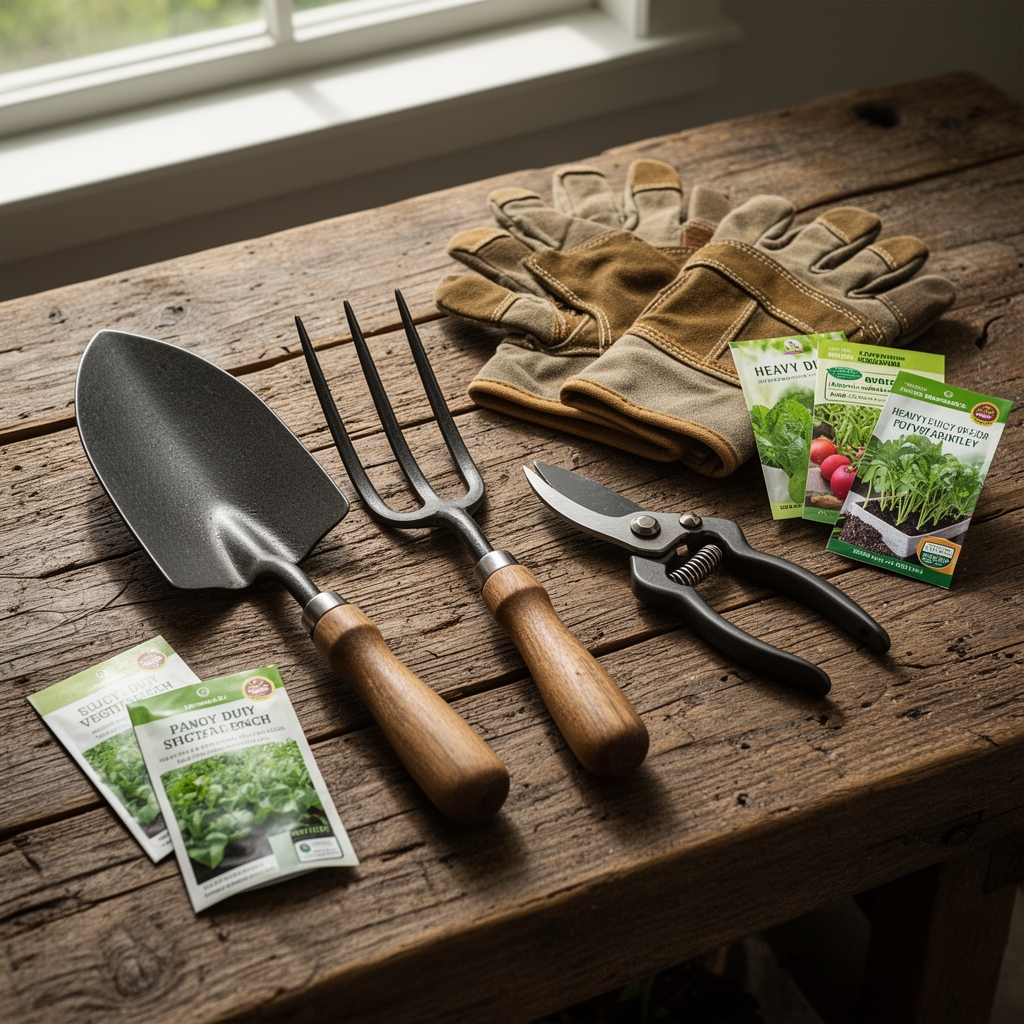
- Stainless steel soil scoop with 1-cup capacity
- Digital pH meter (calibrated monthly)
- Soil thermometer (accurate to 0.5 degrees Fahrenheit)
- Spray bottle with adjustable nozzle (fine mist setting)
- Root pruning shears (sanitized with 10% bleach solution)
Timing and Growing Schedule
Hardiness Zone Coordination:
Zone 5 gardeners start indoors 8–10 weeks before last frost (typically late April). Zone 7 growers begin in early February for mid-April transplanting. Calculate backward from your average last frost date using USDA zone maps.
Days to Maturity Windows:
Tomatoes require 6–8 weeks indoors before transplant. Peppers need 8–10 weeks due to slower germination. Brassicas (broccoli, cabbage) mature in 4–6 weeks. Cucurbits (squash, cucumbers) only need 3–4 weeks and resent root disturbance.
Seed Starting Calendar:
Early March (Zone 5): Peppers, eggplant
Late March (Zone 5): Tomatoes, tomatillos
Early April (Zone 5): Brassicas, lettuce
Mid-April (Zone 5): Cucurbits, basil (soil must reach 65°F)
Step-by-Step Preparation Instructions
Step 1: Sanitize All Surfaces
Scrub bench top with 10% bleach solution. Rinse thoroughly and air-dry for 20 minutes. Damping-off disease (Pythium, Rhizoctonia) overwinters on contaminated surfaces and destroys seedlings within 48 hours.
Pro Tip: Spray bottle triggers harbor fungal spores. Soak nozzles in hydrogen peroxide (3%) overnight before each season.
Step 2: Organize Vertical Storage
Mount shelving 16 inches above bench surface. Store seed packets in waterproof containers sorted by planting date. Position grow lights on adjustable chains (lights should sit 2–3 inches above emerging seedlings).
Pro Tip: Label shelves by days to germination. Quick germinators (lettuce: 4–7 days) separate from slow starters (peppers: 10–21 days).
Step 3: Pre-Moisten Growing Media
Add water to seed-starting mix at 1 part water to 4 parts dry mix. Squeeze a handful. Properly hydrated media holds shape but releases only 1–2 drops. Too wet suffocates seeds. Too dry creates hydrophobic conditions.
Pro Tip: Let moistened media rest 4 hours before use. This allows wetting agents in coir to fully activate and eliminates dry pockets.
Step 4: Inoculate with Beneficial Organisms
Mix mycorrhizal fungi powder into media at package rates (typically 1 tablespoon per gallon). These symbiotic fungi colonize roots and increase phosphorus uptake by 300%. Direct seed contact during sowing maximizes colonization.
Pro Tip: Chlorinated tap water kills beneficial microbes. Let water sit 24 hours or use rainwater harvested in food-grade barrels.
Step 5: Fill Trays with Consistent Density
Scoop media into cells. Tap tray firmly on bench three times to settle. Cells should fill to 1/4 inch below rim. Uneven density creates waterlogged zones that promote root rot.
Pro Tip: Use a soil block maker for root pruning. Exposed root tips air-prune naturally, creating fibrous root balls that transplant without shock.
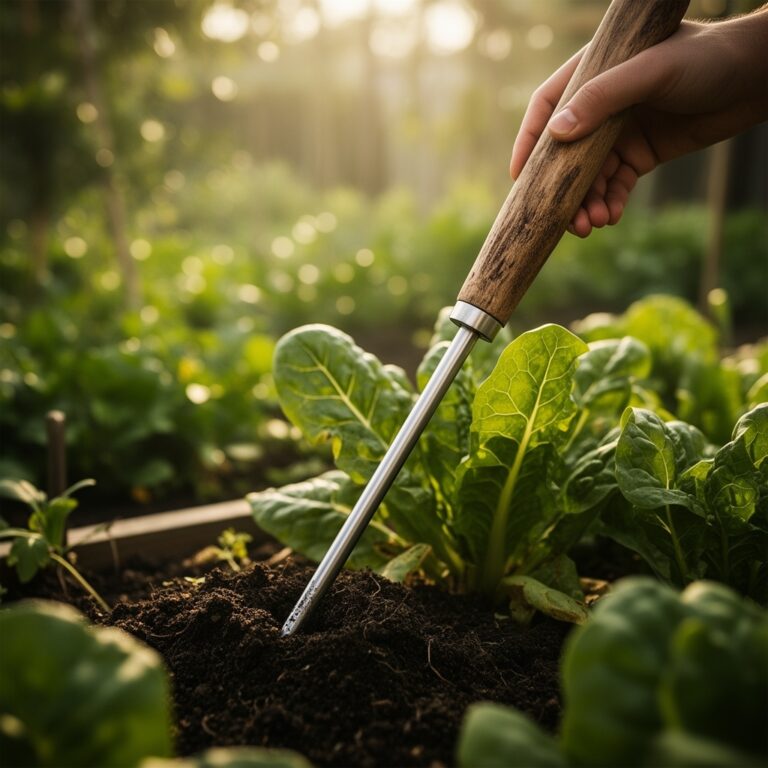
Step 6: Create Uniform Planting Depth
Press seeds into media at depth equal to twice seed diameter. Tomato seeds go 1/4 inch deep. Large squash seeds need 1/2 inch. Cover lightly and mist surface until water drains from tray bottom.
Pro Tip: Use a dibber (wooden dowel with depth markings) for consistent holes. Inconsistent depth causes staggered germination and weak seedlings.
Step 7: Establish Thermal Zones
Place heat mat under trays. Most vegetables germinate at 70–75°F soil temperature. Peppers prefer 80–85°F. Use soil thermometer to verify, not ambient air temperature. Remove heat mat once 75% of seeds emerge.
Pro Tip: Position thermometer probe at seed depth (1/4–1/2 inch), not on media surface. Surface readings run 5–10 degrees cooler than root zone.
Step 8: Position Lighting System
Hang grow lights 2 inches above trays. Run lights 14–16 hours daily using automatic timer. As seedlings grow, raise lights daily to maintain 2–3 inch distance. Insufficient light creates leggy, weak stems.
Pro Tip: Rotate trays 180 degrees every three days. This prevents phototropic leaning and promotes symmetrical growth.
Nutritional and Environmental Benefits
Home-grown vegetable starts contain 40% higher mineral content than commercial transplants. Freshly dug seedlings retain iron, magnesium, and manganese lost during transport. Direct control over fertilizer inputs (5-10-5 NPK during vegetative growth) prevents synthetic salt buildup that damages soil biology.
Potting benches support local pollinator populations. Early brassica flowers feed mason bees (Osmia species) emerging in March. Diverse seedling production (20+ varieties) creates pollen corridors that support native bee species through critical spring nectar gaps.
Nitrogen fixation occurs when legume starts (peas, beans) host Rhizobium bacteria in root nodules. These bacteria convert atmospheric nitrogen into plant-available forms, reducing synthetic fertilizer needs by 30–50 pounds per 1,000 square feet annually.
Advanced Methods for Maximum Efficiency
Small Space Adaptations:
Wall-mounted fold-down benches (24 x 48 inches) work in apartments. Use vertical tier systems with supplemental lighting on each level. LED strips draw only 20 watts per shelf while providing 2,000+ lumens.
Organic and Permaculture Integration:
Replace peat-based mixes with vermicompost (worm castings) blended with coconut coir at 1:3 ratio. This living soil contains beneficial bacteria (Bacillus, Pseudomonas) that suppress pathogens naturally. Add rock dust (glacial or basalt) at 1 cup per cubic foot for slow-release minerals.
Season Extension Strategies:
Install cold frames directly adjacent to potting bench. Harden off seedlings in three-day increments (2 hours outdoors, then 4 hours, then 8 hours). Gradually reduce watering frequency from daily to every three days. This toughens cell walls and increases frost tolerance by 5–8 degrees.
Troubleshooting Common Problems
Symptom: Seedlings collapse at soil line within 24–48 hours of emergence.
Solution: Damping-off disease. Improve air circulation with oscillating fan on low. Reduce watering frequency. Apply biological fungicide (Bacillus subtilis) as soil drench at first sign.
Symptom: Pale, elongated stems with small leaves.
Solution: Insufficient light intensity or incorrect spectrum. Lower lights to 2 inches from foliage. Verify 6,500K color temperature. Increase duration to 16 hours daily.
Symptom: White crusty deposits on soil surface.
Solution: Mineral salt accumulation from hard water or over-fertilization. Leach trays with distilled water (twice the pot volume). Reduce fertilizer strength to half-recommended rate.
Symptom: Stunted growth with purple-tinged leaves.
Solution: Phosphorus deficiency or cold soil temperatures. Increase heat mat setting to 72–75°F. Apply liquid fertilizer with higher middle number (5-10-5 becomes 3-15-3 during transplant phase).
Symptom: Root-bound seedlings with circling roots.
Solution: Delayed transplanting. Prune circling roots with sterilized shears before planting. Transition to larger cells (50-cell to 32-cell) at first true leaf stage.
Storage and Maintenance Protocols
Watering Schedule:
Water from below using capillary mats or tray flooding. Seedlings require 1 inch per week (measure with rain gauge in tray). Morning watering prevents overnight fungal growth. Never allow trays to sit in standing water beyond 20-minute absorption period.
Feeding Protocol:
Begin fertilization at first true leaf stage (7–14 days post-emergence). Use water-soluble fertilizer (20-20-20 NPK) at quarter-strength weekly. Increase to half-strength two weeks before transplant. Switch to high-phosphorus formula (10-30-10) three days before field planting.
Post-Harvest Bench Storage:
Clean trays with stiff brush and hot soapy water. Sanitize in 10% bleach bath for 10 minutes. Air-dry completely and store inverted to prevent dust accumulation. Drain and coil irrigation hoses. Remove grow light fixtures and wrap cords. Apply mineral oil to wooden surfaces to prevent cracking.
Conclusion: Your Success Blueprint
A properly prepared potting bench reduces seedling mortality from 40% to under 5% through controlled environmental conditions. These eight steps create repeatable systems that scale from 50 transplants to 500 without additional labor. Invest three hours in March preparation to harvest six months of superior vegetables grown from your own hardened starts.
Share surplus seedlings with neighbors or donate to community gardens. Local food security begins at individual potting benches, multiplying across neighborhoods into resilient networks.
Expert FAQs
How deep should potting bench shelves be for seedling storage?
Minimum 14-inch depth accommodates standard 10 x 20-inch seedling trays with 2-inch clearance. Add 4 inches if using humidity domes during germination phase.
What is the ideal temperature difference between day and night for vegetable starts?
Maintain 10-degree differential (70°F day, 60°F night). This temperature drop triggers natural hardening responses and prevents leggy growth.
Can I reuse seed-starting mix from previous seasons?
No. Spent media harbors soilborne pathogens and depleted nutrients. Compost used mix or apply to ornamental beds. Always start with sterile media for vegetables.
How often should I calibrate my soil pH meter?
Monthly during growing season using pH 4.0 and 7.0 buffer solutions. Temperature fluctuations and probe contamination create false readings that lead to nutrient lockout.
What is the minimum light intensity needed for stocky seedling growth?
2,000–3,000 lumens per square foot for 14–16 hours daily. Use light meter app or dedicated PAR meter. Insufficient intensity (below 1,500 lumens) causes irreversible stem elongation.