9 Focal Point Steps to Install a Durable Garden Statue
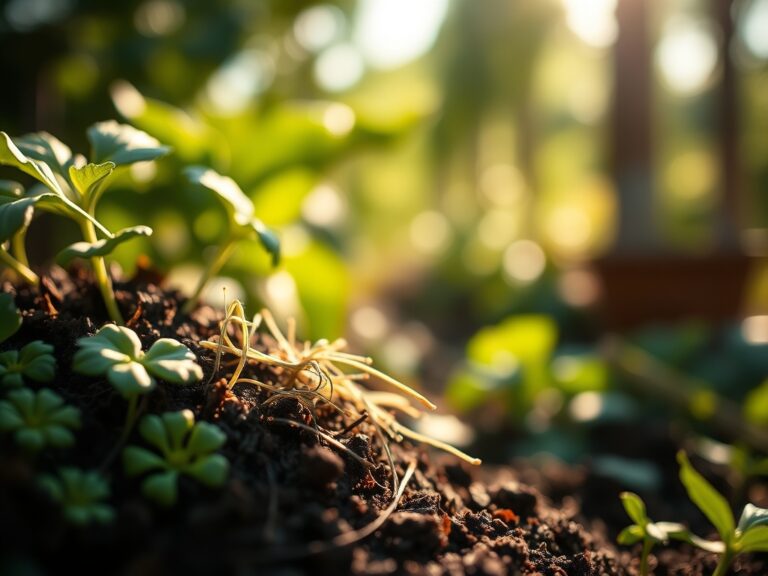
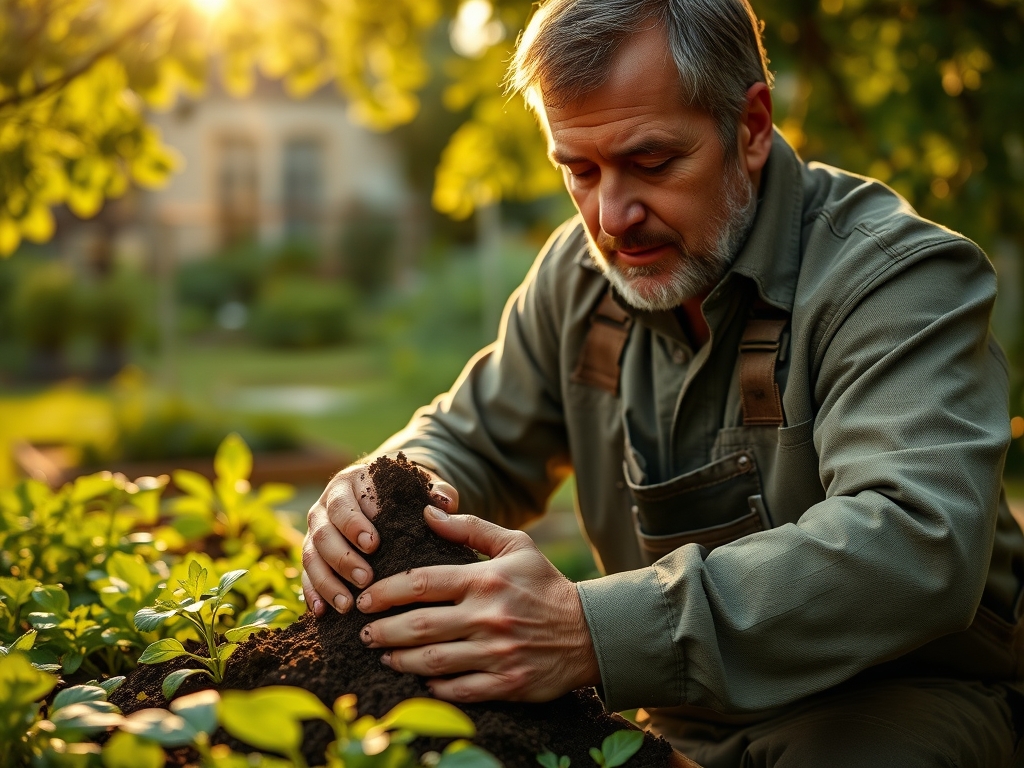
Damp earth releases geosmin as the spade breaks the surface; the scent signals a healthy microbial population within the rhizosphere. A gardener must respect the turgor pressure of the surrounding brassicas and nightshades before introducing heavy structural elements. Proper execution of the steps for installing a vegetable garden statue requires more than aesthetic placement; it demands an understanding of soil compaction and its effect on root respiration. Heavy stone or resin figures can compress the soil pore space, limiting the oxygen available to aerobic bacteria. Selecting a location involves calculating the sun path to ensure the shadow cast by the ornament does not interfere with the photoperiod requirements of high-yield crops. Precision in placement prevents the disruption of delicate mycorrhizal networks that facilitate nutrient uptake. By following a rigorous installation protocol, the gardener ensures that the focal point enhances the landscape without compromising the physiological health of the vegetable beds. Stability is achieved through a deep understanding of soil mechanics and drainage.
Materials:
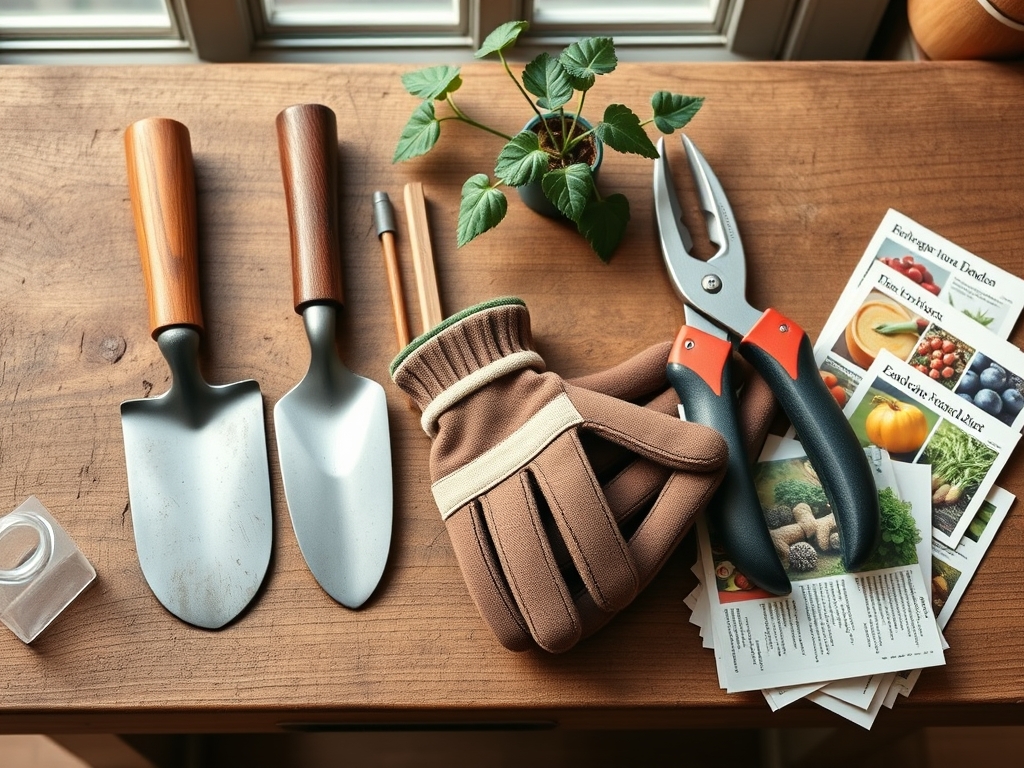
The substrate for a stable installation must be a **friable loam** with a **pH between 6.0 and 7.0**. High clay content increases the risk of frost heave, while excessive sand may lead to structural shifting. To prepare the surrounding area for planting after installation, utilize a balanced **NPK ratio of 10-10-10** for general maintenance or **5-10-10** for root-heavy crops like carrots. Soil with a high **Cation Exchange Capacity (CEC)**, typically above **15 meq/100g**, provides the necessary chemical buffering to resist rapid pH changes from stone leaching. You will need **crushed 3/4-inch angular limestone** for the base layer to facilitate drainage and a **leveling tool** to ensure the center of gravity remains vertical.
Timing:
Installation should occur during the dormant season or early spring when the ground is workable but before the biological clock triggers the transition from vegetative to reproductive stages in nearby perennials. In Hardiness Zones 5 through 7, the ideal window opens after the final hard freeze but before the soil temperature reaches a consistent 55 degrees Fahrenheit. Avoid installation during peak saturation periods to prevent permanent soil compaction. For those in Zones 8 and 9, late autumn provides the best stability as the soil settles before the winter rains. Monitoring the photoperiod is essential; place the statue when deciduous shadows are at their minimum to accurately gauge light competition for the upcoming growing season.
Phases:
Sowing the Foundation
Excavate a pit 8 inches deeper than the base of the statue. Fill the first 6 inches with compacted gravel to prevent capillary action from drawing moisture into the statue base. This prevents freeze-thaw cracking in cast stone.
Pro-Tip: Proper drainage prevents anaerobic conditions. Biological Why: Waterlogged soil displaces oxygen, leading to root rot and the death of beneficial aerobic microbes that drive the nitrogen cycle.
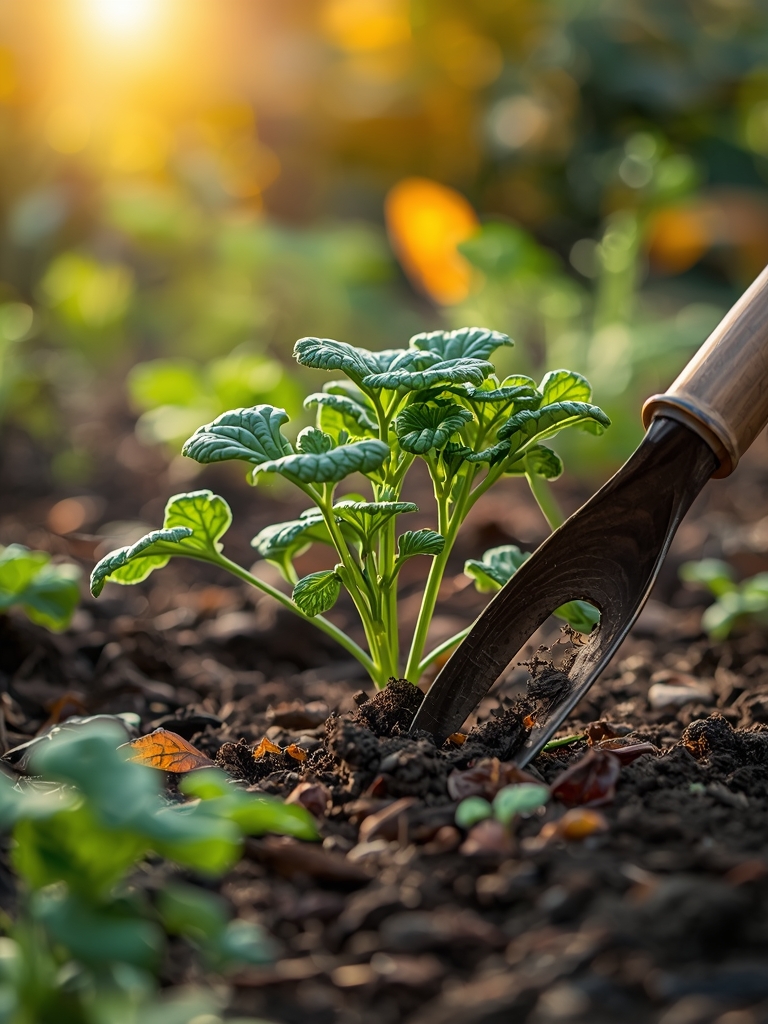
Transplanting the Structure
Lower the statue onto a leveled bed of coarse sand. Use a soil moisture meter to ensure the surrounding earth is at 40 percent capacity before backfilling. This moisture level allows for optimal soil settling without creating mud pockets.
Pro-Tip: Align the statue to minimize shade on sun-loving crops. Biological Why: Plants exhibit phototropism, and sudden shading can cause leggy growth as stems elongate to reach light, weakening the cellular structure.
Establishing the Perimeter
Re-integrate the topsoil around the base, amending it with organic matter to restore the CEC. Firm the soil by hand to avoid crushing the existing root systems of nearby vegetables.
Pro-Tip: Mulch the area with 2 inches of arborist chips. Biological Why: Mulching suppresses auxin suppression issues caused by heat stress, keeping the rhizosphere cool and the plant focused on fruit production rather than survival.
The Clinic:
Observe the physiological responses of plants adjacent to the new installation. If a statue blocks airflow, you may see Powdery Mildew (white fungal spots). The solution is to increase spacing or prune for airflow. Nitrogen Chlorosis (yellowing of older leaves) occurs if the installation process disturbed the roots significantly. Fix this by applying a liquid kelp meal or a high-nitrogen fish emulsion. Blossom End Rot in nearby tomatoes suggests a calcium transport issue often caused by inconsistent moisture after soil compaction. Maintain a steady watering schedule to resolve this. Stunting may occur if the statue leaches lime into the soil, raising the pH above 7.5. Apply elemental sulfur to lower the pH back to the desired range.
Maintenance:
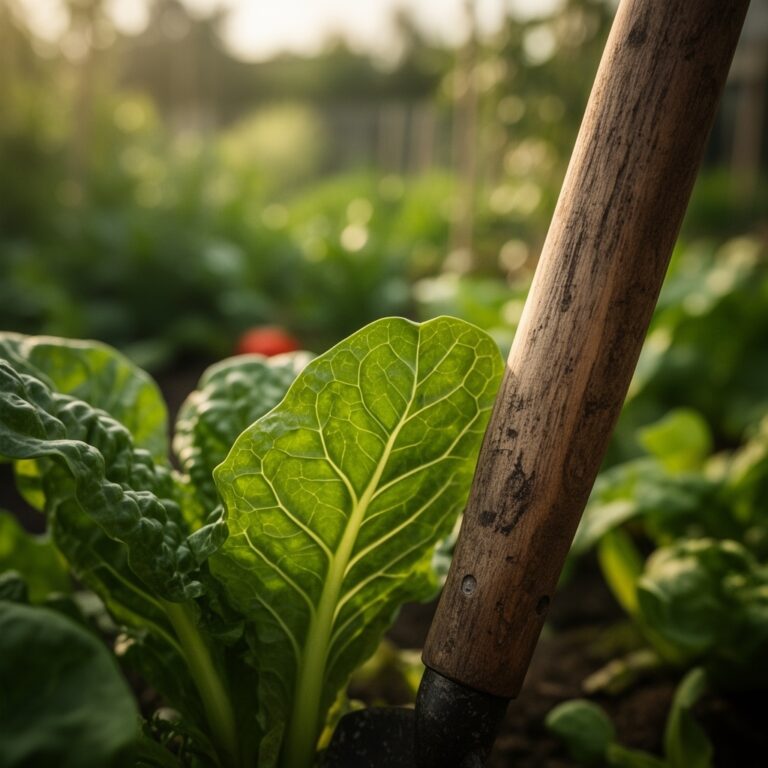
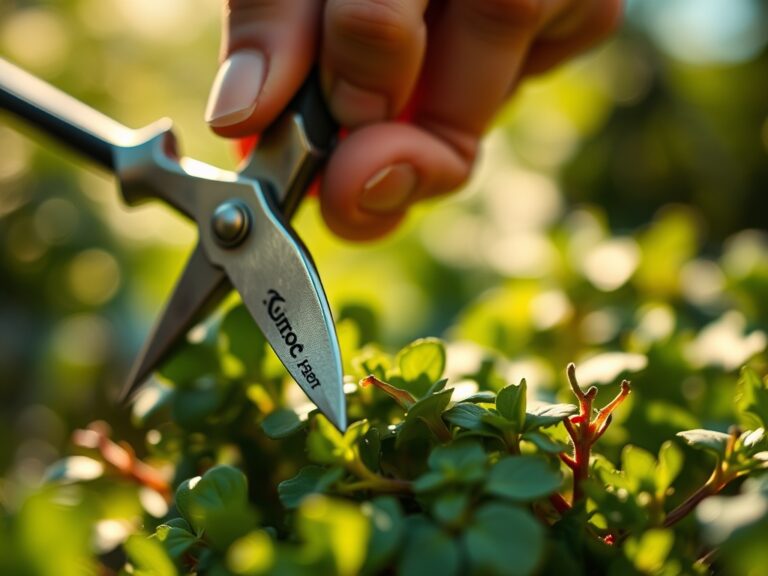
A durable installation requires consistent monitoring of the surrounding ecosystem. Use a soil moisture meter to ensure the area receives 1.5 inches of water per week at the drip line. Use a hori-hori knife to remove weeds that emerge at the base of the statue, as these compete for nutrients. Every spring, check the level of the statue; if it has tilted, use a crowbar to lift the low side and pack more gravel underneath. Clean the statue with a soft brush and plain water to prevent chemical runoff from affecting the soil chemistry. Use bypass pruners to keep nearby foliage from rubbing against the surface, which can lead to physical abrasions on the plant and fungal entry points.
The Yield:
When harvesting vegetables near the focal point, timing is dictated by the senescence of the plant. Harvest leafy greens in the early morning when turgor pressure is at its peak for maximum crispness. For fruiting crops like peppers or tomatoes, wait until they reach full color to ensure the highest sugar content. Use a sharp blade to make clean cuts, preventing jagged wounds that invite pathogens. Post-harvest, immediately move produce to a cool, shaded area to slow the respiration rate. This preserves the "day-one" freshness and nutritional density of the crop.
FAQ:
How deep should the gravel base be?
The gravel base should be at least 6 inches deep. This depth ensures proper drainage and prevents the statue from shifting during the freeze-thaw cycles of winter, protecting both the ornament and the nearby root systems.
Will a stone statue change my soil pH?
Yes, cast stone or concrete can leach lime, raising the pH over time. Monitor the area with a pH meter and apply elemental sulfur if the levels rise above 7.2 to maintain an acidic to neutral environment.
Can I install a statue in a raised bed?
You can, provided the bed frame is reinforced. Ensure the statue sits on a compacted subsoil pier rather than just the loose potting mix to prevent sinking and crushing the rhizosphere of your vegetables.
How do I prevent the statue from shading my plants?
Map the sun's path during the summer solstice. Place the statue on the north side of the garden or choose a low-profile design to ensure it does not interfere with the photoperiod required for crop maturation.