9 Landscape Steps to Prepare an Edible Landscape
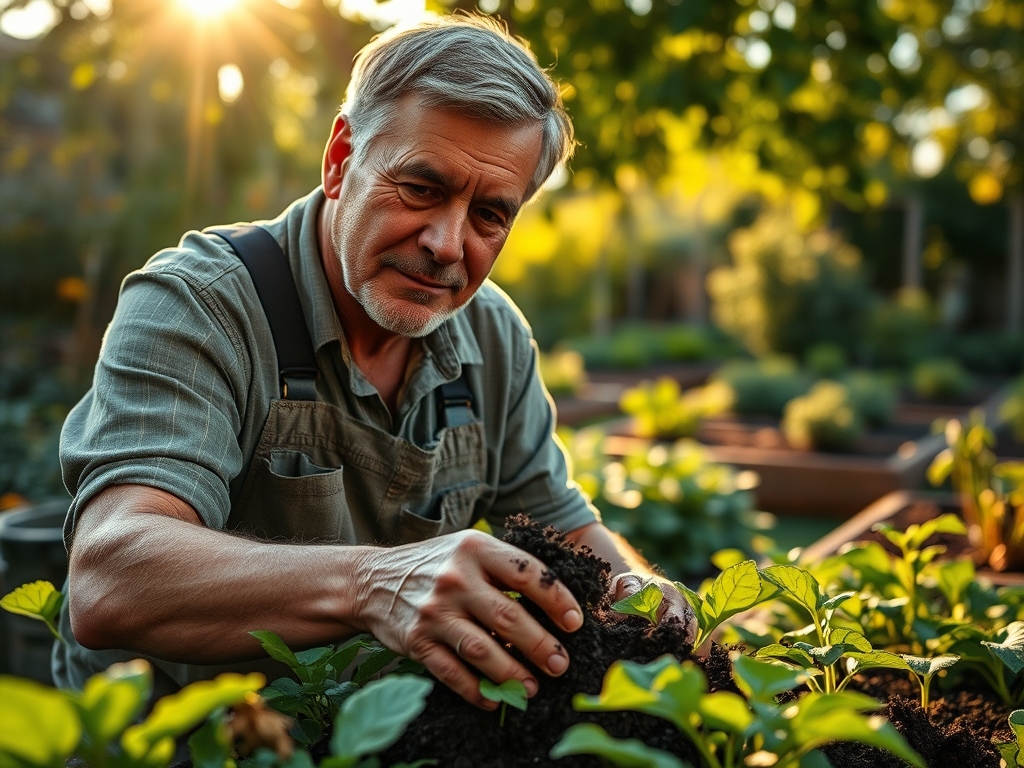
Crush a handful of moist soil and you should feel the grit of sand and the silk of silt; it must hold its shape but crumble under the slightest pressure. This structural integrity is the foundation for turgor pressure in every leaf. Understanding how to prepare a garden for an edible landscape garden requires a shift from aesthetic gardening to functional silviculture. You are building a biological engine. Success depends on the chemical balance of the rhizosphere and the physical porosity of the substrate. If the soil is compacted, gas exchange fails and roots suffocate. If the nutrient density is low, the plant cannot synthesize the sugars required for fruit production. We prioritize the Cation Exchange Capacity (CEC) of the soil to ensure that minerals like potassium and magnesium remain available to the root hairs. This process begins months before the first seed hits the furrow. It demands a rigorous assessment of light, drainage, and microbial activity to transform a dormant plot into a high-yield caloric resource.
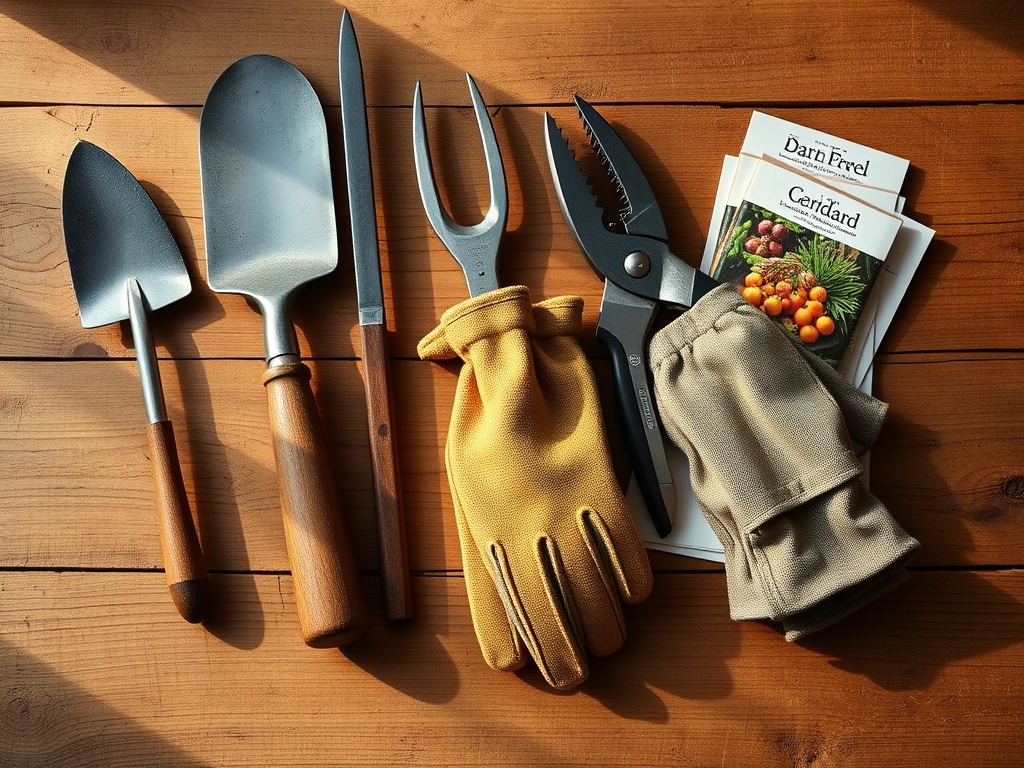
Materials:
The ideal substrate for an edible landscape is a **friable loam** consisting of approximately 40% sand, 40% silt, and 20% clay. This ratio ensures optimal drainage while maintaining sufficient water-holding capacity. You must calibrate your soil chemistry based on a professional lab analysis. For a general edible starter, aim for a **pH between 6.2 and 6.8**.
Essential amendments include:
- Nitrogen (N): Blood meal or feather meal to achieve a 10-0-0 ratio for leafy vegetative growth.
- Phosphorus (P): Bone meal or rock phosphate (0-12-0) to stimulate root elongation and floral initiation.
- Potassium (K): Sulfate of potash (0-0-50) to regulate osmotic pressure and enzyme activation.
- Organic Matter: Well-aged compost with a Carbon-to-Nitrogen (C:N) ratio of 30:1 to fuel microbial respiration.
- Arbuscular Mycorrhizal Fungi (AMF): Inoculants to extend the reach of the root system for phosphorus uptake.
Timing:
Hardiness Zones dictate the metabolic window for your landscape. In Zones 5 through 7, the primary planting window opens when soil temperatures consistently reach 55 degrees Fahrenheit (12.8 Celsius). Use a stainless steel soil thermometer to verify this at a depth of 4 inches. Planting too early in cold, anaerobic soil leads to seed rot and fungal pathogens like Pythium.
The "Biological Clock" of your garden is governed by the photoperiod. Long-day plants require more than 12 hours of light to trigger the transition from vegetative growth to reproductive senescence. Conversely, short-day crops respond to the lengthening nights of late summer. You must time your transplants so that the root system is established at least 21 days before the first frost to ensure the plant has sufficient carbohydrate reserves to survive the thermal shift.
Phases:
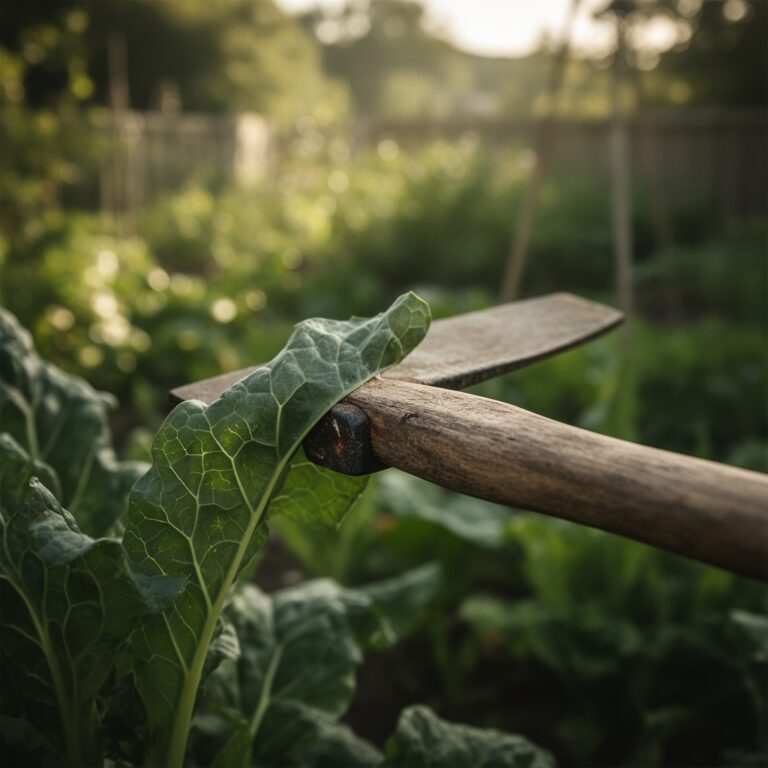
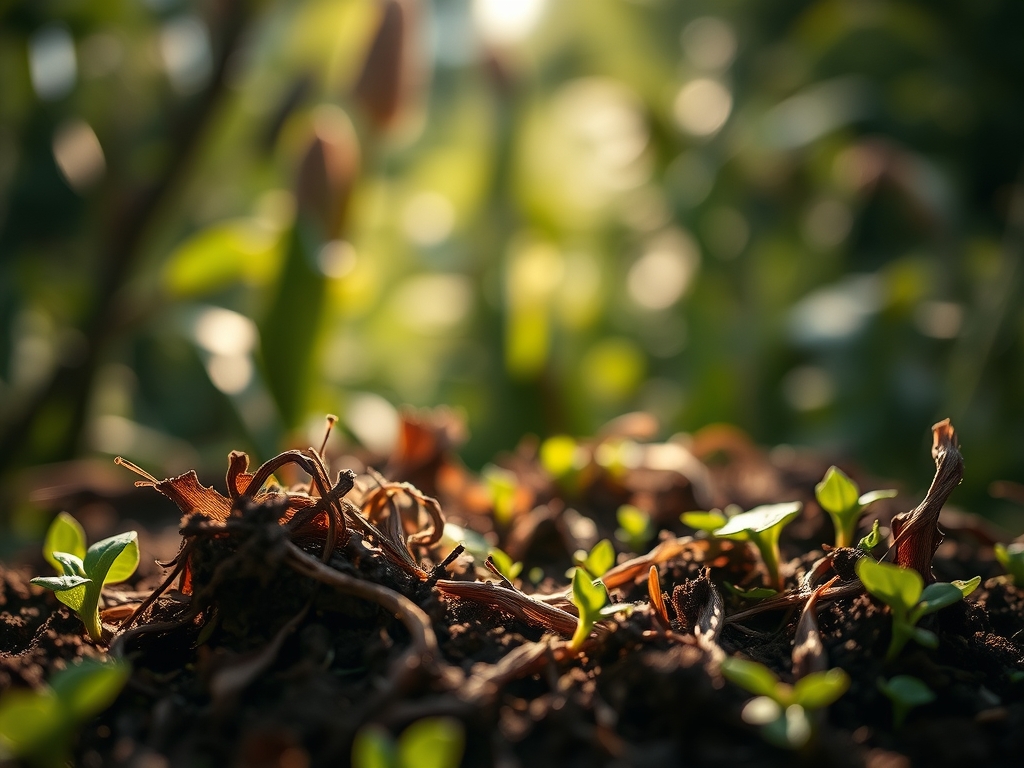
Sowing and Site Preparation
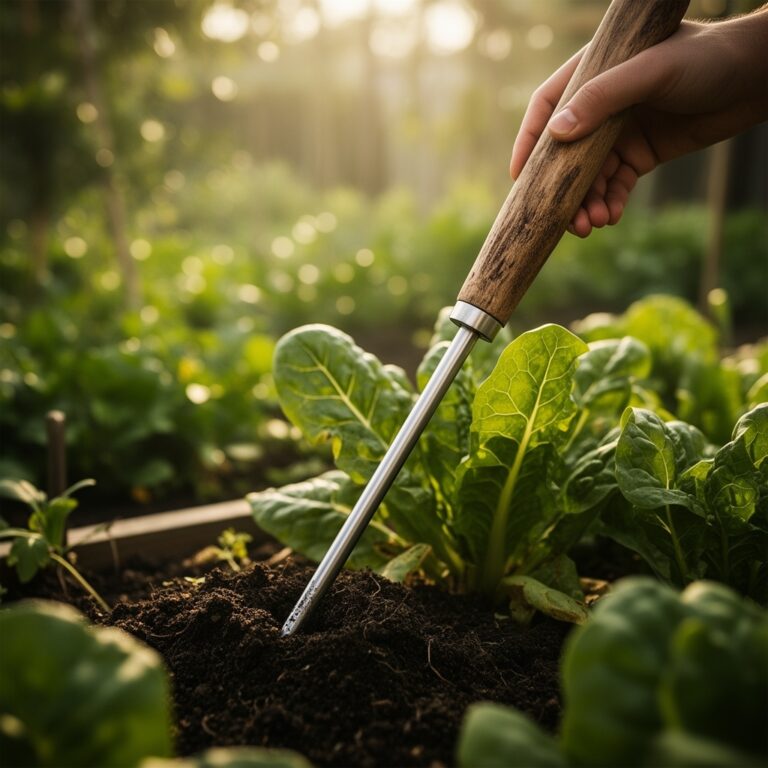
Clear all existing vegetation to eliminate competition for nitrogen. Use a hori-hori knife to slice through taproots of perennial weeds. Dig your trenches to a depth of 8 to 12 inches to aerate the subsoil. When direct-sowing, ensure seed-to-soil contact is absolute. Small seeds like carrots require a sowing depth of only 1/8 inch, while larger seeds like legumes need 1 to 2 inches.
Pro-Tip: Utilize the principle of Geotropism. Ensure seeds are oriented correctly or planted at the proper depth because the emerging radicle relies on gravity to determine the downward growth path, while the plumule seeks the surface.
Transplanting
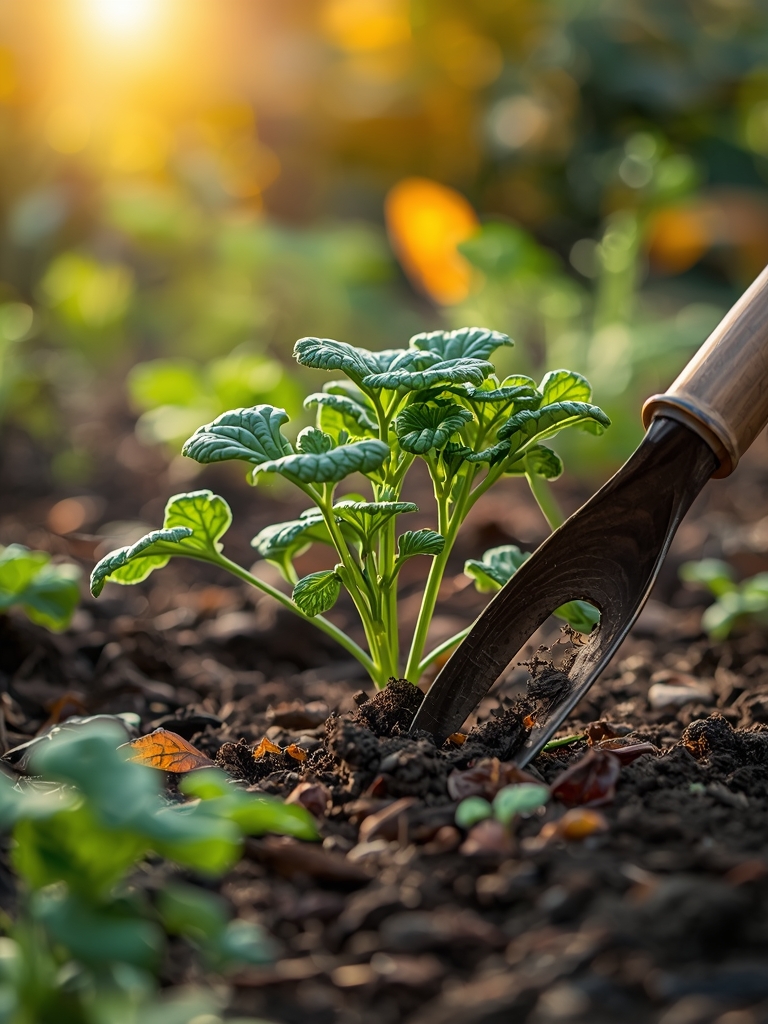
When moving seedlings from a controlled environment to the landscape, you must harden them off over a 7 to 10-day period. Gradually increase exposure to ultraviolet light and wind. Dig a hole twice the width of the root ball. If the plant is pot-bound, gently scarify the roots to encourage outward lateral growth into the native soil.
Pro-Tip: Apply a dilute seaweed extract during transplanting to suppress Auxin shock. This helps the plant maintain apical dominance and reduces the time spent in a state of stagnant growth after the move.
Establishing the Canopy
Once plants are in the ground, focus on structural integrity. Use stakes or trellises for indeterminate varieties to maximize vertical space and airflow. Maintain a 3-inch layer of organic mulch (arborist wood chips or straw) to regulate soil temperature and prevent moisture evaporation.
Pro-Tip: Monitor for Phototropism. If plants begin "leaning" excessively, they are stretching for light, which weakens the cell walls. Thin the surrounding canopy to ensure at least 6 to 8 hours of direct solar radiation reaches the lower leaf tiers.
The Clinic:
Physiological disorders often mimic disease but are actually environmental or nutritional failures.
- Symptom: Blossom End Rot. Dark, leathery depressions on the base of fruit.
- Solution: This is a localized Calcium deficiency caused by erratic watering. Maintain consistent soil moisture to ensure calcium ions can move through the xylem.
- Symptom: Interveinal Chlorosis. Yellowing between leaf veins while veins remain green.
- Solution: This indicates Magnesium or Iron deficiency. Check pH first; if pH is above 7.0, iron becomes insoluble. Lower pH with elemental sulfur.
- Symptom: Leaf Curl/Epinasty. Downward twisting of new growth.
- Solution: Often caused by extreme heat or wind desiccation. Increase irrigation to 2 inches per week and provide temporary 40% shade cloth during peak UV hours.
- Fix-It for Nitrogen Chlorosis: If older leaves turn pale yellow, apply a high-nitrogen liquid drench (fish emulsion) for rapid uptake via the roots and foliage.
Maintenance:
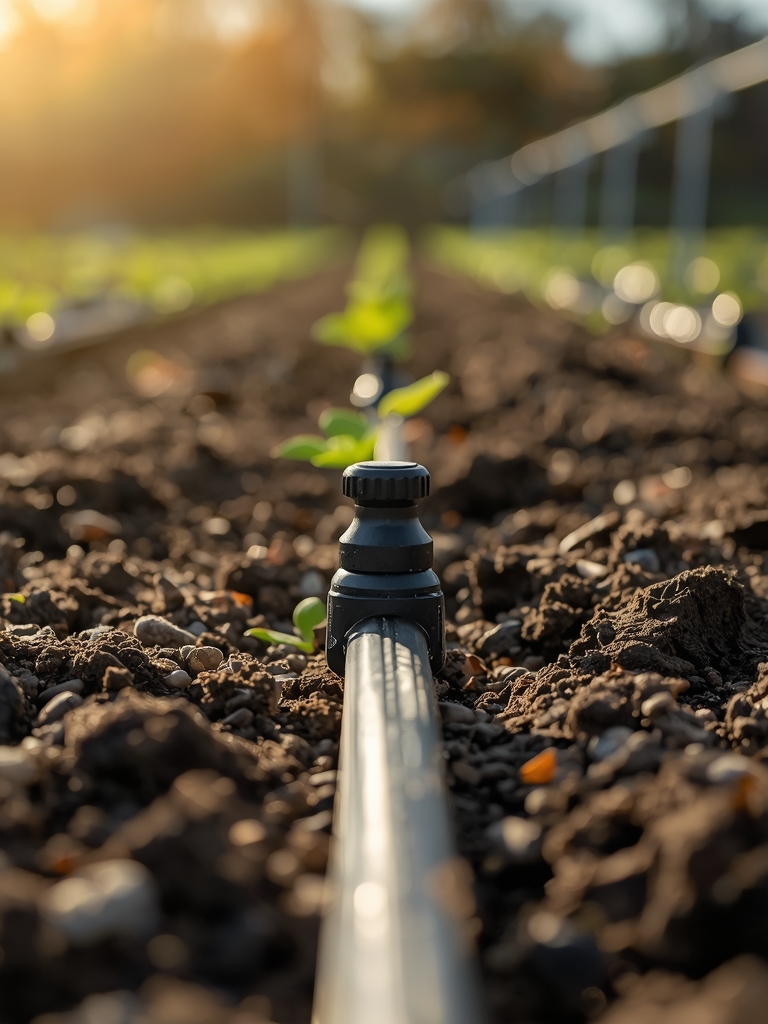
Precision is the difference between a hobby and a harvest. Use a soil moisture meter to verify that the root zone is receiving exactly 1.5 inches of water per week. Apply water at the drip line rather than the base of the stem to encourage expansive root architecture.
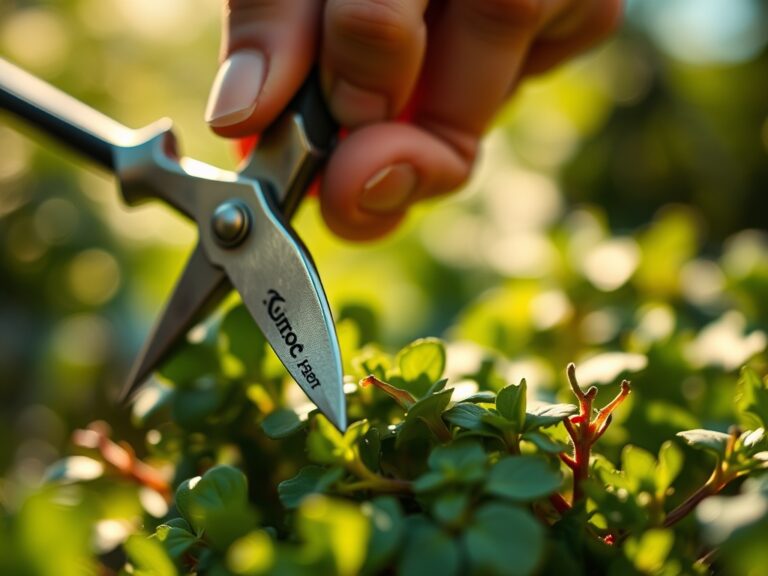
Pruning is mandatory for fruit-bearing perennials. Use bypass pruners to remove "the three Ds": dead, damaged, or diseased wood. Make your cuts at a 45-degree angle just above a lateral bud to promote outward growth. For herbaceous edibles, pinch off early flower buds to redirect energy back into root and leaf development during the first 30 days of growth.
The Yield:
Harvesting is a physiological intervention. For leafy greens, harvest in the early morning when turgor pressure is at its peak. This ensures the leaves are crisp and have the highest concentration of phytonutrients. For fruiting crops like tomatoes or peppers, wait for "breaker stage" (about 50% color change) if you need to transport them; otherwise, allow them to ripen on the vine for maximum sugar accumulation.
Post-harvest handling is critical. Remove field heat immediately by submerging produce in cool (55 degree F) water or placing it in a shaded, ventilated area. For woody herbs, use a sharp blade to avoid crushing the vascular bundles, which leads to rapid oxidation and flavor loss.
FAQ:
What is the best soil pH for an edible garden?
Most edible plants thrive in a slightly acidic range of 6.2 to 6.8. This range ensures maximum bioavailability of essential macronutrients like phosphorus and micronutrients like boron and zinc within the soil solution.
How often should I water my edible landscape?
Aim for 1 to 1.5 inches of water per week, delivered in two deep sessions rather than daily light mists. This encourages deep root penetration. Use a rain gauge or moisture meter to track precision.
Can I plant edibles in heavy clay soil?
Yes, but you must incorporate 3 to 4 inches of organic compost to improve aggregate stability. Avoid tilling when wet, as this destroys soil structure and leads to compaction, which prevents oxygen from reaching the rhizosphere.
When is the best time to fertilize?
Apply granular fertilizers in early spring as the "Biological Clock" triggers new growth. Follow up with supplemental liquid feeds during the floral initiation stage to support the high energy demands of fruit and seed production.