9 Steps to Clean and Maintain a Manual Aerator
Damp earth carries a heavy scent of geosmin and decomposing organic matter when the tines of a manual aerator penetrate the rhizosphere. A healthy lawn maintains high turgor pressure within its grass blades; however, compacted soil prevents oxygen from reaching the root zone. Effective lawn care requires functional equipment. Following specific steps for cleaning a manual lawn aerator ensures that the hollow tines continue to extract clean soil cores rather than becoming blocked by anaerobic clay. Proper maintenance preserves the structural integrity of the steel and prevents the spread of fungal pathogens between different areas of the landscape.
Materials:
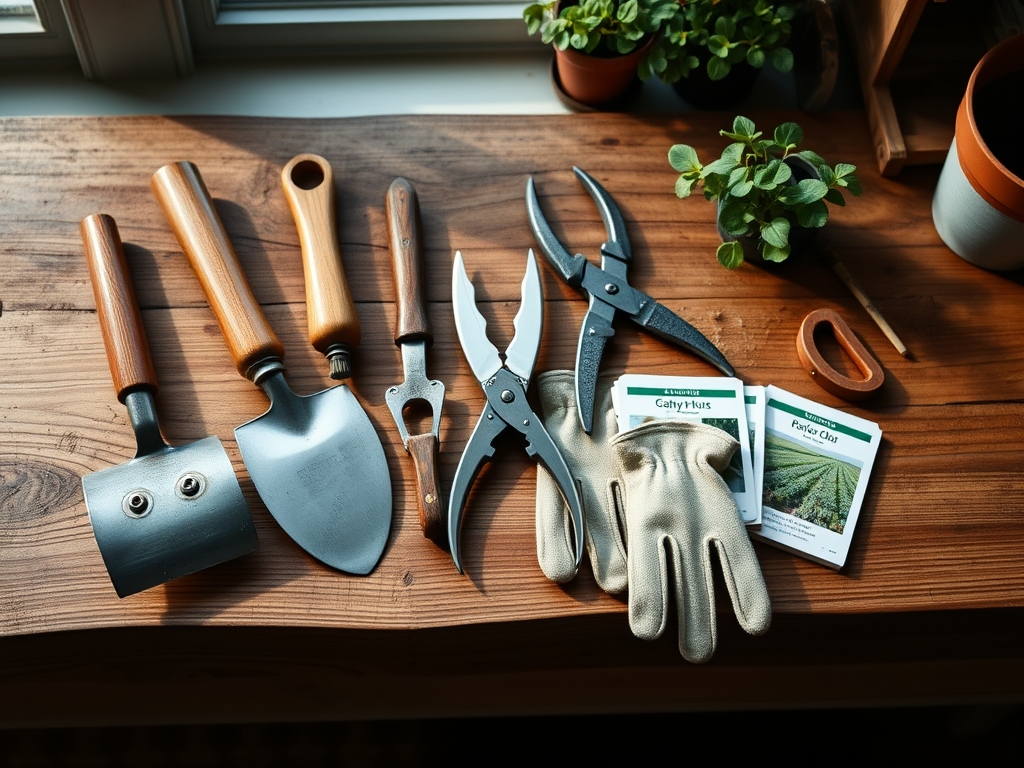
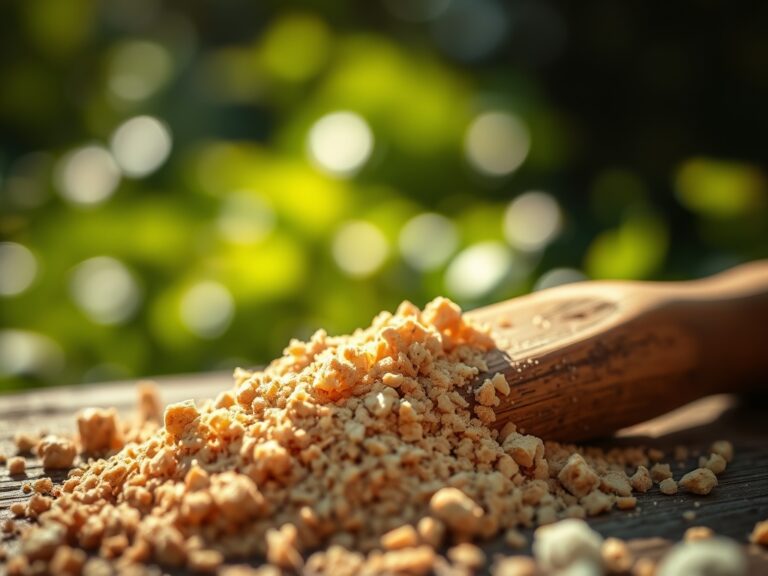
Aeration is most effective in a friable loam substrate. This soil texture typically consists of 40 percent sand; 40 percent silt; and 20 percent clay. To support recovery after the mechanical stress of aeration, the soil should maintain a pH between 6.0 and 7.0. This range optimizes the Cation Exchange Capacity (CEC), allowing the roots to access essential nutrients. Post-aeration fertilization should utilize an NPK ratio of 20-5-10 to encourage rapid leaf growth and root stabilization. You will need a stiff wire brush; a bucket of warm water; a lubricant such as lithium grease; and a 5-gallon bucket filled with coarse sand mixed with 10W-30 motor oil.
Timing:
The biological clock of the turf dictates the window for aeration. For cool-season grasses in Hardiness Zones 4 through 7, aeration must occur during the peak vegetative growth phase in early autumn or spring. Avoid aeration during the reproductive stage when the plant allocates energy toward seed production. For warm-season grasses in Zones 8 through 10, the window opens in late spring when soil temperatures consistently exceed 65 degrees Fahrenheit. Aerating during these windows ensures the plant can utilize increased oxygen levels to drive metabolic processes before the onset of winter senescence or summer dormancy.
Phases:

Sowing
Before aerating, mow the lawn to a height of 2 inches. This reduces the physical resistance against the tool and allows for better visibility of the soil surface. If overseeding, ensure the seed-to-soil contact is maximized by removing all surface thatch exceeding 0.5 inches in thickness.
Pro-Tip: Maintaining a low canopy height reduces the rate of transpiration during the recovery phase, allowing the plant to redirect water toward the damaged root tissues to maintain turgor.
Transplanting
Manual aeration is a form of mechanical cultivation. As the tines enter the soil, they sever lateral roots. This process stimulates the production of auxins at the site of the wound. These hormones trigger the development of new fibrous roots, increasing the overall surface area for nutrient uptake.
Pro-Tip: Severing the roots triggers a localized hormonal response known as auxin suppression; this forces the plant to activate dormant lateral buds, resulting in a thicker turf density.
Establishing
After the steps for cleaning a manual lawn aerator are complete and the tool is stored, the focus shifts to the soil. Leave the extracted soil cores on the surface. They contain beneficial microorganisms and mycorrhizal fungi that will break down organic matter and reintegrate into the soil profile within two weeks.
Pro-Tip: Mycorrhizal symbiosis is enhanced when oxygen levels increase in the soil; these fungi extend the reach of the root system by up to 100 times, significantly improving phosphorus uptake.
The Clinic:
Physiological disorders in the lawn often manifest as visible symptoms.
- Symptom: Interveinal chlorosis (yellowing between leaf veins). Solution: This indicates a micronutrient deficiency, often iron. Apply chelated iron to lower the localized pH and increase availability.
- Symptom: Nitrogen chlorosis (uniform paling of older leaves). Solution: Apply a slow-release nitrogen fertilizer at a rate of 1 pound of actual nitrogen per 1,000 square feet.
- Symptom: Localized dry spot. Solution: This is often caused by hydrophobic soil. Use a wetting agent to reduce surface tension and allow water to penetrate the thatch layer.
- Symptom: Tip burn. Solution: This usually results from salt accumulation or fertilizer over-application. Flush the area with 2 inches of water to leach excess salts below the root zone.
Maintenance:
Precision maintenance prevents equipment failure and plant stress. Use a soil moisture meter to ensure the ground is sufficiently moist but not saturated before beginning. The soil should hold 25 percent air and 25 percent water for ideal penetration. After use, follow the steps for cleaning a manual lawn aerator by scrubbing away all soil with a hori-hori knife or wire brush. Apply 1.5 inches of water per week to the lawn at the drip line of surrounding trees to ensure the newly aerated holes do not dry out the root zone. Use bypass pruners to trim any overhanging vegetation that might limit the photoperiod of the recovering grass.
The Yield:
A successful aeration cycle results in a 30 percent increase in root biomass within 60 days. To harvest the benefits of this labor, monitor the turf for "day-one" freshness, characterized by a deep emerald hue and rapid leaf elongation. If the lawn is used for sod production, harvest when the rhizomes have fully knitted the soil together, usually 12 months after a major aeration and overseeding event. Handle the harvested sod quickly to prevent desiccation of the exposed root hairs.
FAQ:
How often should I clean my manual aerator?
Clean the tool after every use. Soil contains moisture and salts that accelerate oxidation and rust. Removing debris prevents the tines from clogging, which ensures the tool extracts full 3 to 4 inch cores during the next session.
What is the best way to remove stuck soil?
Use a long screwdriver or a specialized tine-cleaning tool to push out compacted plugs. For stubborn clay, soak the tines in water for 10 minutes before using a wire brush to scrub the interior and exterior surfaces clean.
Can I use water to clean the aerator?
Yes, but you must dry it immediately. Use a high-pressure hose to blast away dirt. Afterward, wipe the metal with a dry rag and apply a thin coat of oil to prevent rust from forming on the steel.
How do I store the aerator for winter?
After a deep clean, plunge the tines into a bucket of oily sand several times. This coats the metal and prevents corrosion. Store the tool in a low-humidity environment to maintain the integrity of the welds and the sharp edges.