8 Steps to Prepare a Mini Indoor Succulent Rock Garden
Learning how to prepare a mini indoor rock garden transforms a shallow container into a drought-resistant microclimate that replicates alpine and desert ecosystems. The process requires precise substrate layering, strategic rock placement, and selection of slow-growing succulents adapted to root restriction. Within eight deliberate steps, you can engineer a self-sustaining display that demands minimal irrigation while providing year-round textural interest. This guide addresses drainage mechanics, mineral soil composition, and the physiological requirements of xerophytic plants to ensure establishment success.
Materials
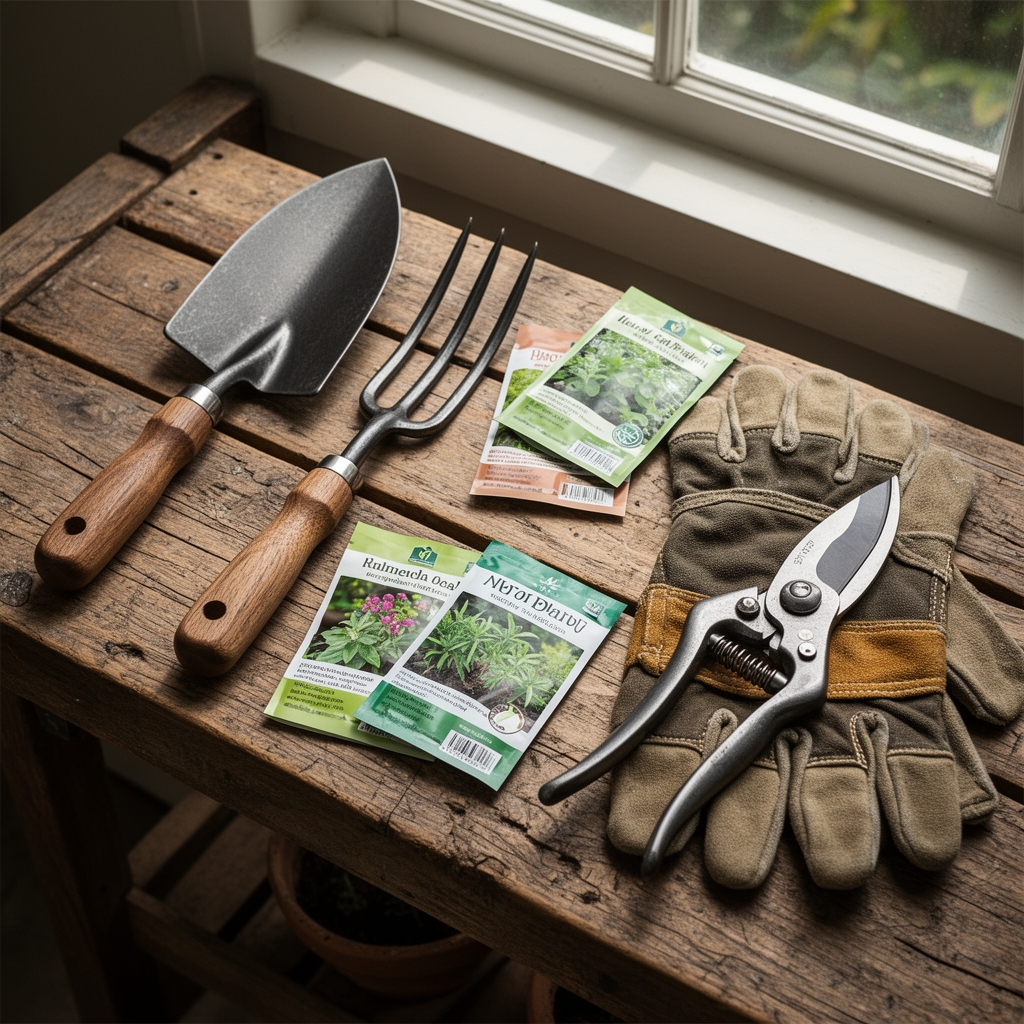
Container Selection: Choose a shallow ceramic or terracotta vessel 8 to 12 inches in diameter with drainage holes at least 0.5 inches wide. Terracotta enhances gas exchange through porous walls, accelerating substrate drying cycles that prevent root rot in succulents.
Substrate Components: Combine 50% coarse sand or crushed granite (2-5 mm particle size), 30% perlite or pumice, and 20% cactus potting mix with a neutral pH of 6.5 to 7.0. This blend achieves high cation exchange capacity while ensuring water percolates within 10 seconds of application. Avoid peat-based mixes that retain moisture and acidify over time.
Mineral Amendments: Incorporate 1 tablespoon of organic kelp meal (1-0-2 NPK ratio) per quart of substrate to provide slow-release micronutrients without promoting excessive vegetative growth. Succulents thrive under nutrient scarcity; overfeeding triggers etiolation and weakens cell wall integrity.
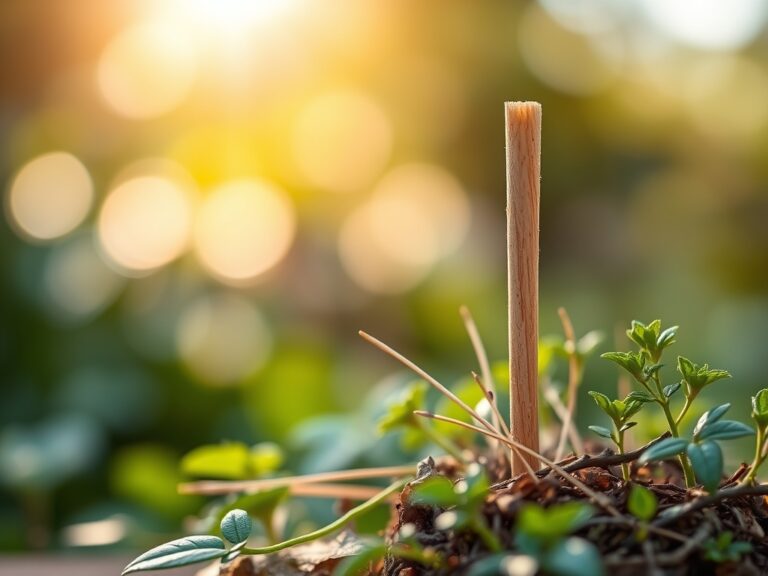
Rock Inventory: Gather 6 to 10 stones of varying sizes, selecting granite, slate, or limestone for aesthetic cohesion. Rocks provide thermal mass that moderates root-zone temperature fluctuations and create crevices that trap humidity pockets.
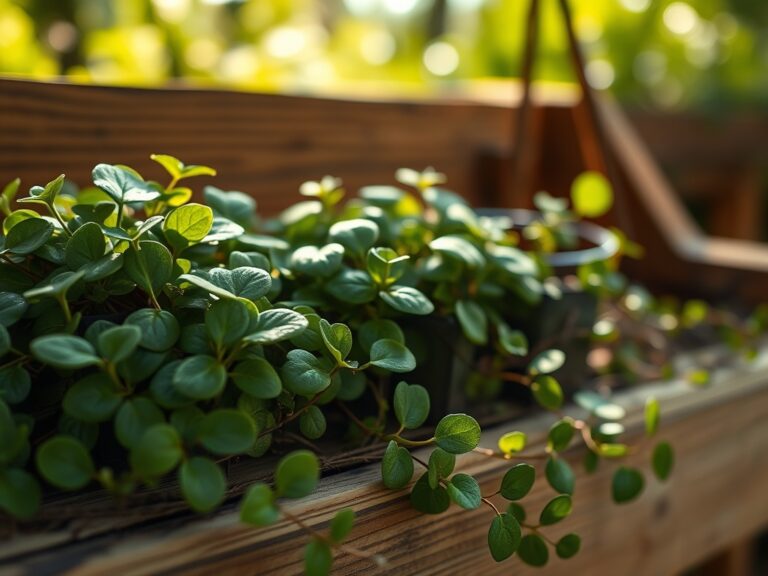
Plant Selection: Source 3 to 5 mature succulents in 2-inch nursery pots: Echeveria, Sedum, Sempervivum, or Haworthia species. Verify plants display compact rosette architecture and absence of stretched internodes, indicating proper light acclimation.
Top Dressing: Obtain 1 cup of crushed quartz, decomposed granite, or fine aquarium gravel (1-3 mm) to create a reflective surface layer that deters fungal gnats and suppresses algae colonization.
Timing
Indoor rock gardens can be assembled during any season, as controlled environments eliminate frost constraints. However, late winter (February through March) aligns with the natural growth resumption of many succulent species when photoperiod increases trigger auxin distribution to apical meristems. This timing allows plants to establish root systems during their active phase rather than entering transplant shock during summer dormancy common in Echeveria and Aeonium genera.
For growers in USDA Hardiness Zones 9 through 11, consider assembling outdoor rock gardens in early fall (September through October) when soil temperatures drop below 70°F, reducing transplant stress. Indoor projects bypass these restrictions entirely, though maintaining ambient temperatures between 60 and 75°F optimizes metabolic efficiency during establishment.
Phases
Phase 1: Foundation Layer (Step 1-2)
Place a mesh screen over drainage holes to prevent substrate loss while maintaining airflow. Add 1 inch of coarse gravel or lava rock as a drainage reservoir. This capillary break prevents water from wicking upward into the root zone, simulating the free-draining conditions of scree slopes.
Position your three largest rocks to establish visual focal points, embedding them one-third deep into the drainage layer for stability. Angle rocks at 15 to 30 degrees to create natural-looking strata and shadowed microclimates.
Pro-Tip: Sterilize all rocks in a 10% bleach solution for 15 minutes to eliminate dormant moss spores and lichen propagules that compete with succulents for light.
Phase 2: Planting Sequence (Steps 3-5)
Fill the container with prepared substrate to within 1.5 inches of the rim, mounding soil slightly toward the center for improved drainage. Remove succulents from nursery pots and gently tease apart root balls, trimming any circling roots at 90-degree angles to stimulate lateral branching.
Create planting pockets between rocks, positioning the tallest specimen off-center following rule-of-thirds composition. Space remaining plants 2 to 3 inches apart to accommodate 2 years of radial growth without crowding. Plant crowns should sit level with or slightly above the soil surface to prevent moisture accumulation in leaf axils.
Pro-Tip: Dust bare roots with mycorrhizal fungi inoculant (Glomus species) before planting. These symbiotic fungi extend effective root surface area by 100 to 1,000 times, enhancing phosphorus uptake in low-nutrient substrates.
Phase 3: Finishing Details (Steps 6-8)
Settle substrate by watering gently with a mist nozzle, applying 0.25 cups of water around each plant's root zone. Allow complete drainage before proceeding.
Apply top dressing in a 0.5-inch layer, ensuring no material contacts plant stems. This mineral mulch reflects supplemental light upward into lower leaves and creates a crisp visual boundary between living and inert elements.
Position the completed garden within 6 to 12 inches of a south-facing window or under full-spectrum LED grow lights providing 2,000 to 3,000 foot-candles for 12 to 14 hours daily.
Pro-Tip: Wait 7 to 10 days before the first full watering. This dry establishment period allows root wounds to callus, preventing opportunistic Fusarium and Pythium infections common in freshly disturbed succulent roots.
Troubleshooting
Symptom: Elongated stems with increased internode spacing and pale green coloration.
Solution: Etiolation results from insufficient light intensity. Relocate to brighter exposure or reduce distance to grow lights by 50%. Prune stretched growth at 45-degree angles above a node to encourage compact branching.
Symptom: Brown, mushy leaf bases with foul odor.
Solution: Root rot from overwatering or poor drainage. Remove affected plants, trim all blackened roots to healthy white tissue, and allow to air-dry for 48 hours. Replant in fresh substrate with improved aeration.
Symptom: White cottony masses in leaf axils.
Solution: Mealybugs (Pseudococcidae family) colonizing sheltered areas. Apply isopropyl alcohol directly to pests using cotton swabs. For persistent infestations, drench soil with systemically absorbed neem oil solution (2 tablespoons per gallon) every 14 days for 6 weeks.
Symptom: Wrinkled, deflated leaves despite adequate watering.
Solution: Root damage or vascular collapse from salt accumulation. Flush substrate with distilled water equal to twice the container volume, allowing complete drainage. Resume fertilization at half-strength using formulas with electrical conductivity below 1.5 dS/m.
Symptom: Red or purple pigmentation spreading from leaf margins.
Solution: Anthocyanin production from cold stress or phosphorus deficiency. Ensure ambient temperatures remain above 55°F and apply diluted 5-10-5 cactus fertilizer at one-quarter label rate during growing season.
Maintenance
Irrigation Protocol: Water only when substrate feels completely dry 1 inch below surface, typically every 14 to 21 days during active growth and every 28 to 42 days during winter dormancy. Apply 0.5 cups of room-temperature water per 10-inch container, saturating soil until drainage occurs. Empty saucers within 30 minutes to prevent reabsorption.
Fertilization Schedule: Apply balanced liquid fertilizer (2-7-7 NPK ratio) diluted to 25% strength once in April and once in July. Succulents allocate excess nitrogen to leaf expansion rather than structural carbohydrates, increasing susceptibility to stem collapse.
Grooming Routine: Remove spent leaves monthly by gently twisting at the attachment point rather than pulling. Dead foliage harbors fungal spores and insect eggs. Rotate the container 90 degrees weekly to ensure even light distribution and prevent phototropic leaning.
Repotting Cycle: Transplant every 3 to 4 years in spring when roots fill 80% of container volume. Mature rock gardens may remain undisturbed for 5 years if annual top-dressing with fresh mineral mulch replenishes surface aesthetics.
FAQ
How often should I water my mini indoor rock garden?
Water every 2 to 3 weeks during spring and summer, extending intervals to 4 to 6 weeks in winter when succulents enter dormancy and reduce transpiration rates by 60%.
Can I use regular potting soil for succulents?
Standard potting mixes retain moisture for 5 to 7 days, exceeding the tolerance of xerophytic root systems. Always amend with at least 50% inorganic material like perlite, pumice, or coarse sand to achieve 3-day drying times.
What temperature range is ideal for indoor succulent gardens?
Maintain 60 to 75°F for optimal growth. Most genera tolerate brief exposure to 40°F but suffer cellular damage below 32°F. Upper limits of 85°F trigger heat dormancy in Echeveria and Sempervivum species.
Do succulents need fertilizer?
Minimal feeding supports health without stimulating weak growth. Apply diluted cactus fertilizer twice annually at 25% label strength, providing approximately 10 ppm nitrogen per application.
How do I know if my rock garden needs more light?
Compact growth with maintained coloration indicates sufficient light. Stretching between leaves, fading variegation, and downward leaf orientation signal inadequate intensity. Provide minimum 2,000 foot-candles measured at plant canopy height.