6 Maintenance Steps to Build a Simple Tool Shed
The scent of decomposed organic matter and the cooling evaporation from a high-turgor leaf indicate a healthy horticultural environment. A successful garden requires more than just fertile soil; it demands an organized infrastructure to manage inputs and tools. Mastering the steps for building a vegetable garden shed ensures that your amendments, bypass pruners, and seed starts remain protected from UV degradation and moisture. This structure serves as the command center for monitoring soil health and plant vitality throughout the growing season.
A garden shed is not merely a storage unit; it is a laboratory for the serious horticulturist. By centralizing your equipment, you reduce the time spent retrieving tools, allowing for precise intervention when physiological stress appears in your crops. The foundation of the shed must be as stable as the rhizosphere of a deep-rooted perennial. Proper planning involves understanding the mechanical load of the structure and its placement relative to your sun-exposed beds. This guide provides the technical framework to construct a durable utility space that supports your botanical objectives.
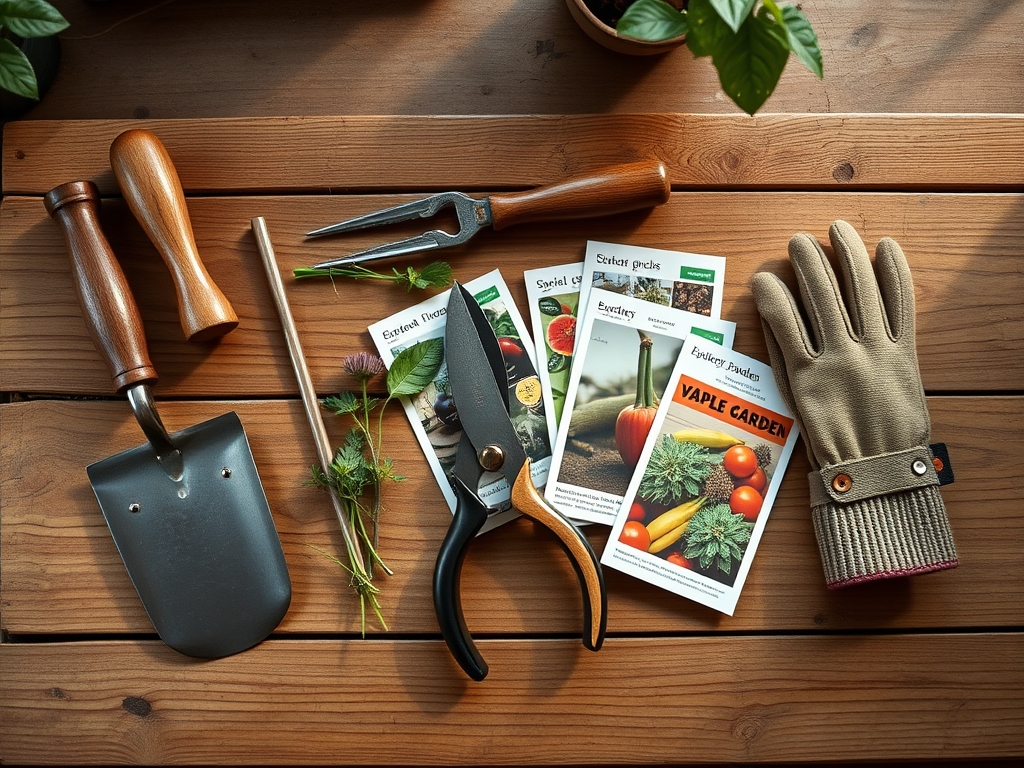
Materials:
Before construction, analyze the site substrate. The ideal ground for a shed foundation is a **friable loam** with high compaction resistance. If your soil is heavy clay, the **Cation Exchange Capacity (CEC)** will be high, but drainage will be poor, leading to potential wood rot. Ensure the site has a **pH between 6.0 and 7.0** to prevent acidic corrosion of metal fasteners.
For the surrounding landscape, utilize a balanced 10-10-10 NPK ratio for general turf stabilization. If you are planting nitrogen-fixing cover crops around the perimeter, a low-nitrogen, high-phosphorus (5-10-10) amendment encourages root development without excessive vegetative growth. Use pressure-treated lumber rated for ground contact and galvanized hardware to resist the high humidity levels found in active vegetable plots.
Timing:
Construction should occur during the dormant season to minimize soil compaction and root disturbance to nearby plants. In Hardiness Zones 5 through 7, the ideal window is late autumn after the first killing frost or early spring before the soil reaches a temperature of 50 degrees Fahrenheit.
Monitoring the biological clock of your garden is essential. Avoid heavy construction during the peak vegetative stage of your primary crops, as the resulting dust and soil compaction can inhibit gas exchange in the root zone. Aim for a period of plant senescence when metabolic activity is low. This timing ensures that the heavy foot traffic required for building does not interfere with the photoperiod requirements or reproductive cycles of your vegetable varieties.
Phases:

Sowing the Foundation
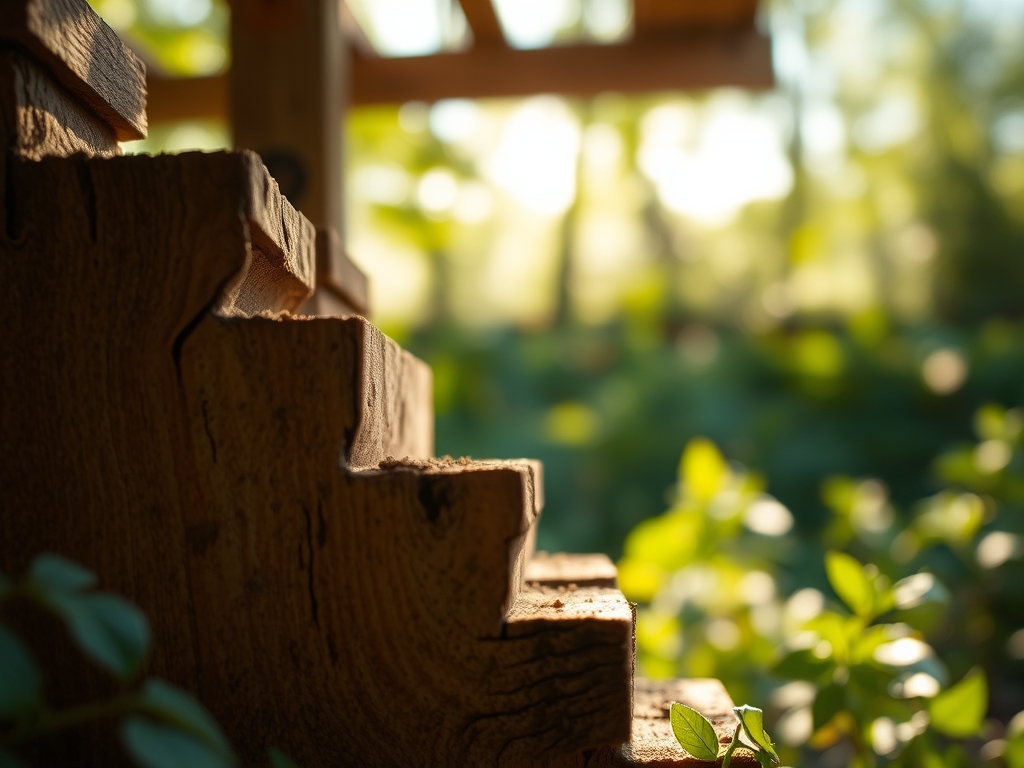
Excavate the site to a depth of 6 inches and backfill with compacted crushed stone. This layer provides a capillary break, preventing moisture from wicking into the wooden frame. Ensure the site is level to prevent structural torque.
Pro-Tip: Proper drainage prevents the development of anaerobic conditions. In the soil, anaerobic pockets kill beneficial mycorrhizal fungi, which are essential for nutrient uptake in the surrounding vegetable beds.
Transplanting the Frame
Erect the vertical studs at 16-inch intervals. This spacing provides the structural integrity needed to support heavy tool racks and shelving for seed flats. Use a level to ensure every post is perfectly plumb to avoid uneven weight distribution.
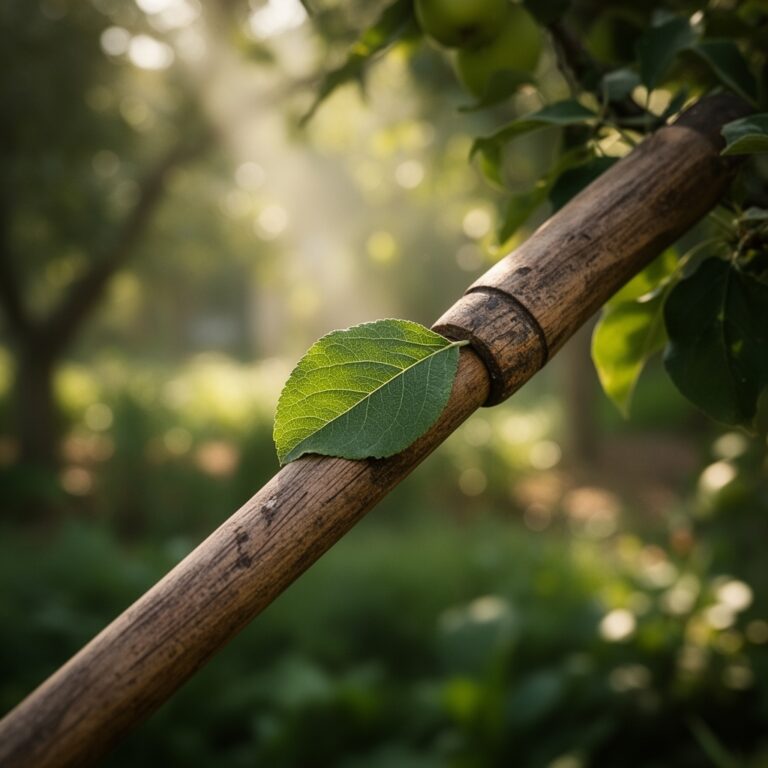
Pro-Tip: Align the shed to minimize shadows cast over your growing area. Reducing light availability triggers auxin suppression on the shaded side of plants, causing them to lean and weakening their structural stems.
Establishing the Envelope
Install the siding and roofing materials. Use a metal roof if you intend to harvest rainwater; this prevents petroleum-based chemicals from asphalt shingles from leaching into your irrigation supply. Seal all gaps to prevent the ingress of rodents that may consume stored seeds.
Pro-Tip: Proper ventilation is critical to prevent heat buildup. High ambient temperatures in a shed can damage the embryos of stored seeds, reducing germination rates by causing premature metabolic exhaustion.
The Clinic:
Physiological disorders in the garden often mirror structural failures in a shed. Both require diagnostic precision.
Symptom: Yellowing of older leaves while veins remain green.
Diagnosis: Magnesium deficiency (Interveinal chlorosis).
Solution: Apply Epsom salts (Magnesium Sulfate) at a rate of 1 tablespoon per gallon of water.
Symptom: Blossom end rot on tomatoes near the shed.
Diagnosis: Calcium deficiency caused by inconsistent moisture.
Solution: Maintain steady soil moisture levels; do not allow the soil to fluctuate between bone-dry and saturated.
Symptom: Stunted growth and purple-tinted foliage.
Diagnosis: Phosphorus deficiency, often exacerbated by cold soil.
Solution: Apply a high-phosphorus starter fertilizer and use black plastic mulch to increase soil temperature.
Fix-It for Nitrogen Chlorosis: If plants show uniform pale green or yellow leaves, apply a quick-release nitrogen source like blood meal. Target a concentration of 1 pound per 100 square feet to restore chlorophyll synthesis.
Maintenance:
A shed requires seasonal inspections just as a garden requires daily monitoring. Use a soil moisture meter to ensure the area around the shed foundation does not become a basin for runoff. Divert water at least 3 feet away from the structure.
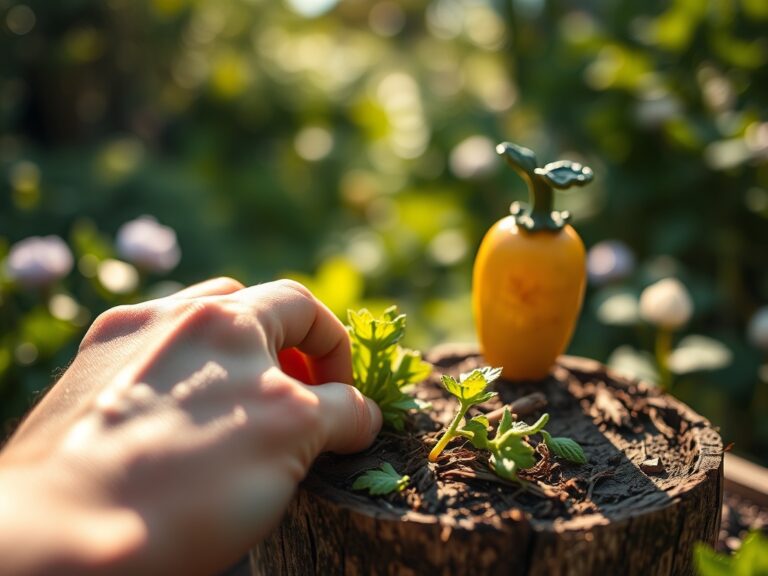
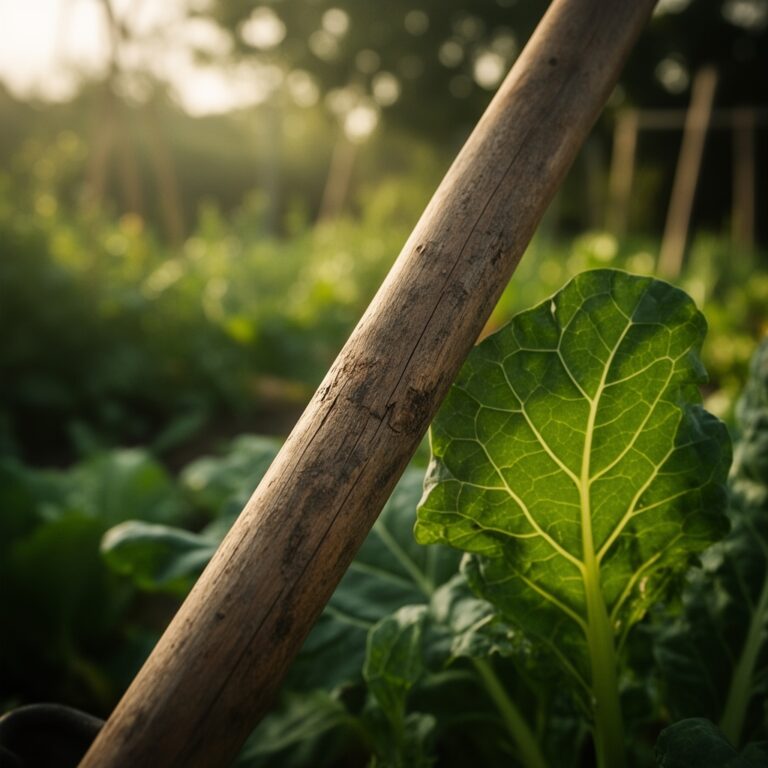
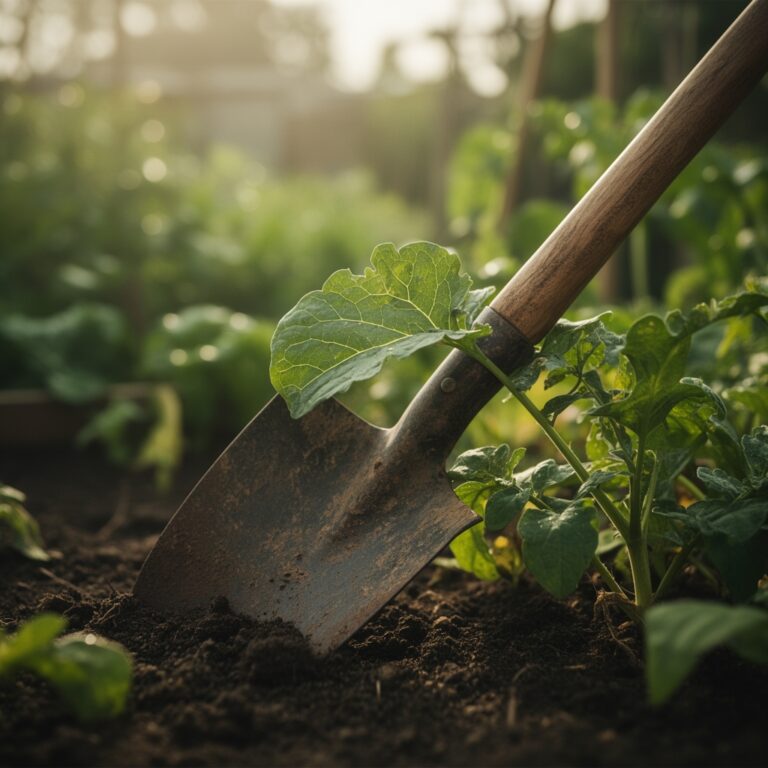
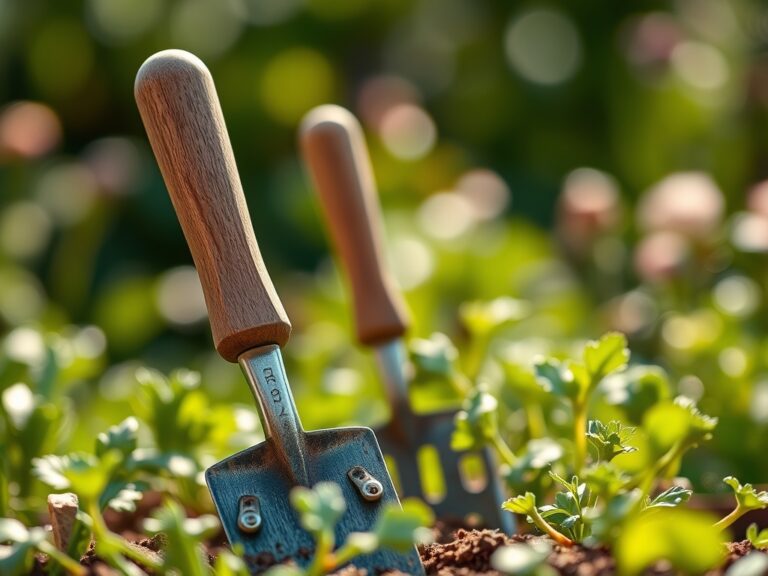
Prune any encroaching vegetation using bypass pruners to maintain a 12-inch air gap between the shed and the foliage. This prevents fungal spores from migrating from the plants to the wooden siding. For weeding around the base, a hori-hori knife is the superior tool for extracting taproots without disturbing the gravel foundation. Ensure the shed receives the same attention as the garden: provide 1.5 inches of water per week at the drip line for any perimeter landscaping to prevent soil shrinking and foundation settling.
The Yield:
While the shed itself does not produce a harvest, it facilitates the peak yield of your vegetables. By having a dedicated space for post-harvest handling, you can process crops immediately. For leafy greens, harvest when turgor pressure is highest, typically before 8:00 AM.
Bring the harvest into the shaded shed immediately to remove field heat. This slows the rate of respiration and preserves the sugars within the plant tissue. For root crops, use the shed's cool, dark interior to cure onions and garlic for 10 to 14 days until the outer skins are papery. This controlled environment ensures "day-one" freshness and extends the storage life of your produce.
FAQ:
What is the best foundation for a small garden shed?
A gravel pad at least 4 inches deep is superior for drainage. It prevents water from pooling around the base, which protects the wood from rot and maintains the structural integrity of the surrounding soil.
How do I prevent the shed from shading my vegetables?
Position the shed on the north or east side of your garden plot. This placement ensures that the structure does not block the critical southern sun exposure required for the photosynthetic needs of most vegetable crops.
Can I store liquid fertilizers in the shed over winter?
No. Freezing temperatures can cause chemical separation or container rupture. Store liquid amendments in a temperature-controlled environment above 40 degrees Fahrenheit to maintain the stability of the nutrient salts and organic compounds.
How do I stop pests from nesting under the shed?
Install a 1/4-inch hardware cloth mesh around the perimeter of the base. Bury the mesh 6 inches deep into the soil to prevent burrowing animals from establishing dens that could undermine the foundation or damage nearby root systems.