6 Layering Steps to Prepare a Food Forest Garden
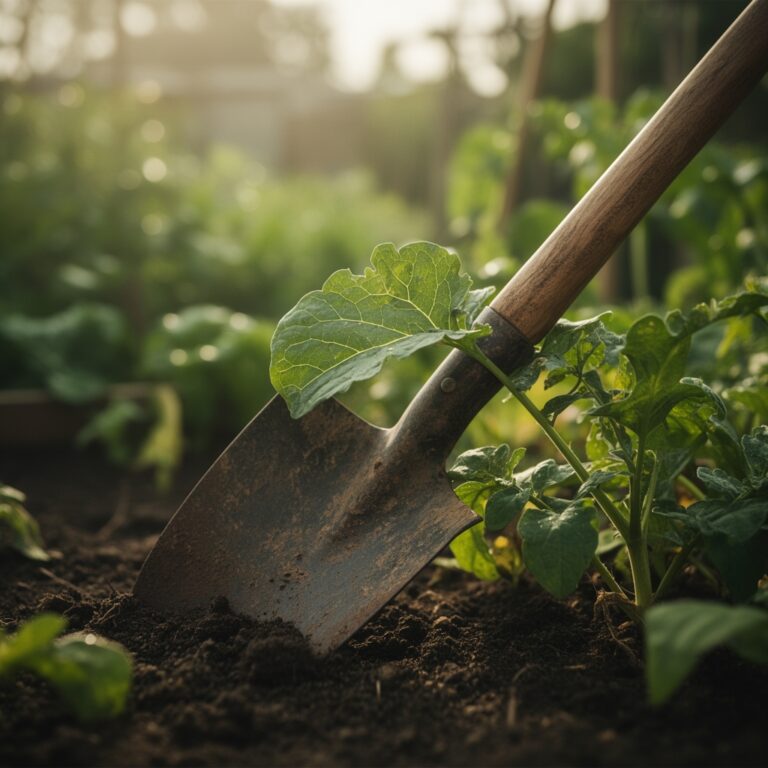
The scent of damp, anaerobic earth indicates a lack of porosity; conversely, a healthy rhizosphere smells of rich humus and actinomycetes. Successful cultivation begins with the tactile sensation of soil turgor and the structural integrity of the leaf. Understanding how to prepare a garden for a food forest garden requires moving beyond surface-level aesthetics to focus on subterranean biology. You are not merely planting trees; you are engineering a self-sustaining ecosystem characterized by vertical stacking and high nutrient cycling. This process demands a rigorous analysis of soil chemistry and hydrological patterns before the first spade hits the dirt. To achieve maximum biomass production, the site must be optimized for solar gain and water retention. Failure to establish these foundational layers results in stunted growth and low fruit set. Precision in the early stages ensures that the system reaches a state of climax equilibrium where external inputs become unnecessary. We begin by stripping away the grass and building the trophic levels from the ground up.
Materials:

The ideal substrate for a food forest is a **friable loam** with a Cation Exchange Capacity (CEC) above 15. This allows the soil to retain essential cations like calcium, magnesium, and potassium. You must adjust your soil pH to a range of **6.2 to 6.8** to ensure maximum nutrient bioavailability. For the base layer, utilize organic matter with an NPK ratio of **3-1-2** to support initial vegetative growth. Specific materials include:
- Arborist Wood Chips: High carbon-to-nitrogen ratio (approx. 100:1) for fungal dominance.
- Composted Manure: NPK of 1.1-0.5-1.1 to provide immediate nitrogen.
- Cardboard: Non-glossy, corrugated sheets for light suppression.
- Rock Dust: To provide trace minerals and improve the paramagnetic effect of the soil.
- Mycorrhizal Inoculant: Specifically Glomus intraradices to facilitate phosphorus uptake.
Timing:
Successful establishment depends on your USDA Hardiness Zone. In Zones 5 through 7, site preparation should begin in late autumn to allow for the breakdown of sheet mulch materials over winter. This timeline aligns with the biological clock of woody perennials, which enter dormancy as photoperiods shorten. Planting must occur when the soil temperature reaches a consistent 50 degrees Fahrenheit. This ensures that root respiration can sustain the plant as it transitions from the vegetative stage to the reproductive stage. In warmer Zones 8 through 10, preparation occurs in late summer to avoid the extreme thermic stress of the peak growing season. Understanding the frost-free window is critical; late spring frosts can cause ice crystals to form within the cell walls, leading to a loss of turgor pressure and eventual necrosis.
Phases:
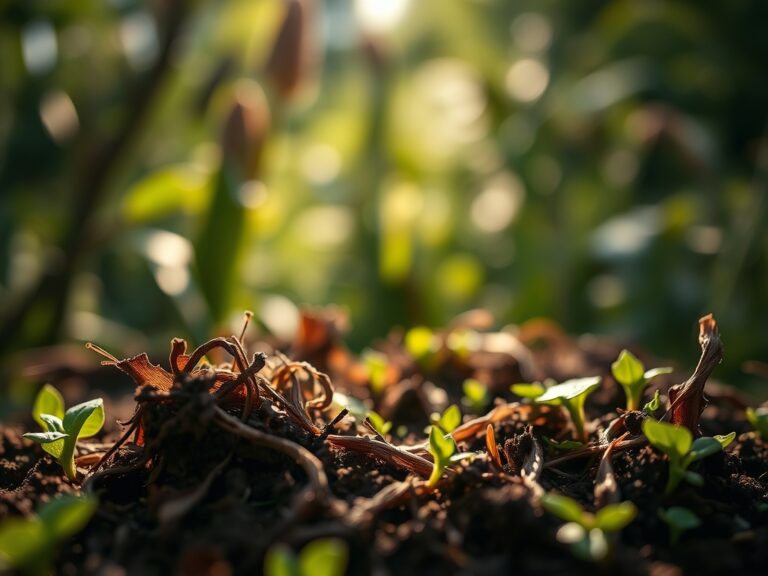
Sowing the Ground Cover
The first layer involves the herbaceous layer. Use nitrogen-fixing legumes like Trifolium repens. These plants utilize Rhizobium bacteria to convert atmospheric nitrogen into a plant-available form. Sow seeds at a depth of 0.25 inches in moist soil.
Pro-Tip: Legumes are essential because of biological nitrogen fixation. This process reduces the need for synthetic urea by creating a localized nitrogen cycle within the rhizosphere.
Transplanting the Overstory
When installing the canopy layer, dig a hole twice as wide as the root ball but no deeper. Ensure the graft union remains 2 inches above the soil line to prevent rot. Backfill with native soil rather than highly amended potting mix to encourage the roots to move into the surrounding profile.
Pro-Tip: Avoid "circling roots" by scoring the root ball. This prevents auxin suppression, a hormonal state where the plant fails to trigger lateral root growth, leading to long-term instability.
Establishing the Understory
Shrubs and soft fruits are placed between the canopy trees. Space these at 60 percent of their mature width to allow for air circulation and light penetration. This spacing prevents the development of fungal pathogens like powdery mildew.
Pro-Tip: Utilize the principle of phototropism. By layering heights correctly, you ensure that the lower tiers receive enough "fleck light" to maintain photosynthesis without the plants becoming "leggy" or etiolated.
The Clinic:
Physiological disorders often stem from environmental stress or chemical imbalances. Monitor your plants for these specific symptoms:
- Symptom: Interveinal chlorosis on young leaves.
- Solution: This indicates Iron deficiency. Check soil pH; if it is above 7.0, iron becomes insoluble. Lower the pH using elemental sulfur.
- Symptom: Purpling of the leaf underside.
- Solution: This is a sign of Phosphorus deficiency. Apply bone meal or rock phosphate. Cold soil temperatures can also inhibit phosphorus uptake.
- Symptom: Leaf tip burn or "scorch."
- Solution: Usually caused by Potassium deficiency or high salinity. Flush the soil with 2 inches of water and add greensand.
- Symptom: Blossom end rot in fruiting shrubs.
- Solution: This is a Calcium transport issue, often caused by inconsistent moisture. Ensure steady irrigation to maintain the transpiration stream.
Maintenance:
Precision maintenance is the difference between a wild thicket and a productive forest. Use a soil moisture meter to ensure the root zone stays between 20% and 40% moisture capacity. Most woody perennials require 1.5 inches of water per week delivered at the drip line, which is the outermost circumference of the tree canopy where the feeder roots are most active.
Pruning should be performed with sharp bypass pruners to ensure clean cuts that heal quickly. When removing weeds, a hori-hori knife is the superior tool for extracting taproots without disturbing the surrounding fungal hyphae. Annually apply a 2-inch layer of fresh organic mulch to maintain the carbon-to-nitrogen balance. Do not allow mulch to touch the trunk of the trees; leave a 3-inch gap to prevent bark decay and rodent damage.
The Yield:
Harvesting in a food forest is a continuous process. For pome fruits, harvest when the fruit detaches easily with a slight twist, a process known as "abscission." For berries, sugar content (Brix) is highest in the early morning before the sun increases the respiration rate. Use a refractometer to check for a Brix reading of 12 or higher for peak sweetness.
Post-harvest handling is critical for "day-one" freshness. Immediately remove the "field heat" by placing produce in a cool, shaded area or a hydro-cooler. This slows down the rate of senescence, the biological aging process of the plant tissue. For leafy greens in the herbaceous layer, store them at 34 degrees Fahrenheit with high humidity to maintain turgor pressure.
FAQ:
How do I test soil drainage for a food forest?
Dig a hole 12 inches deep, fill it with water, and let it drain. Refill it and measure the drop. An ideal rate is 1 to 2 inches per hour. Slower drainage indicates heavy clay requiring organic amendments.
Can I start a food forest in a small backyard?
Yes. Use dwarf rootstocks and vertical trellising. Focus on the seven-layer system but scale the species to the available square footage. Ensure the site receives at least 6 to 8 hours of direct solar radiation daily.
What is the best mulch for a new garden?
Arborist wood chips are superior for food forests. They encourage fungal-dominant soil, which is the natural state of woodland ecosystems. Avoid dyed mulches or fine barks that can compact and prevent oxygen from reaching the rhizosphere.
How long until a food forest is self-sustaining?
Most systems require 3 to 5 years of active management. After this period, the canopy closes and the nutrient cycle stabilizes. At this stage, the system regulates its own moisture and fertility through leaf drop and root exudates.