6 Steps to Prepare a Shed for a Tool Storage Task
The scent of damp humus and the high turgor pressure of a hydrated cell wall define the success of a productive landscape. Before the first spade hits the earth, the logistical framework of the workspace must be established. Learning how to prepare a garden for a tool storage task requires a systematic approach to organization that mirrors the precision of cellular respiration. Efficiency in the field is dictated by the proximity of high quality steel to the rhizosphere. Without a centralized, dry, and organized hub for maintenance equipment, the gardener loses critical minutes during the peak photosynthetic windows of the early morning.
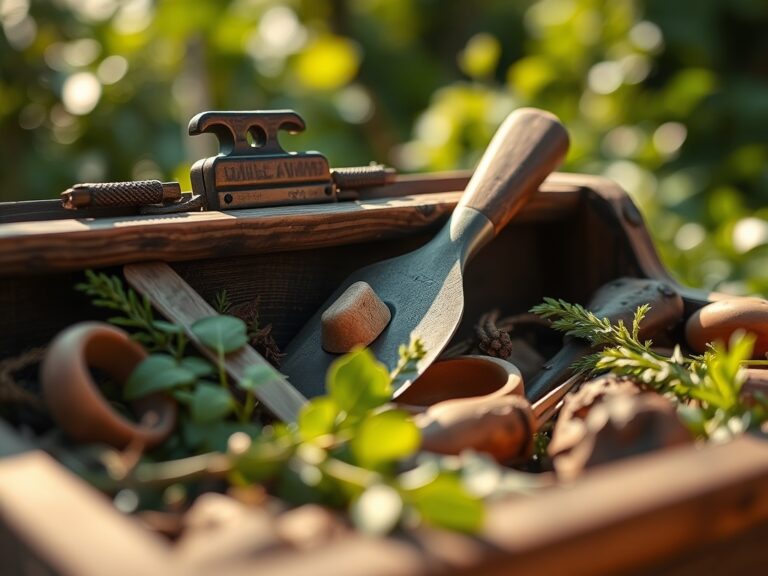
A shed is more than a structure; it is the command center for managing soil health and plant vigor. When tools are scattered, maintenance intervals are missed, leading to dull blades that crush xylem tissue rather than slicing through it cleanly. Proper storage ensures that every bypass pruner and hori-hori knife remains sharp and sterile, preventing the mechanical transmission of pathogens between specimens. To master how to prepare a garden for a tool storage task, one must treat the shed as a laboratory where precision instruments are calibrated for the upcoming season of growth and senescence.
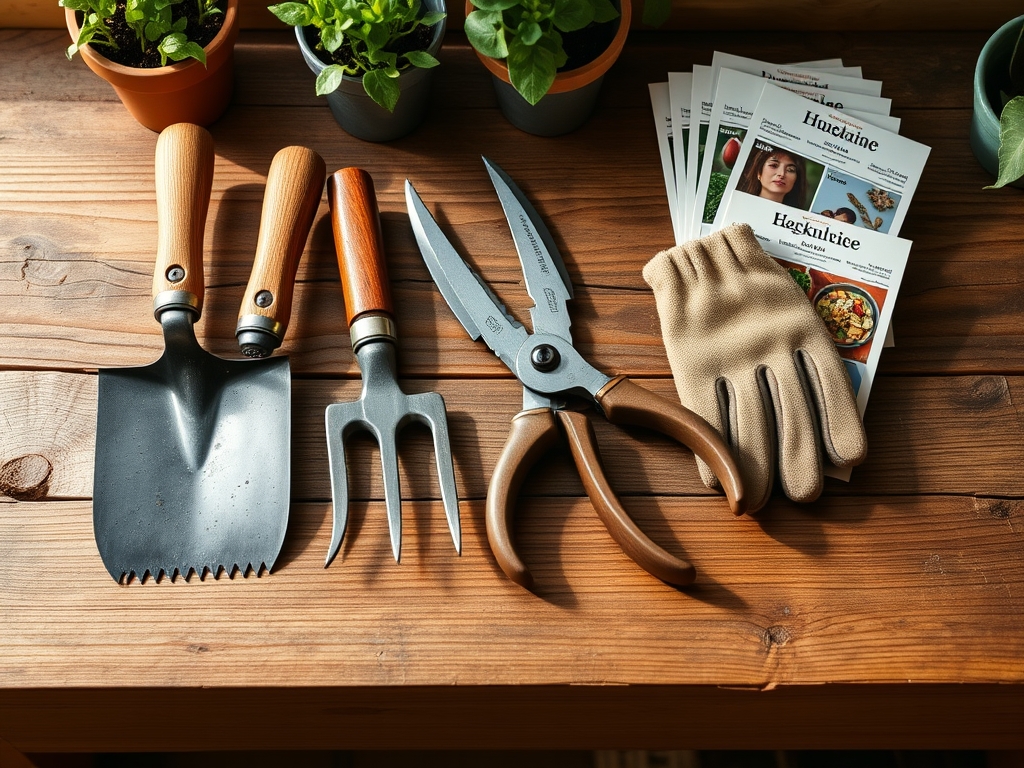
Materials:
The foundation of any garden task begins with the substrate. For a staging area near your storage shed, maintain a friable loam consisting of 40 percent sand, 40 percent silt, and 20 percent clay. This texture ensures optimal drainage while preventing the compaction of soil particles around the shed entrance.
If you are using the shed area for potting or amendment storage, monitor the soil pH and nutrient density. Ideal potting substrates should maintain a pH between 6.0 and 7.0 to ensure maximum nutrient bioavailability. Keep the following NPK ratios on hand for specific physiological stages:
- 10-10-10 (Balanced): For general maintenance of established perennials.
- 5-10-5 (High Phosphorus): To stimulate root development and floral initiation.
- 20-10-10 (High Nitrogen): To drive rapid vegetative growth in early spring.
The Cation Exchange Capacity (CEC) of your storage area soil should be high, ideally above 15 meq/100g, to retain essential cations like Calcium (Ca2+) and Magnesium (Mg2+) which are often leached in high traffic zones.
Timing:
Successful tool storage preparation is dictated by the USDA Hardiness Zones and the biological clock of the local flora. In Zones 5 through 7, the primary window for shed organization occurs during the dormant phase, typically between the first killing frost and the spring thaw. This prevents the disruption of the "Biological Clock," the internal mechanism that regulates the transition from vegetative to reproductive stages.
As day length increases, plants respond to the photoperiod by shifting hormonal balances. Preparing your storage task before the spring equinox ensures that tools are ready the moment the soil temperature reaches a consistent 55 degrees Fahrenheit (12.8 degrees Celsius). This temperature threshold is the standard indicator for the initiation of root activity in most temperate species. Delaying tool preparation into the active growing season risks missing the critical window for early season pruning and soil aeration.
Phases:

Sowing the Organization Plan
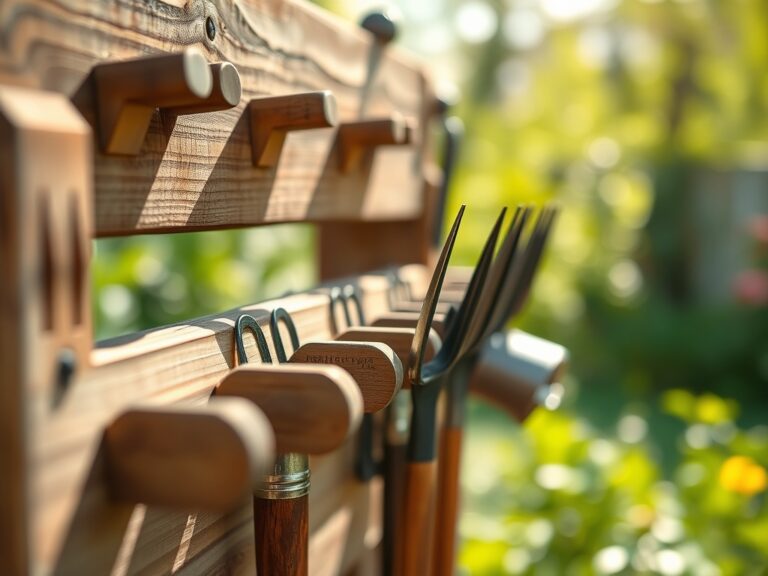
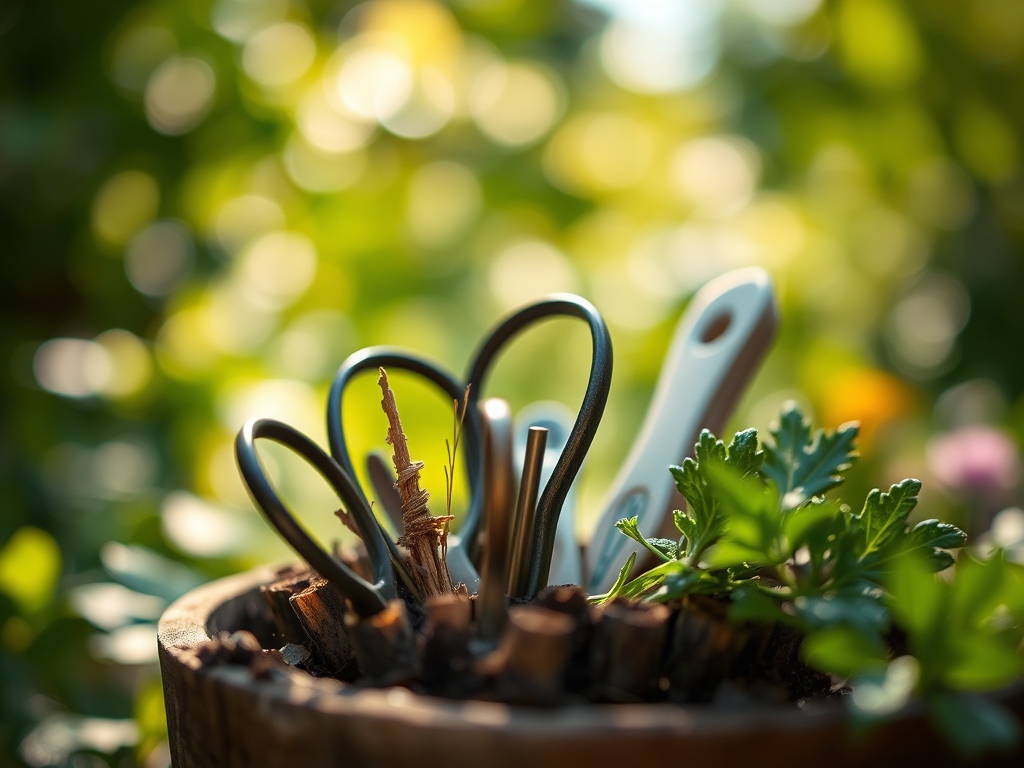
Map the shed interior based on the frequency of use. Heavy equipment like rototillers or lawn tractors should occupy the floor space, while hand tools should be wall mounted at eye level. Use vertical space to maximize the square footage of the structure.
Pro-Tip: Store tools in a way that respects Auxin Suppression. Just as apical dominance suppresses lateral buds, a cluttered workspace suppresses the gardener's ability to respond to immediate plant needs. Organizing by task (pruning, weeding, planting) creates a streamlined workflow that mimics the efficiency of a plant's vascular system.
Transplanting Equipment
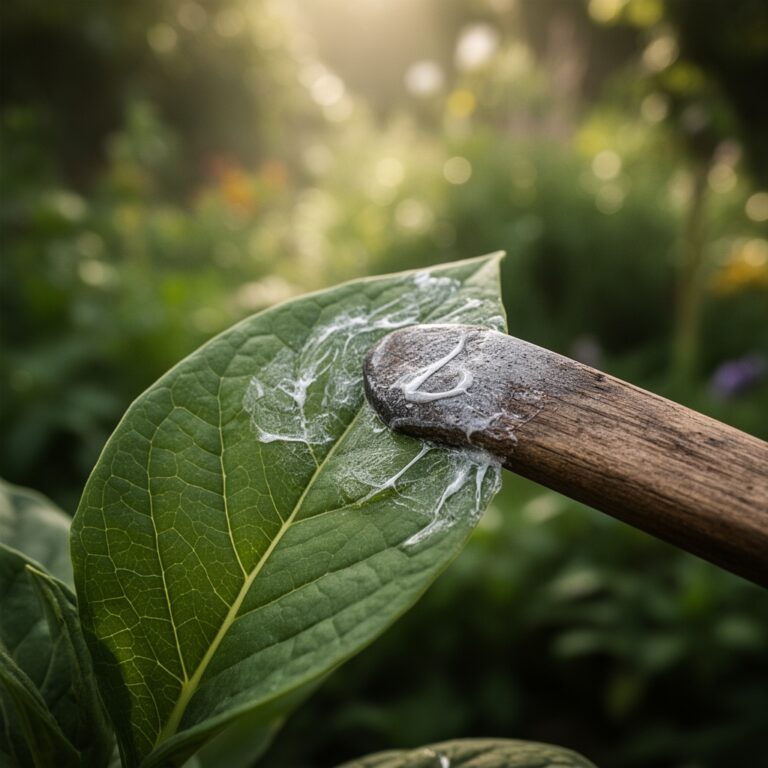
Move seasonal items to the rear of the shed as their utility wanes. For example, snow shovels should be swapped for irrigation supplies as the photoperiod lengthens. Ensure all metal surfaces are coated with a thin layer of mineral oil to prevent oxidation.
Pro-Tip: Utilize Mycorrhizal Symbiosis as a metaphor for tool placement. Just as fungi extend the reach of root systems, long handled tools like hoes and rakes should be positioned for easy retrieval to extend the reach of the gardener without causing physical strain or soil compaction.
Establishing a Maintenance Routine
Install a dedicated cleaning station within or adjacent to the shed. This should include a bucket of sand mixed with linseed oil for abrasive cleaning and a 10 percent bleach solution for disinfecting blades after use on diseased tissue.
Pro-Tip: This phase prevents Phototropism issues in the garden. By having sharp, accessible tools, the gardener can prune competing foliage quickly, ensuring that primary crops receive the unobstructed solar radiation required for maximum glucose production through photosynthesis.
The Clinic:
Physiological disorders in the garden often stem from poor tool hygiene or improper storage of amendments. Monitor these common symptoms:
- Symptom: Ragged tears on woody stems after pruning.
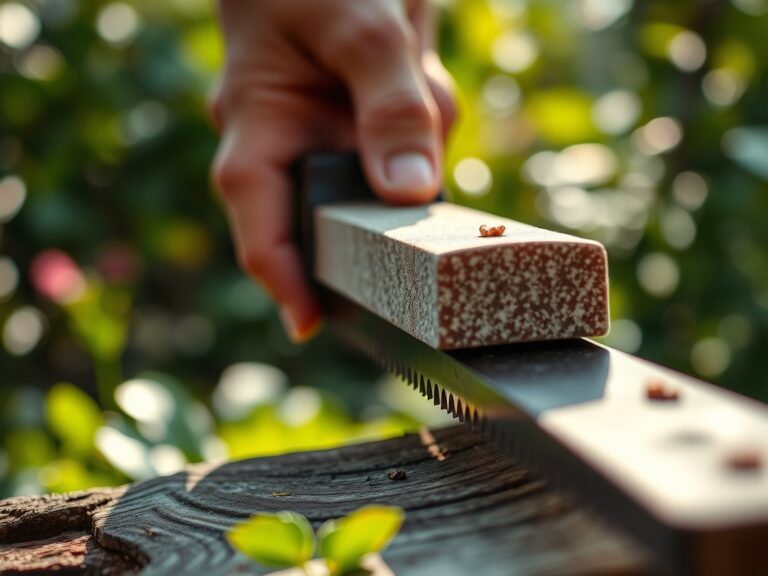
- Solution: Sharpen bypass pruners with a diamond file to a 20 degree angle to ensure clean cuts through the cambium layer.
- Symptom: Rapid rust accumulation on spade blades.
- Solution: Increase ventilation in the shed to lower relative humidity below 50 percent.
- Symptom: Yellowing of lower leaves (Nitrogen Chlorosis) in potted starts.
- Fix-It: Apply a water soluble 20-0-0 fertilizer to provide immediate nitrate ions to the root zone.
- Symptom: Interveinal chlorosis in new growth (Iron Deficiency).
- Fix-It: Lower the substrate pH to 5.5 or apply chelated iron to increase solubility for root uptake.
Maintenance:
A well prepared shed facilitates hyper specific plant care. For optimal hydration, use a soil moisture meter to ensure the root zone receives exactly 1.5 inches of water per week at the drip line. Avoid overhead watering to minimize the duration of leaf wetness, which reduces the risk of fungal sporulation.
Inspect your hori-hori knife weekly for structural integrity. The serrated edge must remain sharp to cut through dense root mats during division. Check the tension on your bypass pruners; if the blades overlap incorrectly, they will bruise the phloem, interrupting the transport of photosynthates from leaves to roots.
The Yield:
When the garden reaches peak maturity, the yield is determined by the speed of the harvest. For leafy greens, harvest when turgor pressure is highest, typically before 8:00 AM. Use a sterilized harvesting knife to make a single, swift cut.
Post harvest handling is critical for maintaining "day one" freshness. Immediately submerge harvested produce in 40 degree Fahrenheit (4.4 degree Celsius) water to remove field heat. This process slows the rate of respiration and prevents the rapid breakdown of cellular structures, extending the shelf life of the crop.
FAQ:
How often should I sanitize my garden tools?
Sanitize tools after every use, especially when moving between different plants. Use a 70 percent isopropyl alcohol solution or a 10 percent bleach mixture to eliminate pathogens like tobacco mosaic virus or fungal spores that reside on metal surfaces.
What is the best way to prevent tool rust?
Store tools in a dry environment with low humidity. After cleaning, dip the metal heads into a bucket filled with sand and linseed oil. This provides a protective barrier against oxygen and moisture, preventing the oxidation process.
Why is soil pH important for tool storage areas?
If storing fertilizers or lime in your shed, spills can drastically alter the local soil pH. A shift outside the 6.0 to 7.0 range can lock out essential micronutrients, leading to localized plant stress and reduced microbial activity.
How do I organize a shed for maximum efficiency?
Group tools by biological task: Pruning, Soil Amendment, and Harvesting. Use vertical wall racks to keep items off the floor, protecting them from moisture and allowing for clear paths to prevent soil compaction near the entrance.