9 Steps to Clean Garden Shears After Pruning
The smell of damp earth and the snap of a stem with high turgor pressure define a successful day in the orchard. However, every cut made into plant tissue exposes the vascular system to pathogens. Neglecting the steps for cleaning a garden shears after use is the primary vector for spreading Botrytis cinerea and Fusarium wilt across your landscape. A clean blade ensures a precise surgical strike that allows the plant to compartmentalize the wound quickly. Without proper sanitation, you are not pruning; you are inoculating your collection with disease.
Materials:
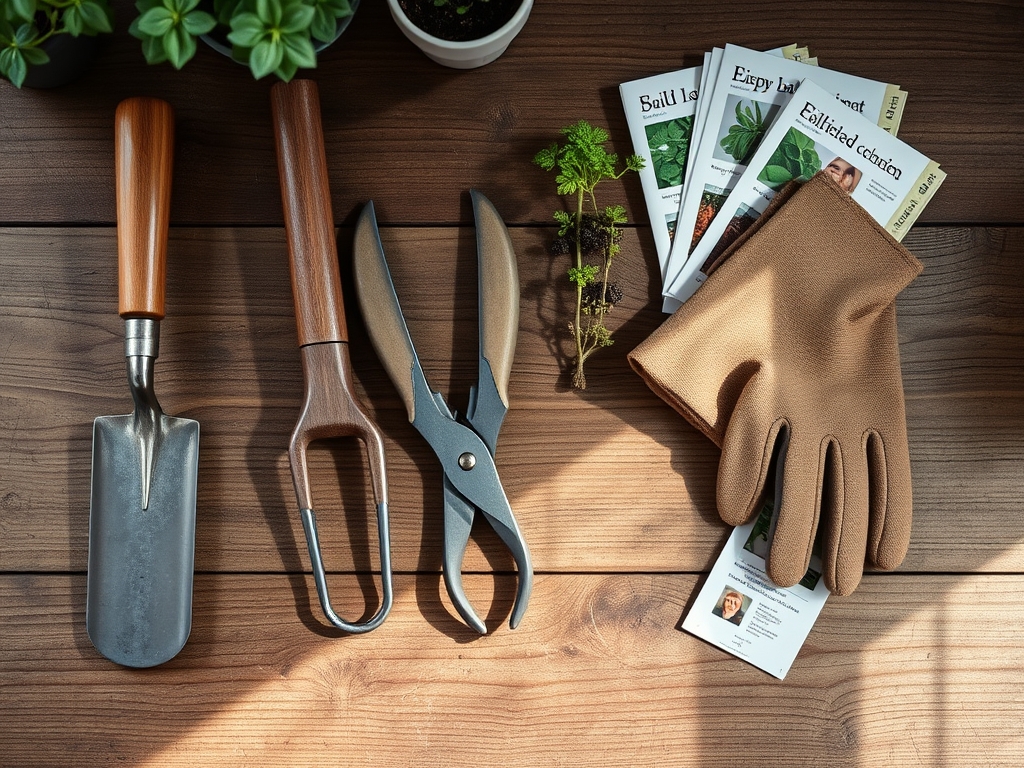
Maintaining tools requires the same precision as managing soil chemistry. While your garden beds thrive in a **friable loam** with a **pH of 6.5**, your cleaning station requires a sterile environment. Gather a stiff nylon brush, 70 percent isopropyl alcohol, and a fine-grit diamond sharpening stone. For lubrication, avoid petroleum-based products that can leach into the **rhizosphere**; use food-grade mineral oil instead. If you are working in high-clay soils with a high **Cation Exchange Capacity (CEC)**, your blades will accumulate mineral crusts that require a mild acetic acid soak to dissolve.
Timing:
Timing your maintenance is as critical as observing frost-date windows in Hardiness Zones 5 through 8. The biological clock of a plant dictates that pruning occurs during dormancy to prevent sap loss and minimize the attraction of boring insects. Perform your deep cleaning immediately after the final winter prune, typically two to four weeks before the average last frost. This ensures that as the plant moves from its dormant state into the vegetative stage, your tools are sterile and sharp, preventing the jagged tears that lead to localized senescence of the branch tip.
Phases:
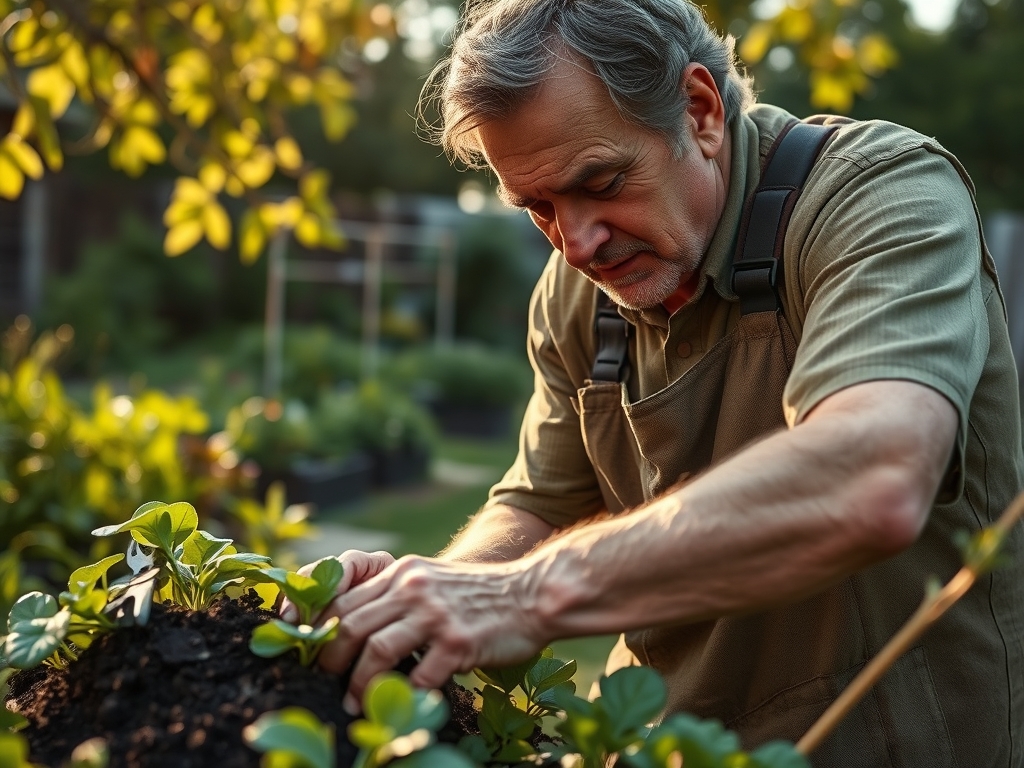
Sowing the Habit
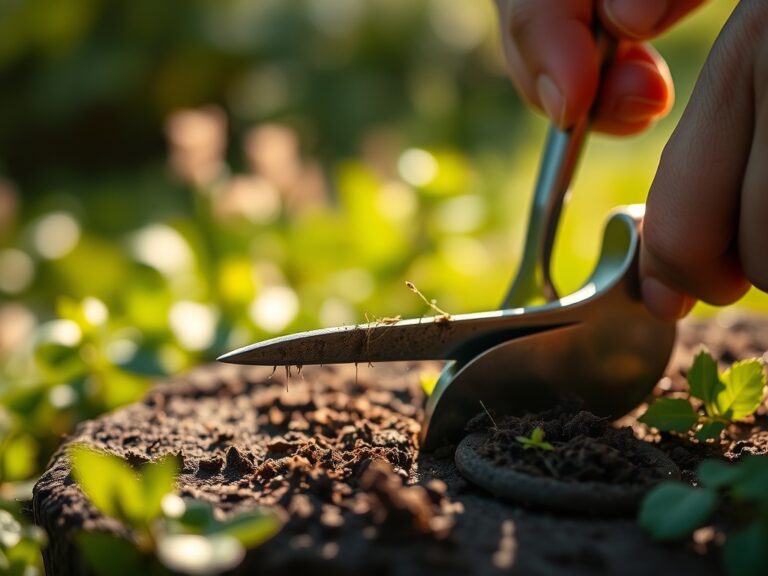
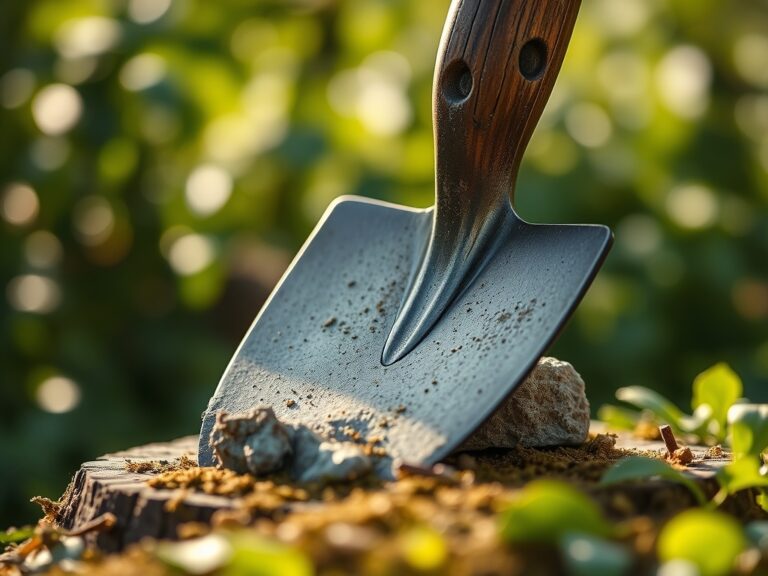
The first step is the mechanical removal of organic debris. Use a stiff brush to scrub away dried sap and soil particles. Debris trapped in the fulcrum of the shears increases friction, which leads to hand fatigue and imprecise cuts.
Pro-Tip: Removing organic matter prevents the formation of a biofilm. This is critical because biofilms protect bacteria from disinfectants through a process called quorum sensing, allowing pathogens to survive even after a quick rinse.
Transplanting Knowledge to the Blade
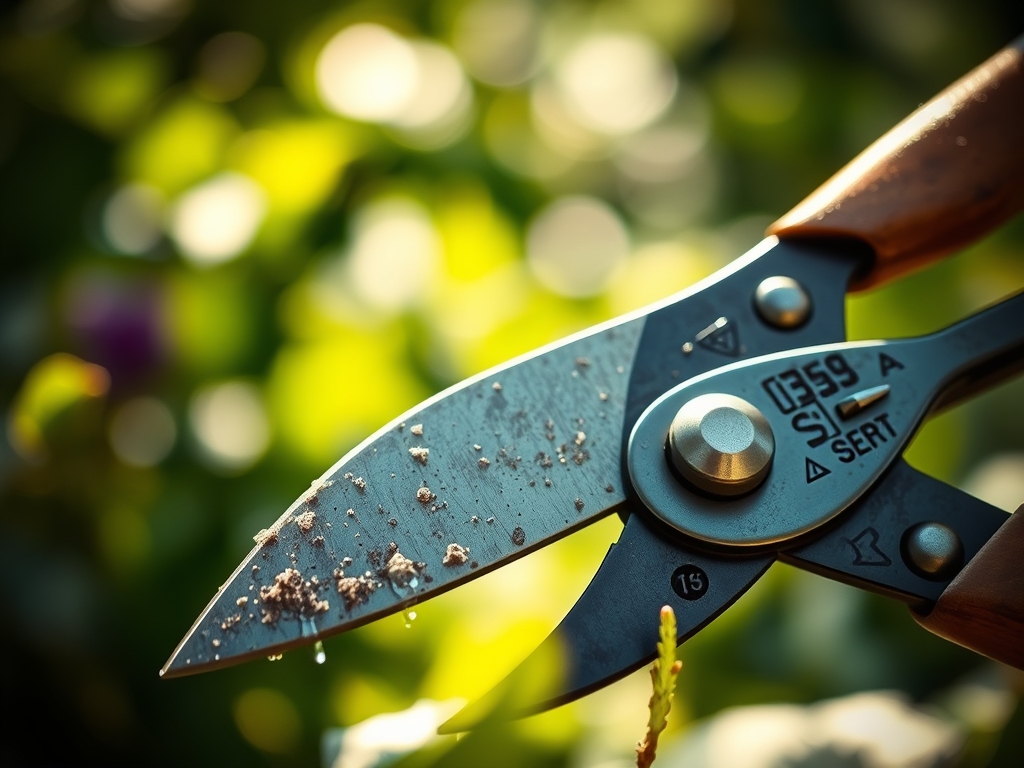
Submerge the blades in a solution of one part bleach to nine parts water, or wipe them down thoroughly with 70 percent isopropyl alcohol. Alcohol is preferred as it evaporates quickly and does not corrode the high-carbon steel found in professional bypass pruners.
Pro-Tip: Sterilization stops the cross-contamination of viral phytopathogens. By killing microbes on the blade surface, you ensure the plant can focus its energy on callus tissue formation rather than fighting an introduced infection.
Establishing the Edge
Once sterile, inspect the bevel of the blade. Use a diamond file to hone the edge at a 20-degree angle. A sharp blade ensures that the xylem and phloem are not crushed during the cut, maintaining the hydraulic integrity of the plant.
Pro-Tip: A clean cut preserves auxin suppression. When a terminal bud is removed cleanly, the plant efficiently redistributes auxins to lateral buds, promoting a bushier growth habit without the risk of tissue necrosis.
The Clinic:
When tools are neglected, plants exhibit physiological stress. Observe these symptoms to diagnose the aftermath of poor tool hygiene:
- Symptom: Jagged, brown edges on prune sites. Solution: Sharpen blades to ensure a single-plane cut that minimizes exposed surface area.
- Symptom: Dieback moving downward from the cut. Solution: Sterilize shears between every single cut using alcohol to stop the spread of systemic pathogens.
- Symptom: Rust spots on tool steel. Solution: Remove oxidation with steel wool and apply a protective oil coating to prevent moisture contact.
For nutrient-related issues often confused with disease, check your soil. Nitrogen chlorosis presents as a general yellowing of older leaves. Fix this by applying a fertilizer with an NPK ratio of 10-5-5 to boost vegetative growth. If the leaf veins remain green while the tissue yellows, you likely face an iron deficiency caused by a pH above 7.0, which locks out micronutrients.
Maintenance:
Consistency is the hallmark of a professional. Beyond the shears, use a soil moisture meter to ensure your plants receive exactly 1.5 inches of water per week at the drip line. Use a hori-hori knife to remove weeds by the root, preventing competition for nitrogen in the rhizosphere. Every ten days, inspect the pivot bolt on your shears. If it loosens, the blades will "bypass" incorrectly, tearing the bark and leaving the plant vulnerable to fungal spores.
The Yield:
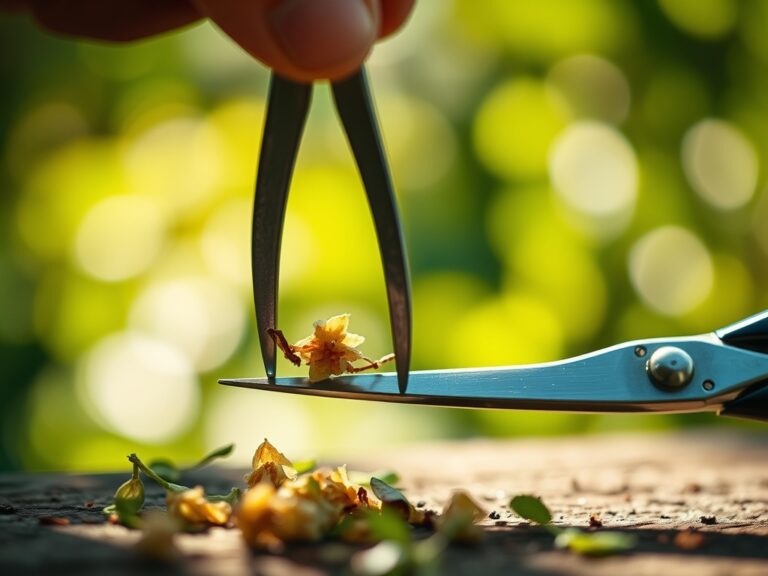
For those harvesting woody herbs or flowering perennials, timing is everything. Harvest in the early morning when turgor pressure is at its peak and the plant is fully hydrated. Use your freshly cleaned shears to make a 45-degree cut just above a node. This maximizes the surface area for water uptake post-harvest, ensuring "day-one" freshness for several days. Immediately place the stems in water adjusted to a pH of 3.5 to 4.5 to facilitate rapid uptake and prevent vascular blockage.
FAQ:
How often should I clean my shears?
Clean your shears after every use. If you are pruning diseased wood, you must disinfect the blades with 70 percent isopropyl alcohol between every single cut to prevent the systemic spread of pathogens across the plant.
Can I use WD-40 on my garden tools?
Avoid WD-40 for long-term lubrication. It is a solvent that can degrade over time and potentially irritate plant tissue. Use food-grade mineral oil or camellia oil to protect the steel without harming the soil microbiology.
What is the best way to remove rust?
Soak the rusted components in white vinegar for 12 to 24 hours. Afterward, scrub the surface with a wire brush or steel wool. Rinse thoroughly, dry completely, and apply a thin layer of oil to prevent flash rusting.
Why are my shears crushing stems instead of cutting?
This usually indicates a loose pivot bolt or a dull blade. Tighten the nut so the blades meet firmly without resistance. If the issue persists, sharpen the cutting blade to a 20-degree angle to restore its shearing action.