9 Tips to Use a Border Spade for Custom Landscaping
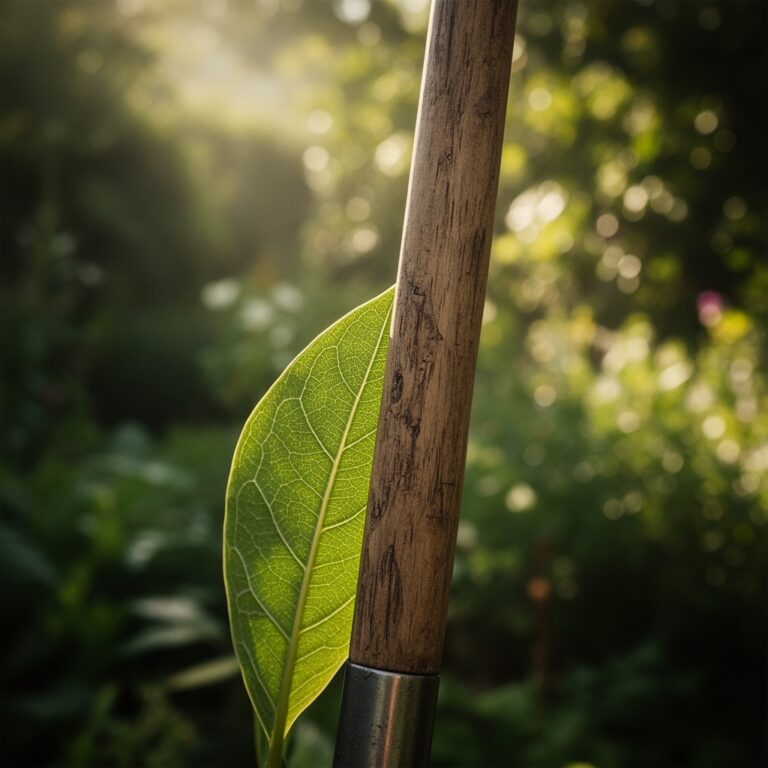
The scent of damp, disturbed earth signals the beginning of a structural shift in the garden. When the soil reaches a temperature of 55 degrees Fahrenheit, the microbial activity in the rhizosphere accelerates, making the substrate pliable and ready for modification. Using a spade for custom landscaping requires more than physical force; it demands an understanding of soil physics and the mechanical leverage of a narrow, flat blade. A border spade is smaller than a standard digging spade, typically featuring a blade 9 inches long and 5.5 inches wide. This specific geometry allows for surgical precision when cutting through dense root mats or defining the clean geometry of a perennial bed. The turgor pressure within the surrounding turf must be high to ensure clean cuts, as dehydrated grass blades will tear rather than shear. Success in custom landscaping depends on the integrity of the vertical cut and the preservation of the soil profile. By mastering the border spade, the horticulturist manages the intersection of aesthetic design and biological health.
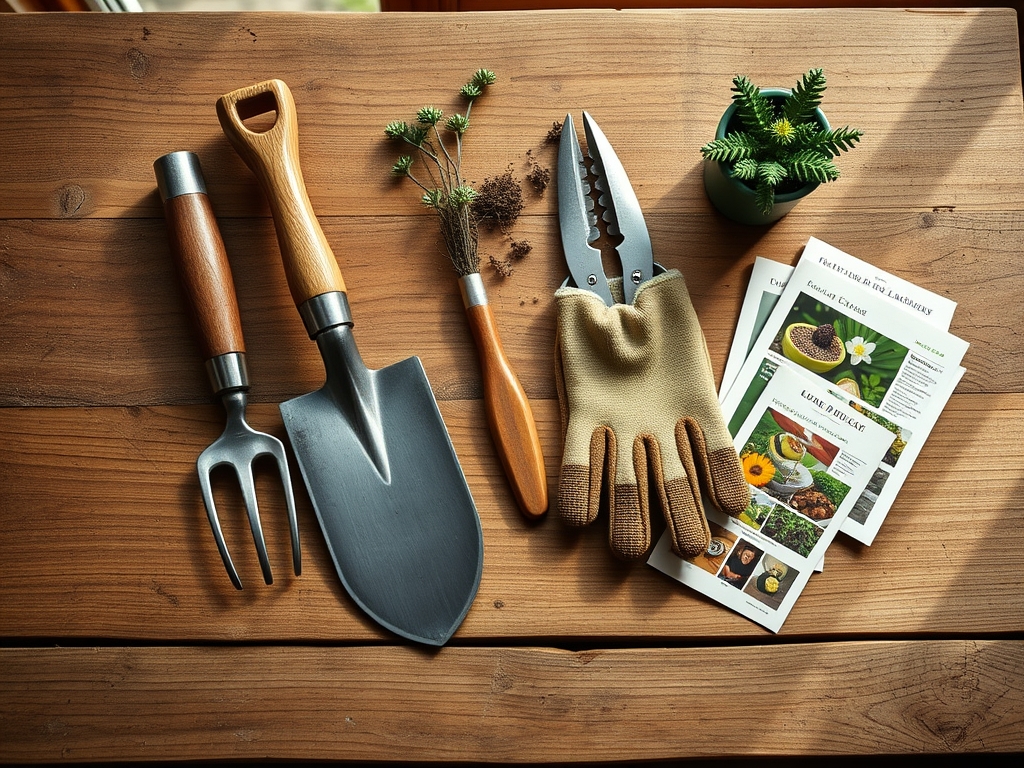
Materials:
The ideal substrate for high-precision spade work is a **friable loam** with a Cation Exchange Capacity (CEC) between **15 and 25 meq/100g**. This texture ensures the blade glides through the soil without the sticking associated with heavy clays or the structural collapse found in pure sands. Soil pH should be maintained between **6.0 and 7.0** to optimize nutrient availability. Before beginning your landscaping project, amend the area based on specific NPK requirements. For established woody ornamentals, a ratio of **10-10-10** provides balanced support. If you are preparing a bed for heavy-blooming perennials, transition to a **5-10-10** formula to prioritize phosphorus for root development and bud set. Ensure the soil moisture is at **field capacity**, roughly **25 percent water and 25 percent air by volume**, to prevent compaction during the excavation process.
Timing:
Hardiness Zones 4 through 8 offer the most critical windows for major spade work. The primary window opens three weeks before the last expected frost when the soil is no longer saturated with snowmelt but remains cool enough to prevent rapid moisture loss. In the "Biological Clock" of the plant, this corresponds to the transition from endodormancy to ecodormancy. Performing heavy spade work during the vegetative stage, specifically when the plant is actively pushing new apical growth, can lead to transplant shock. Aim for the "Goldilocks" window where the photoperiod is increasing but the ambient temperature remains below 70 degrees Fahrenheit. This timing ensures that the plant's energy is directed toward root regeneration in the newly cut soil rather than supporting a large, transpiring canopy.
Phases:
Sowing and Bed Preparation
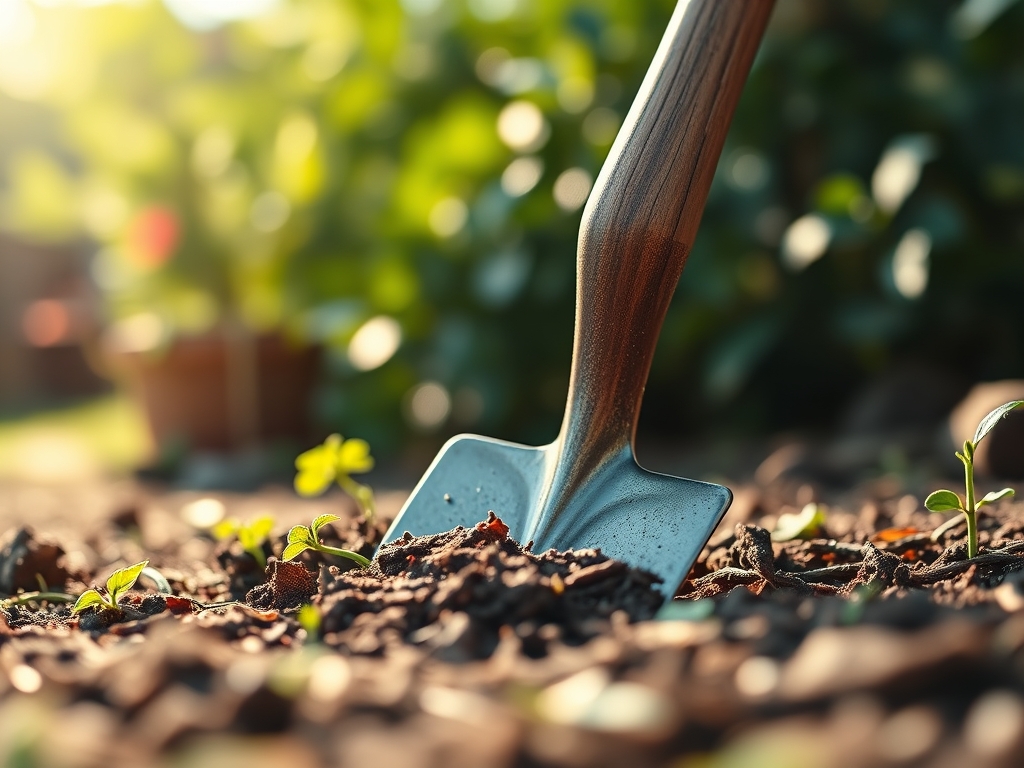
When using a spade for custom landscaping to create new beds, the first step is the "sod-cut." Drive the blade 6 inches deep at a 90-degree angle to the surface. This vertical severance cuts through the stolons and rhizomes of the turfgrass. Lift the sod in uniform squares to reveal the A-horizon of the soil.
Pro-Tip: Maintaining a vertical edge prevents the "wicking effect" where grass roots quickly bridge the gap back into the garden bed. This is due to thigmotropism, where roots grow in response to the physical touch of the soil interface.
Transplanting
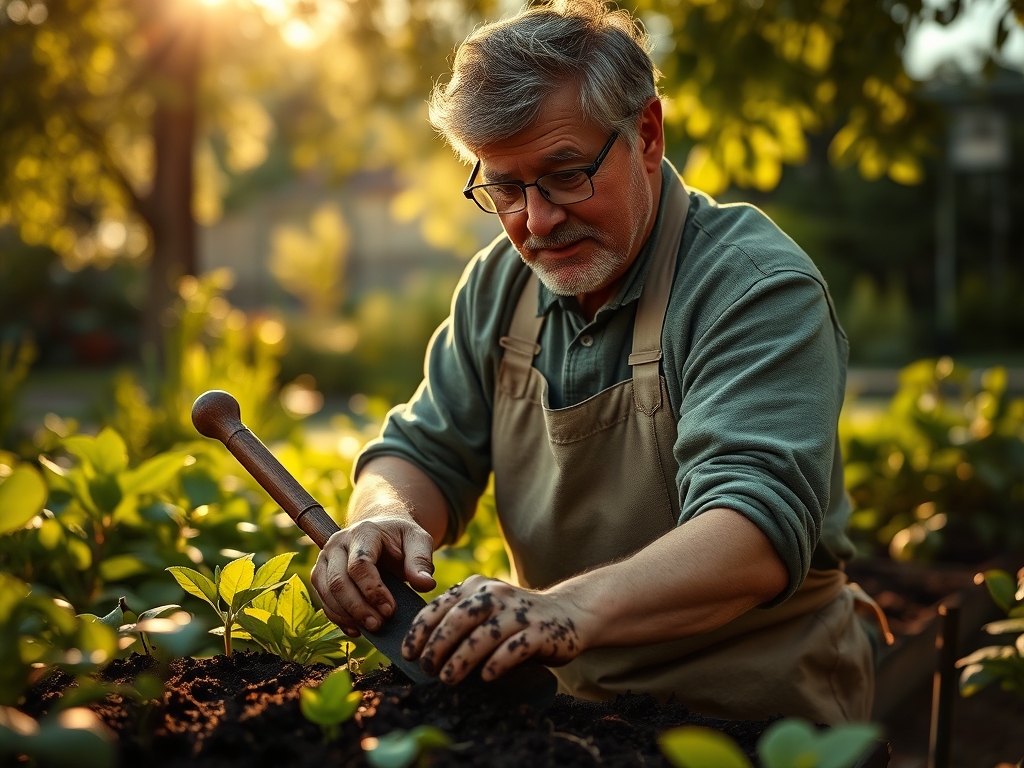
To move an established shrub, use the border spade to describe a circle 12 inches wider than the plant's drip line. This preserves the majority of the fine feeder roots located in the top 8 inches of soil. Insert the spade and tilt the handle backward to use the fulcrum of the soil surface to lift the root ball.
Pro-Tip: When the roots are severed, the plant experiences a temporary drop in turgor pressure. Reducing the leaf area by 15 percent through selective pruning can mitigate this loss, balancing the transpiration rate with the reduced root mass.
Establishing the Edge
A custom landscape is defined by its edges. Use a string line to guide the spade, driving it 4 inches deep to create a "V" shaped trench. This trench acts as a physical barrier to prevent the encroachment of invasive rhizomatous grasses.
Pro-Tip: This open trench improves gas exchange in the rhizosphere. Increased oxygen levels at the bed's edge stimulate mycorrhizal symbiosis, as the fungi require aerobic conditions to effectively colonize the root systems of your ornamental plants.
The Clinic:
Physiological disorders often manifest after aggressive spade work or improper soil management.
- Symptom: Interveinal chlorosis in new leaves.
Solution: This indicates a lack of iron availability, often caused by high soil pH (above 7.5). Apply chelated iron and adjust pH with elemental sulfur.
2. Symptom: Marginal leaf scorch on newly transplanted shrubs.
Solution: This is a sign of "transplant shock" or desiccation. The root system cannot meet the demand for water. Increase irrigation frequency and apply a 3-inch layer of organic mulch.
3. Symptom: Stunted growth and purplish tint on lower foliage.
Solution: Phosphorus deficiency. This is common in cold, wet soils where phosphorus becomes chemically "locked." Incorporate a high-phosphorus bone meal into the soil at a depth of 4 inches.
4. Symptom: Sudden wilting despite moist soil.
Solution: Root rot (Phytophthora). This occurs when using a spade in heavy clay without proper drainage, creating a "bathtub effect." Incorporate expanded shale to improve macropore space.
Maintenance:
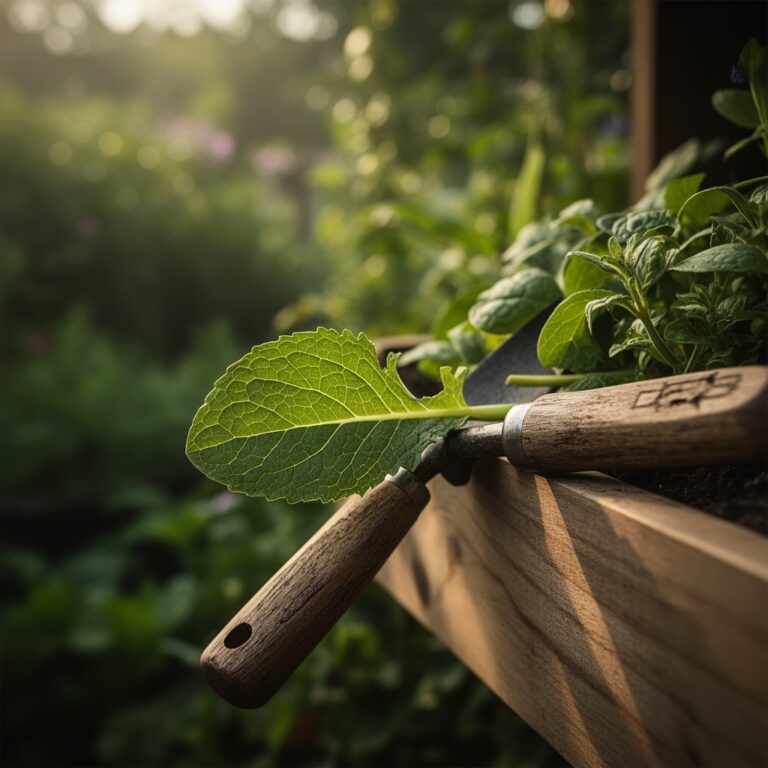
Post-landscaping care requires precision. Deliver 1.5 inches of water per week directly at the drip line. Use a soil moisture meter to ensure the water is penetrating at least 8 inches deep. Check the sharpness of your border spade regularly; a dull blade crushes plant tissues rather than cutting them, which invites pathogens. Use a hori-hori knife for weeding within the established edge to avoid disturbing the root systems of your perennials. For woody plants, use bypass pruners to remove any dead or crossing branches (the "3 Ds": dead, damaged, diseased) to maintain the structural integrity of the landscape you have shaped.
The Yield:
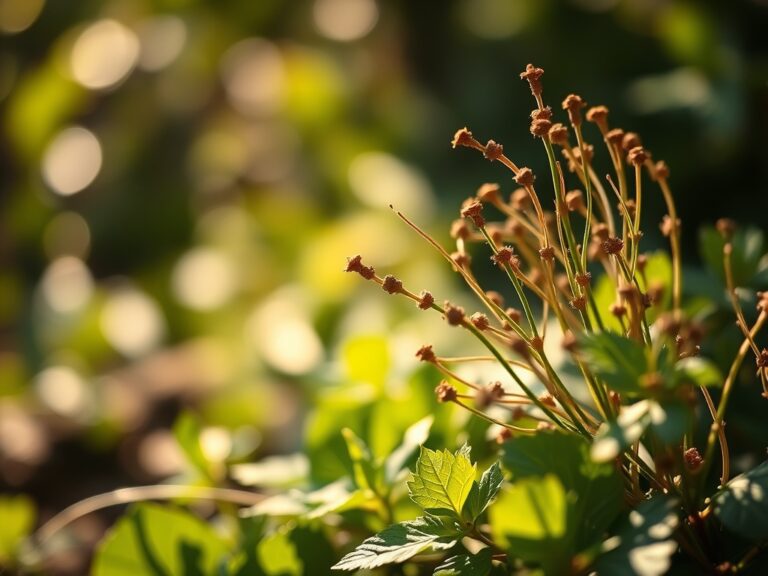
If your custom landscaping includes flowering perennials like Peonies or Echinacea, harvest for indoor use when the buds are in the "marshmallow" stage. This is the moment when the bud feels soft but has not yet fully unfurled. Use a sharp knife to cut the stem at a 45-degree angle to maximize the surface area for water uptake. Immediately plunge the stems into 110-degree Fahrenheit water containing a floral preservative to maintain "day-one" freshness. This heat helps strip air bubbles from the xylem, ensuring the plant remains hydrated through its senescence.
FAQ:
How do I prevent the spade from sticking in clay?
Coat the blade with a silicone-based lubricant or a thin layer of linseed oil. Ensure the soil is not at saturation point. Clay particles adhere to metal through surface tension when the moisture content exceeds 30 percent.
What is the best way to clean a border spade?
Remove all soil with a stiff wire brush. Wipe the metal with a 10 percent bleach solution to prevent the transfer of soil-borne pathogens like Fusarium. Dry the tool completely and apply a light coat of oil to prevent oxidation.
Can I use a border spade for deep digging?
A border spade is designed for precision and shallow excavation. For depths exceeding 12 inches, switch to a round-point digging shovel. Using a border spade for deep prying can stress the handle and result in a snapped shaft.
How often should I re-edge my landscape beds?
Perform a deep edging twice per year. The primary cut should occur in early spring before the grass breaks dormancy. A secondary "touch-up" in late summer prevents rhizomatous grasses from encroaching during their peak lateral growth phase.