9 Final Steps on How to Prepare Your Vegetable Garden for the Fall Harvest
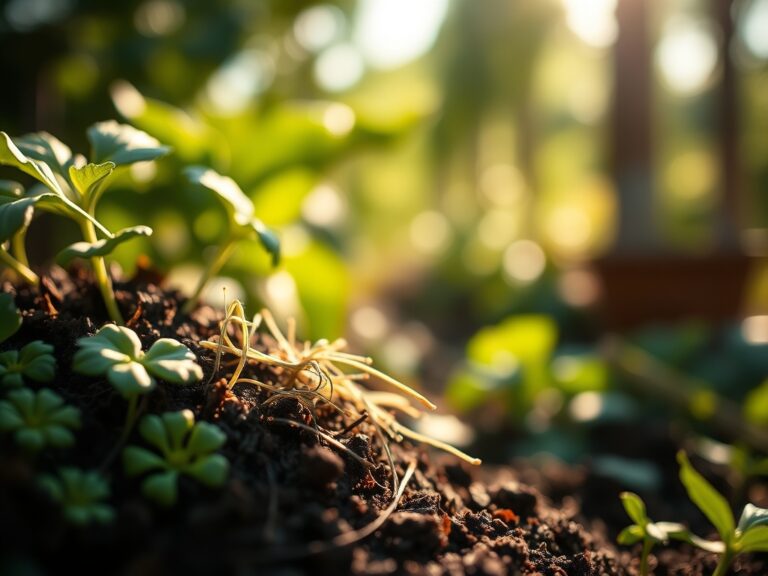
The first chill in late July air carries a promise. Your tomatoes still ripen, but the calendar whispers that fall brassicas and root crops need soil now. Learning how to prepare a vegetable garden for fall harvest means working backward from your first frost date, amending tired summer soil, and selecting cultivars bred for shorter days. I have planted over forty fall gardens across three hardiness zones, and the difference between a November bounty and bare beds lies in these nine deliberate steps.
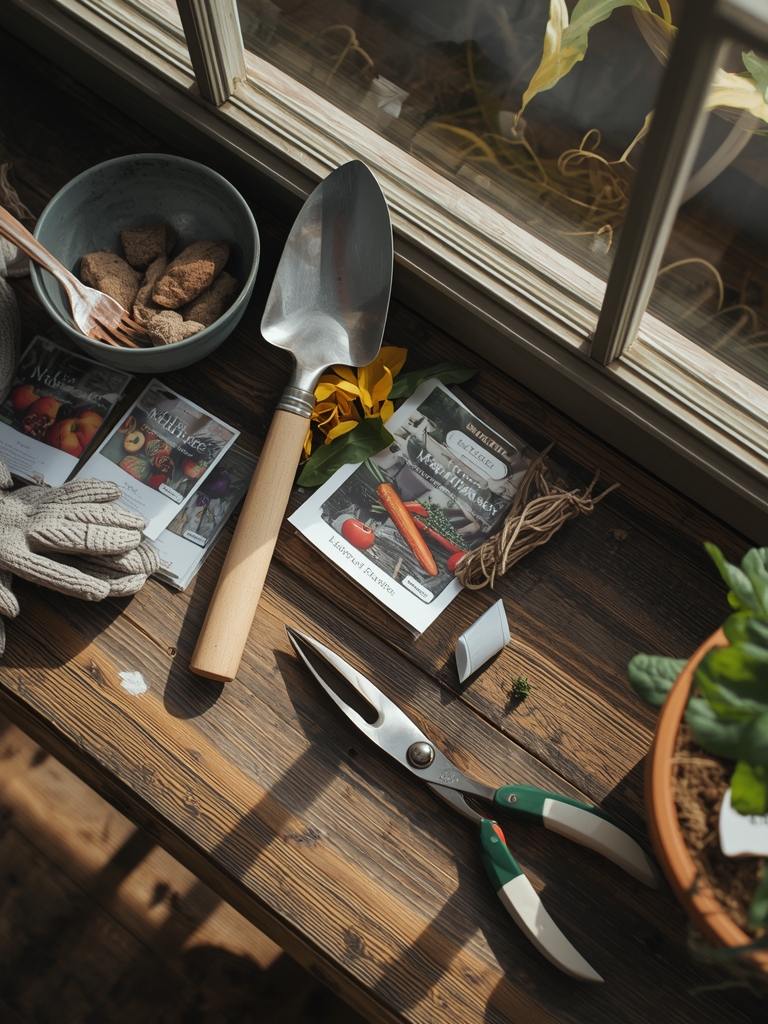
Materials & Supplies
Soil Amendments
- Aged compost (6-month minimum cure time)
- Alfalfa meal (2.5-0.5-2.5 NPK) for nitrogen boost
- Rock phosphate (0-3-0) to support root development
- Sulfur or lime (target pH 6.2 to 6.8 for most fall crops)
Seeds & Transplants
- Brassicas: kale, collards, broccoli, cauliflower (60 to 80 days to maturity)
- Root vegetables: carrots, beets, turnips, radishes (50 to 70 days)
- Greens: lettuce, spinach, arugula, mache (30 to 50 days)
Tools & Infrastructure
- Soil thermometer (critical for germination timing)
- Row cover fabric (0.55 oz per square yard for frost protection)
- Drip irrigation or soaker hoses
- Broadfork or garden fork for aeration
Timing & Growing Schedule
Count backward from your average first frost date. Most cooperative extension offices publish this data by zip code. Subtract each crop's days to maturity, then add two weeks as a "fall factor" buffer. Shorter day length and cooler soil slow growth compared to spring.
Hardiness Zone Guidelines
- Zones 3-4: Begin transplanting by late July; direct seed by early August
- Zones 5-6: Transplant by mid-August; direct seed through early September
- Zones 7-8: Transplant through September; direct seed into early October
Start brassica seedlings indoors four to six weeks before transplant date. Direct seed root crops and greens straight into garden beds. Soil temperature matters more than air temperature. Lettuce germinates best at 60 to 68°F, while spinach prefers 50 to 65°F.
Step-by-Step Instructions
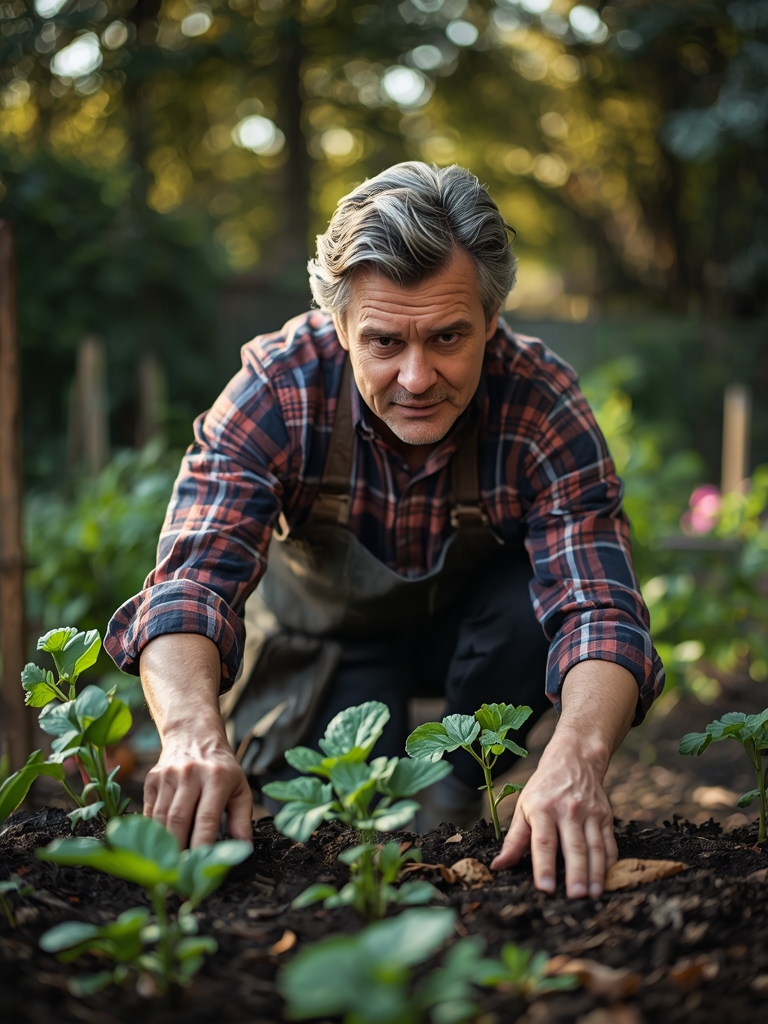
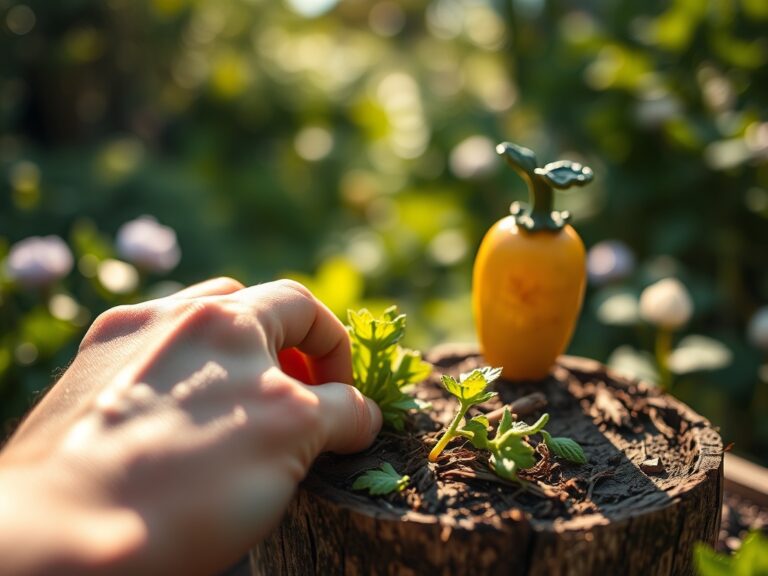
Step 1: Clear Spent Summer Crops
Pull exhausted tomato, pepper, and squash plants. Check roots for galls (root-knot nematodes) or club-shaped swellings (clubroot). Compost only disease-free material. Burn or trash infected tissue.
Pro-Tip: Leave legume roots (beans, peas) in the soil. Their nodules release nitrogen as they decompose, feeding your fall crops without fertilizer.
Step 2: Test and Amend Soil
Use a digital pH meter or send samples to your extension lab. Fall brassicas develop bitter flavors in acidic soil below 6.0. Spread two inches of aged compost across all beds. Add alfalfa meal at one pound per 25 square feet for nitrogen-hungry leafy greens.
Pro-Tip: Mix rock phosphate into root crop beds only. Excess phosphorus locks up micronutrients in leafy green zones.
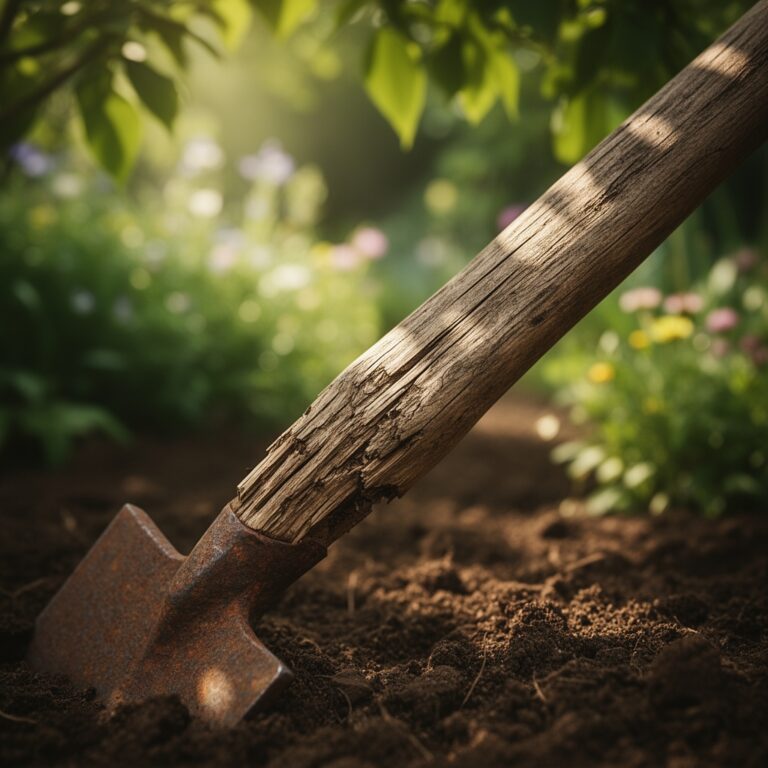
Step 3: Aerate Compacted Soil
Push a broadfork 12 inches deep every six inches across the bed. Rock it back gently to fracture compaction without inverting layers. This preserves soil structure and mycorrhizal networks that summer crops established.
Pro-Tip: Avoid rototilling in late summer. It destroys fungal hyphae and brings weed seeds to the surface when you have no time to manage them.
Step 4: Pre-Water Seed Beds
Soak planting areas 24 hours before sowing. Moist soil at seeding time prevents the "crust problem" where dry surface soil hardens and blocks germination. Carrot seeds, notorious for poor emergence, germinate twice as reliably in pre-watered beds.
Pro-Tip: Cover carrot and lettuce rows with burlap after seeding. Water through the fabric daily until sprouts appear, then remove it immediately.
Step 5: Direct Seed Root Crops and Greens
Plant carrots, beets, and turnips at half-inch depth. Space lettuce seeds two inches apart in rows 12 inches apart. Spinach needs one-inch spacing in rows eight inches apart. Firm soil over seeds with the back of a hoe.
Pro-Tip: Mix radish seeds with carrot seeds at a 1:4 ratio. Fast-germinating radishes mark rows and break soil crust for slower carrots. Harvest radishes at three weeks; carrots fill the space.
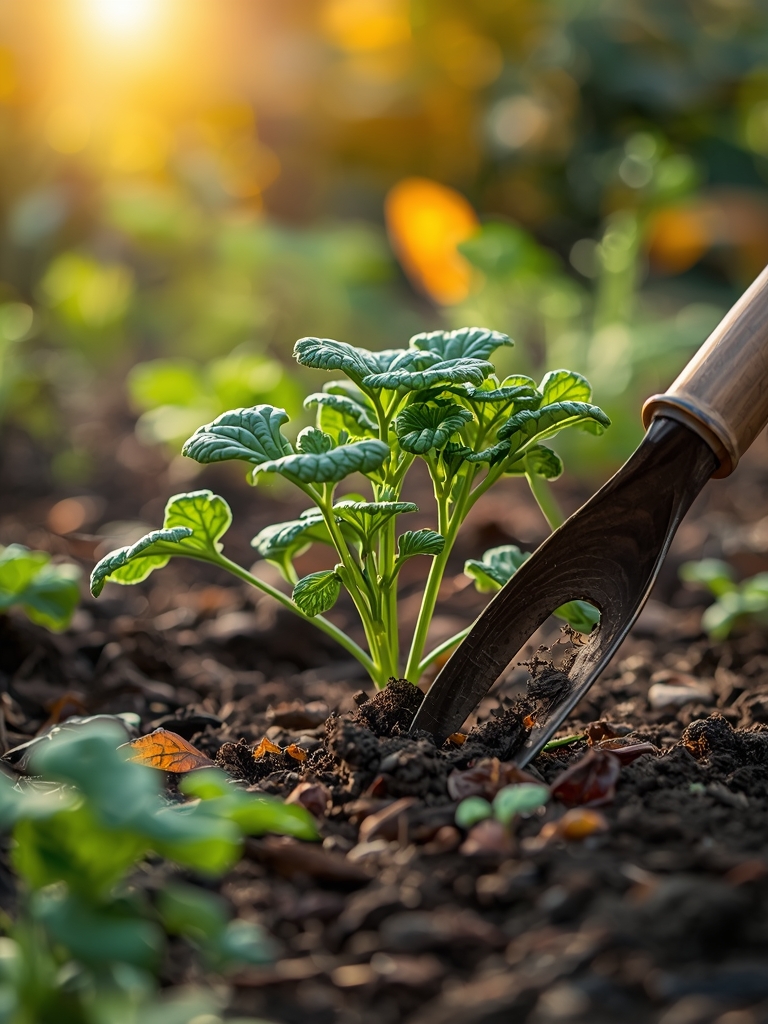
Step 6: Transplant Brassica Seedlings
Set four to six week old starts 18 inches apart for cabbage and broccoli, 12 inches for kale. Bury stems up to the first true leaves. This encourages adventitious root growth and anchors plants against wind.
Pro-Tip: Water transplants with a kelp extract solution (diluted per label). Cytokinins in kelp reduce transplant shock and speed establishment.
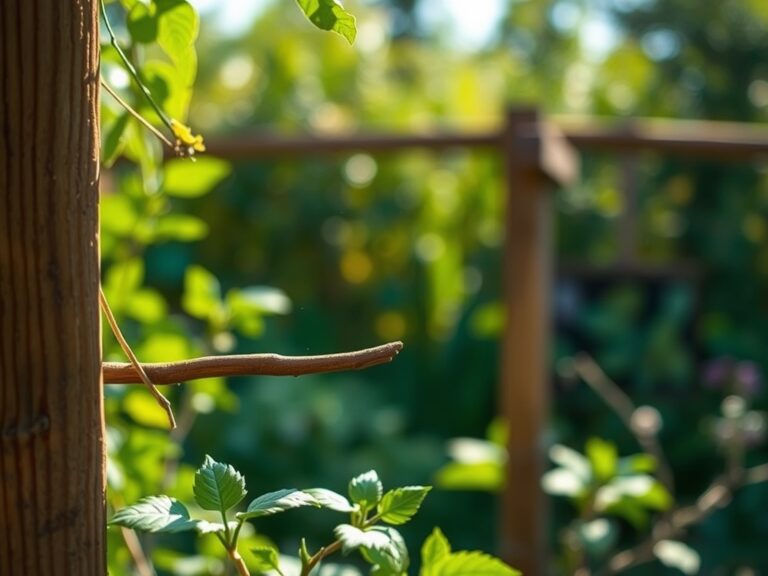
Step 7: Install Row Covers
Drape 0.55 oz floating row cover over hoops immediately after planting. This excludes cabbage moths, flea beetles, and aphids without pesticides. Bury edges with soil or landscape staples. Remove covers only for weeding.
Pro-Tip: Leave covers on lettuce and spinach through first frost. These greens tolerate 28°F under fabric but turn to mush without protection.
Step 8: Mulch Pathways
Spread two inches of straw or shredded leaves between beds. This suppresses late-season weeds and keeps soil from splashing onto low-growing greens during fall rains. Clean leaves resist rot better than dirty roots at harvest.
Pro-Tip: Avoid mulching inside beds until after germination. Mulch keeps soil cool, delaying emergence when you need speed.
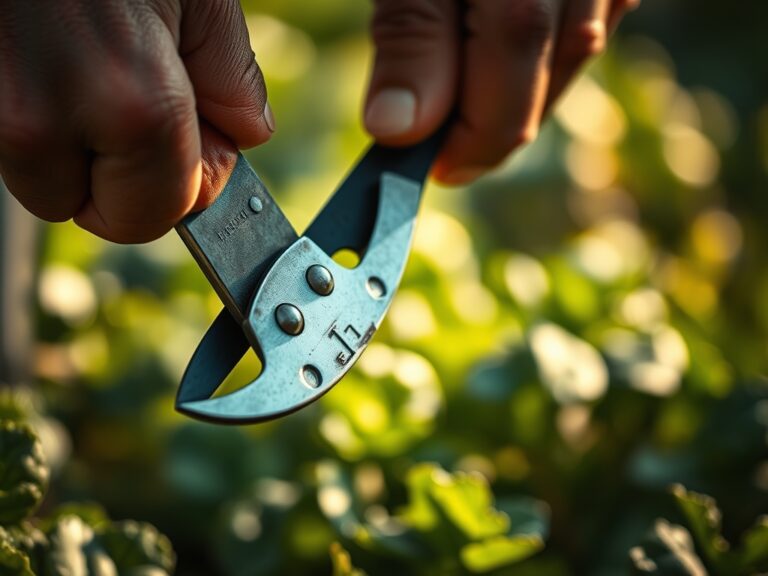
Step 9: Mark Harvest Windows
Tag each bed with variety name and expected harvest date. Use waterproof labels or grease pencil on plastic stakes. This prevents the common mistake of harvesting immature roots or waiting too long on frost-sensitive crops.
Pro-Tip: Harvest kale, collards, and Brussels sprouts after the first light frost (32°F). Cold converts starches to sugars, improving flavor dramatically.
Nutritional & Environmental Benefits
Fall vegetables concentrate nutrients as they mature in cool weather. Kale grown in October contains 30% more vitamin C than June-harvested leaves. Carrots harvested after frost develop sweetness unmatched by summer roots. These crops extend your fresh food supply two to three months past summer's end.
Fall gardens support declining pollinator populations. Late-blooming arugula and mustard flowers feed native bees when goldenrod fades. Leaving brassica roots overwinter provides habitat for ground beetles that prey on spring aphids. The organic matter you incorporate feeds earthworms and soil bacteria through winter dormancy, building fertility for next season.
Advanced Methods & Variations
Small Space Adaptation
Use 18-inch deep containers for lettuce, spinach, and radishes. Select compact varieties like 'Tom Thumb' lettuce or 'Thumbelina' carrots. Place containers against south-facing walls to capture thermal mass. A 4×8 foot balcony can yield 20 pounds of greens with succession planting every two weeks.
Organic & Permaculture Approach
Plant nitrogen-fixing crimson clover between vegetable rows six weeks before first frost. Clover establishes before hard freeze, then resumes growth in early spring as living mulch. Interplant garlic cloves among brassicas in September. Garlic deters aphids and matures next June without occupying separate bed space.
Season Extension Techniques
Add low tunnels over row-covered beds in zones 3-6. Use 9-gauge wire hoops every four feet, spanning beds with 6-mil greenhouse plastic. This creates a double-layer system that protects to 20°F. Vent tunnels on sunny days above 50°F to prevent heat stress. Harvest spinach and kale into December (zone 5) or February (zone 7) with this method.
Troubleshooting: Common Mistakes
Symptom: Seeds Fail to Germinate
Solution: Soil temperature exceeded 75°F at seeding. Cool-season crops enter dormancy in hot soil. Wait for nighttime lows below 65°F, or start seeds indoors under lights, then transplant.
Symptom: Leggy, Pale Seedlings
Solution: Insufficient light indoors or excessive nitrogen. Place seedlings four inches under fluorescent tubes for 14 hours daily. Reduce nitrogen fertilizer; fall crops need phosphorus and potassium, not leafy growth.
Symptom: Transplants Wilt and Die
Solution: Root disturbance during transplanting or underwatering. Use soil block or plug trays that preserve entire root balls. Water daily for one week, then transition to every three days.
Symptom: Holes in Brassica Leaves
Solution: Cabbage worms or flea beetles. Install row covers before pests arrive (not after damage appears). For existing infestations, spray Bacillus thuringiensis (Bt) at dusk. Flea beetles require spinosad (organic) or pyrethrin.
Symptom: Bitter or Tough Greens
Solution: Water stress or heat exposure. Maintain consistent soil moisture (one inch per week minimum). Provide 30% shade cloth if daytime highs exceed 80°F during establishment.
Storage & Maintenance
Water fall crops with one inch per week through September, tapering to half inch as temperatures drop. Mulch around (not over) plants with two inches of straw after soil cools below 60°F. This insulates roots and moderates freeze-thaw cycles that heave plants from soil.
Side-dress brassicas with compost four weeks after transplanting. No additional feeding needed for root crops or greens; excess nitrogen causes lush foliage at the expense of root development.
Harvest leafy greens by cutting outer leaves, leaving centers to regrow. Pull root crops before ground freezes solid (typically two weeks after first hard freeze). Brush off soil but do not wash; moisture invites rot.
Storage Guidelines
- Carrots, beets, turnips: Store in damp sand at 32 to 40°F for four months
- Cabbage: Wrap heads in newspaper; store at 32°F for three months
- Kale, collards: Leave in garden under row cover; harvest as needed through winter (zones 6-8)
Conclusion
Success in fall gardening requires precision timing, soil preparation before planting, and proactive pest exclusion. These nine steps transform July planning into November harvests. Share your first frost date and favorite cold-hardy variety with local gardeners. Building a network of fall gardeners creates seed-swapping opportunities and shared season-extension knowledge that benefits your entire community.
Expert FAQs
Can I plant fall vegetables where summer tomatoes grew?
Yes, but rotate plant families. Follow tomatoes (nightshade) with brassicas or roots (different families). This breaks disease cycles and balances nutrient depletion. Amend soil with compost before replanting.
How do I know when to harvest root vegetables?
Check days to maturity on seed packets, then test-dig one root. Fall carrots and beets improve with size; harvest when shoulders reach one inch diameter. Taste determines readiness better than size; frost-touched roots develop peak sweetness.
What temperature kills fall vegetable plants?
Hard freeze at 28°F for four hours kills lettuce, spinach, and arugula (unless covered). Kale, collards, Brussels sprouts, and mache survive to 20°F. Carrots, beets, and turnips tolerate 25°F in-ground but need harvest before soil freezes solid.
Should I use transplants or direct seed for fall gardens?
Transplant brassicas for time efficiency. Direct seed everything else. Root crops (carrots, beets, radishes) resent transplanting; their taproots fork or stunt when disturbed. Lettuce and spinach germinate so quickly that transplanting wastes effort.
How do I extend harvest into winter without a greenhouse?
Layer protection: row cover directly on plants, then low tunnels with plastic over hoops. This double-wall system moderates temperature 15 to 20°F above ambient. Grow cold-hardy varieties like 'Winterbor' kale or 'Tyee' spinach bred for winter survival.