6 Professional Steps to Prepare and Groom Your Vegetables for a Garden Show
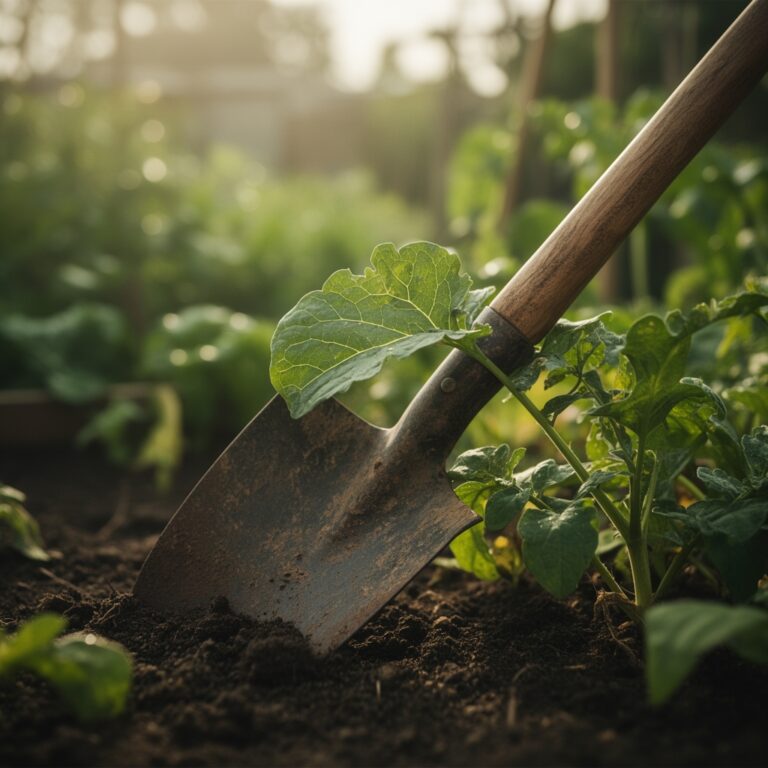
The smell of freshly turned loam, still cool from the morning dew, clings to your hands as you inspect each leaf for blemishes. Garden shows demand perfection: vegetables with symmetry, color intensity, and flawless skin that judges scrutinize under bright exhibition lights. Learning how to prepare a garden for a home vegetable show separates casual growers from blue ribbon winners. This process requires strategic planning, precise nutrient management, and grooming techniques that transform ordinary produce into competition-grade specimens.
Materials & Supplies
Soil Amendments:
- Composted manure (aged 12 months minimum)
- Sulfur or lime to adjust pH between 6.0 and 6.8
- Mycorrhizal fungi inoculant for root colonization
- Granular fertilizer 5-10-10 for fruiting vegetables
- Blood meal (12-0-0) for leafy greens requiring high nitrogen
Pest Management Tools:
- Neem oil concentrate (70% azadirachtin)
- Diatomaceous earth (food grade)
- Row covers (0.55 oz per square yard fabric weight)
- Yellow sticky traps for aphid monitoring
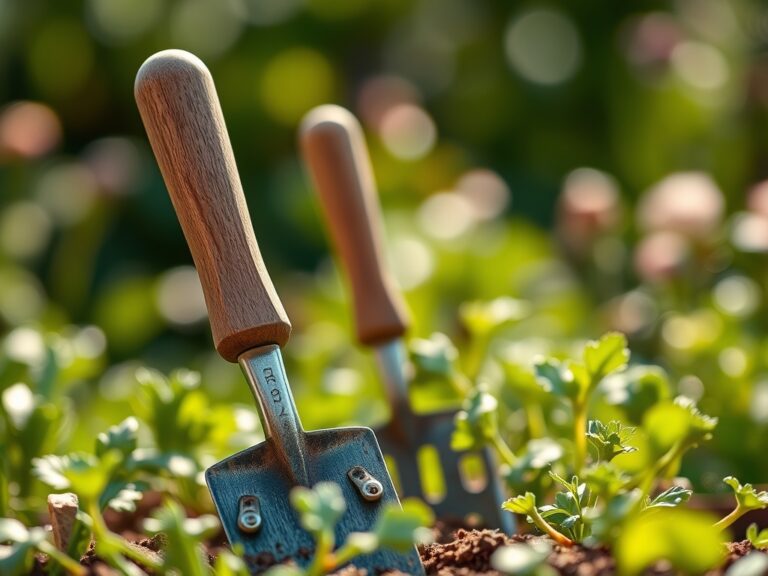
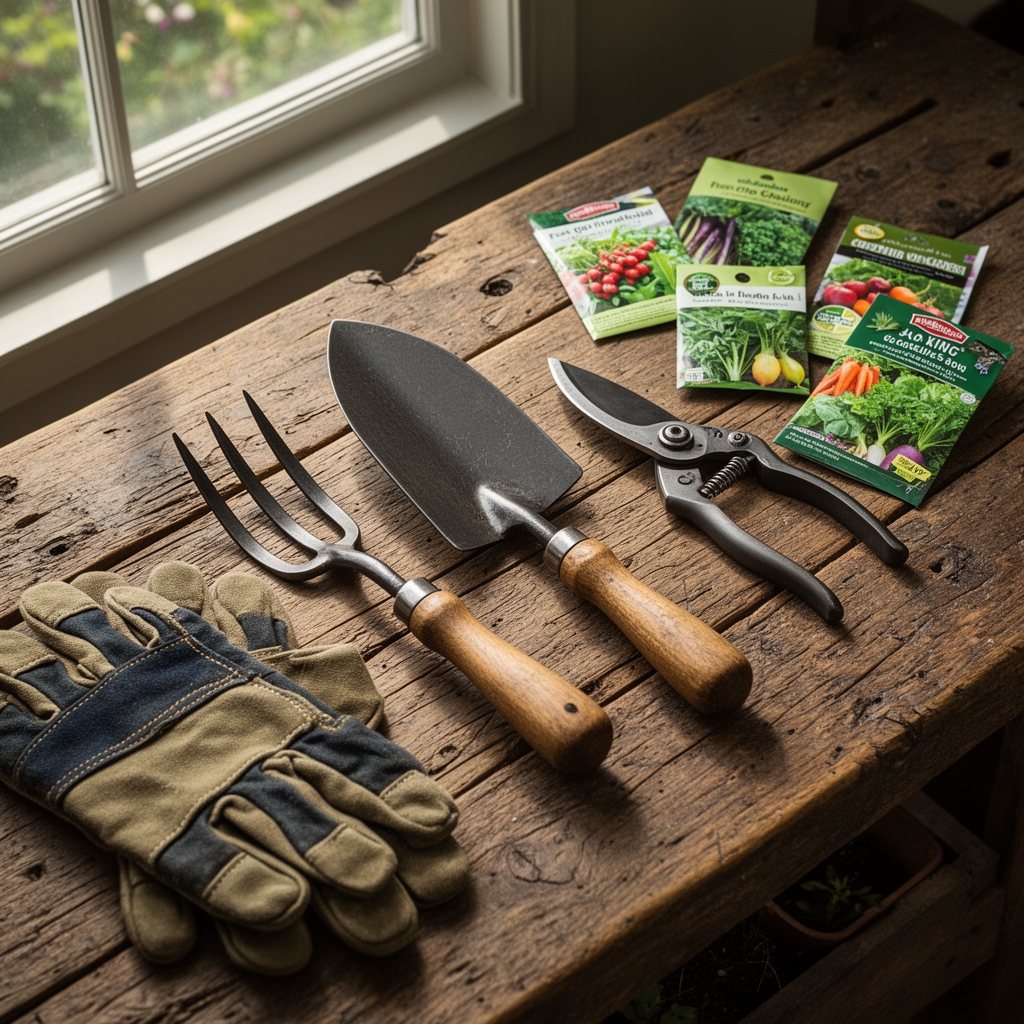
Grooming Equipment:
- Soft bristle brushes for cleaning root vegetables
- Pruning shears (bypass style, 8-inch blades)
- Cotton gloves for handling delicate produce
- Hydrogen peroxide solution (3%) for spot cleaning
Measurement Devices:
- Soil pH meter (accuracy within 0.1 pH units)
- Brix refractometer for measuring sugar content
- Calibrated rain gauge
- Digital scale accurate to 0.1 ounce
Timing and Growing Schedule
Success begins with strategic timing based on your USDA Hardiness Zone. Tomatoes require 70 to 85 days to maturity, cucumbers need 50 to 70 days, and carrots demand 65 to 80 days from seed to harvest. Calculate your show date, then count backward to determine your sowing schedule.
For Zones 5 through 7, start warm-season crops indoors 6 to 8 weeks before the last frost date. Transplant after soil temperatures stabilize above 60 degrees Fahrenheit. Cool-season vegetables like lettuce and radishes perform best when direct-sown 4 to 6 weeks before spring shows or in late summer for fall exhibitions.
Space plantings in two-week intervals. This staggered approach provides backup specimens if weather damages your primary entries. Keep detailed records of sowing dates, germination rates, and growth milestones in a dedicated garden journal.
Step-by-Step Instructions
Phase 1: Sowing Foundation (12 Weeks Before Show)
Test soil composition and amend to achieve target pH levels. Incorporate 2 inches of finished compost into the top 8 inches of soil. Apply granular fertilizer at half the recommended rate to avoid excessive vegetative growth.
Start seeds in sterile potting mix with vermiculite for moisture retention. Maintain temperatures between 70 and 75 degrees Fahrenheit for optimal germination. Provide 14 to 16 hours of artificial light positioned 2 inches above seedling tops.
Pro-Tip: Mix beneficial bacteria (Bacillus subtilis) into your seed-starting medium. This colonizes roots early and suppresses damping-off disease.
Phase 2: Transplanting Protocol (8 Weeks Before Show)
Harden off seedlings over 10 days by gradually exposing them to outdoor conditions. Transplant on overcast days or in evening hours to minimize transplant shock. Water with diluted fish emulsion (5-1-1) at quarter strength immediately after planting.
Install drip irrigation to deliver consistent moisture directly to root zones. Erratic watering causes splitting in tomatoes, bitter flavor in cucumbers, and forked carrots. Mulch with 3 inches of straw to regulate soil temperature and suppress weeds.
Pro-Tip: Remove the bottom two sets of leaves from tomato transplants and bury the stem horizontally. Adventitious roots will form along the buried portion, creating a more robust root system.
Phase 3: Establishing Competition Standards (4 to 8 Weeks Before Show)
Select the healthiest specimens and remove competing plants to eliminate resource competition. Pinch terminal buds on leafy greens 3 weeks before the show to encourage compact, dense heads. Prune tomato suckers to channel energy into fruit production rather than foliage.
Apply foliar feeds biweekly using kelp extract diluted to manufacturer specifications. This boosts micronutrient content and improves stress tolerance. Monitor leaves daily for pest damage or disease symptoms. A single chewed leaf can disqualify an entry.
Pro-Tip: Place white plastic mulch beneath ripening pumpkins and melons. Reflected light improves color development and prevents soil contact blemishes that judges deduct points for.
Nutritional and Environmental Benefits
Competition vegetables offer superior nutrition compared to commercially grown produce. Soil managed with nitrogen fixation from legume cover crops produces tomatoes with 30% higher vitamin C content. Carrots grown in well-balanced soil deliver increased beta-carotene levels that create deeper orange pigmentation.
Your exhibition garden supports local pollinator populations. Mason bees visit squash blossoms in early morning hours when honeybees remain dormant. Companion plantings of dill and fennel provide habitat for beneficial parasitic wasps that control hornworm populations naturally.
Diverse vegetable plantings improve soil structure through varied root architectures. Deep taproots from carrots break up compacted layers, while fibrous tomato roots create channels for water infiltration and oxygen exchange. This biological tillage reduces erosion and builds long-term soil fertility.
Advanced Methods
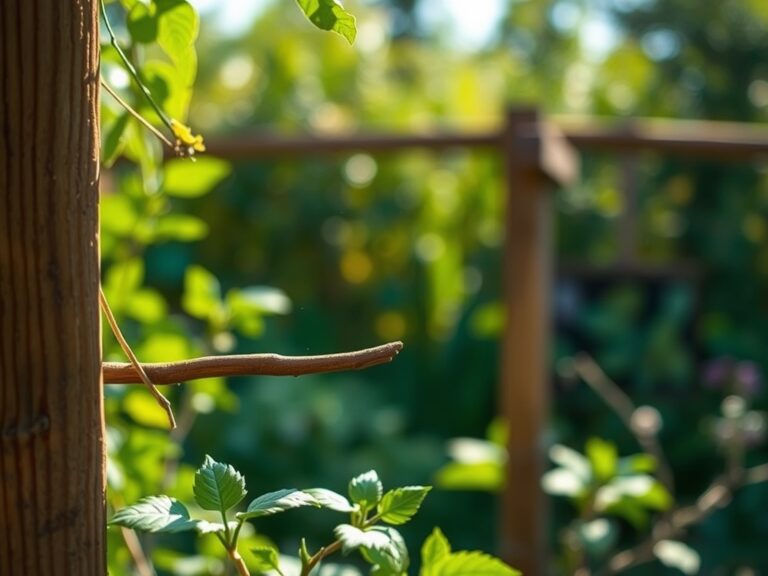
Small Space Optimization:
Vertical trellising maximizes production in limited areas. Train cucumbers and pole beans up 6-foot supports using biodegradable jute twine. Container-grown specimens require larger pots (minimum 5 gallons for tomatoes) and frequent feeding every 10 days due to nutrient leaching.
Organic and Permaculture Approaches:
Build soil food webs through compost tea applications every two weeks. Brew for 24 hours with continuous aeration to maintain aerobic bacterial populations. Plant polycultures with nitrogen-fixing fava beans interplanted among heavy feeders like cabbage.
Season Extension Techniques:
Install low tunnels with 6-mil greenhouse plastic to advance harvest dates by 2 to 3 weeks. Cold frames positioned against south-facing walls capture solar heat for growing lettuce and spinach through mild winters. Floating row covers add 4 to 8 degrees of frost protection without requiring support structures.
Troubleshooting
Symptom: Blossom end rot appears as dark, sunken spots on tomato bottoms.
Solution: Apply calcium chloride foliar spray and maintain consistent soil moisture. Fluctuating water availability prevents calcium uptake even when soil levels are adequate.
Symptom: Cucumber beetles create shothole damage on leaves and transmit bacterial wilt.
Solution: Apply kaolin clay as a protective barrier. The white coating deters feeding while reflecting heat. Reapply after rain events.
Symptom: Carrot shoulders turn green when exposed to sunlight.
Solution: Hill soil around carrot crowns when roots reach finger thickness. Chlorophyll development from light exposure creates bitter flavor judges detect.
Symptom: Powdery mildew appears as white patches on squash foliage.
Solution: Spray affected plants with baking soda solution (1 tablespoon per gallon water plus 1 teaspoon insecticidal soap). Apply weekly in morning hours for rapid drying.
Symptom: Tomato catfacing produces malformed, scarred fruits.
Solution: Avoid exposing plants to temperatures below 55 degrees Fahrenheit during bloom. Cold stress during flower development causes abnormal fruit formation that persists through maturity.
Storage and Maintenance
Deliver 1 inch of water per week through deep, infrequent irrigation sessions. Water at soil level during morning hours to allow foliage to dry before nightfall. Wet leaves overnight invite fungal pathogens that blemish exhibition entries.
Feed every 14 days with balanced fertilizer once fruits begin sizing. Stop nitrogen applications 3 weeks before harvest to prevent excessive vegetative growth that dilutes flavor. Excessive nitrogen also reduces storage life in root vegetables.
Harvest vegetables 24 to 48 hours before the show during cool morning temperatures. Store in perforated plastic bags at 95% humidity and temperatures between 35 and 40 degrees Fahrenheit. Clean specimens with soft brushes and water only. Never use soap or chemicals that leave residues judges detect.
Cure winter squash and pumpkins at 80 to 85 degrees Fahrenheit for 10 days before exhibition. This hardens rinds and intensifies color. Handle all produce by stems rather than grasping the fruit body to avoid fingerprints and bruising.
Conclusion
Preparing vegetables for exhibition requires combining soil science expertise with artistic presentation skills. Your success blueprint starts with strategic timing, continues through precise nutrient management, and finishes with meticulous grooming protocols. Share your competition experiences and winning techniques with local garden clubs to build knowledge throughout your growing community.
Expert FAQs
How far in advance should I start preparing soil for show vegetables?
Begin soil preparation 4 to 6 months before planting by incorporating organic matter and adjusting pH. This allows amendments to integrate fully and microbial populations to stabilize before root systems establish.
What causes vegetables to split or crack before shows?
Rapid water uptake following drought stress causes cell expansion that splits outer tissues. Maintain consistent moisture levels through mulching and regular irrigation scheduling to prevent internal pressure buildup.
Can I use chemical pesticides on show vegetables?
Show regulations typically prohibit visible pesticide residues. Focus on preventive measures like row covers, beneficial insect releases, and organic sprays that break down before harvest. Check specific show rules before applying any treatments.
How do judges evaluate vegetable entries?
Judges assess uniformity, color intensity, freedom from blemishes, appropriate size for the variety, and freshness. They also evaluate trueness to type, meaning specimens should display ideal characteristics for their specific cultivar rather than just large size.
What is the ideal size for competition tomatoes?
Medium-sized tomatoes between 6 and 8 ounces typically score highest. Oversized fruits often display uneven ripening and increased cracking susceptibility. Select varieties bred for uniformity rather than maximum weight.