9 Hydration Steps to Prepare a Coconut Coir Brick
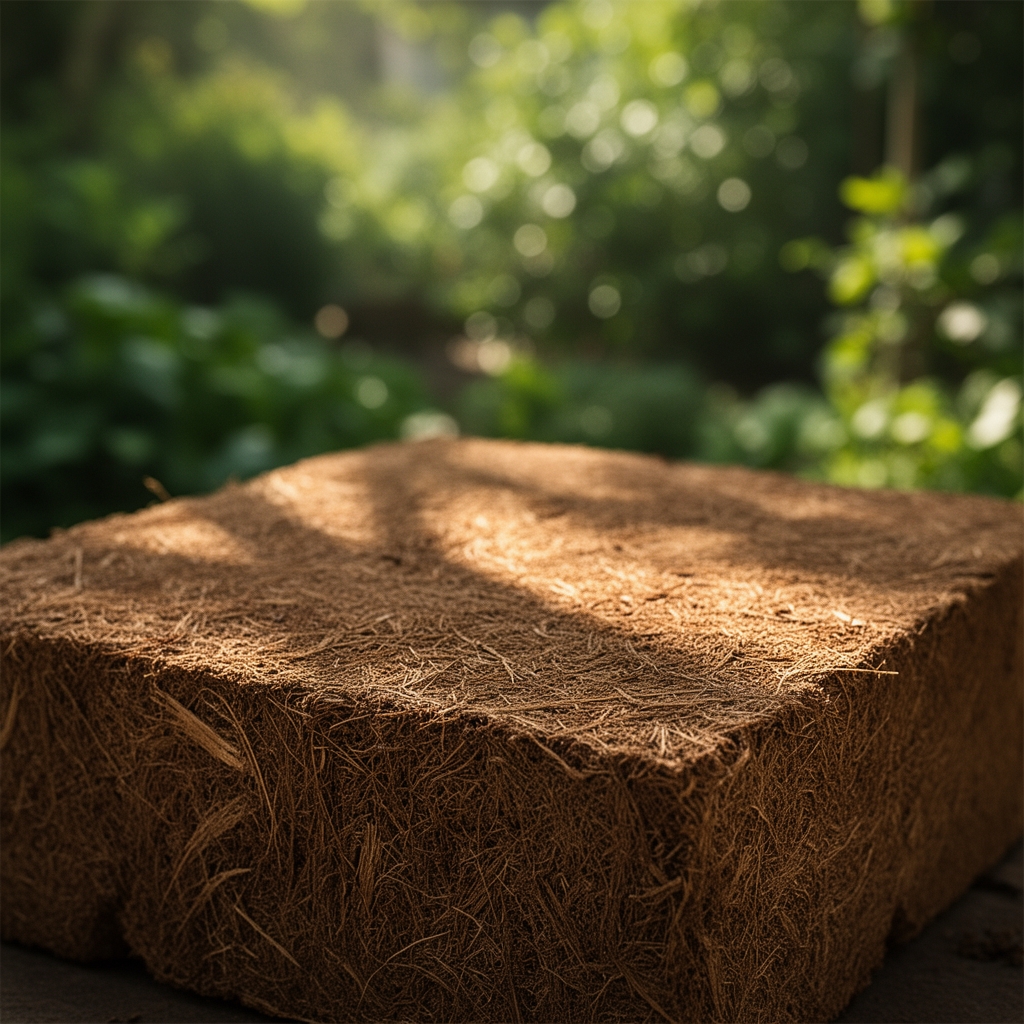
Learning how to prepare a coconut coir brick for potting transforms compressed fiber into a forgiving, pH-neutral growing medium that holds eight times its dry weight in water. The process begins with selecting a brick location, precise hydration ratios, and systematic expansion monitoring. Within thirty minutes, a 650-gram block swells to 9 liters of ready-to-use substrate that improves cation exchange capacity and supports vigorous root colonization by mycorrhizal fungi.
Materials for Hydration and Amendment
Select a container holding at least 12 liters to accommodate full expansion. Use 4 to 5 liters of warm water (95 to 105°F) to accelerate fiber separation. Coconut coir measures pH 5.8 to 6.5, requiring minimal lime adjustment for acid-loving crops.
Amend the expanded coir with one-third perlite by volume to increase air-filled porosity from 8% to 18%. Integrate a balanced organic fertilizer rated 4-4-4 at 2 tablespoons per gallon of coir. Add worm castings at 10% by volume to introduce beneficial microorganisms and boost nitrogen availability by 0.3%. For mycorrhizal inoculation, dust root zones with Glomus intraradices spores at transplant.
Supplemental calcium prevents blossom-end rot in fruiting crops. Mix in dolomitic limestone at 1 tablespoon per gallon, raising pH to 6.3 and supplying both calcium and magnesium. Kelp meal at 1 teaspoon per gallon provides trace minerals and natural auxins that stimulate lateral root development.
Timing and Environmental Windows
Prepare coconut coir two to three days before potting to allow complete hydration and temperature equilibration. In USDA Hardiness Zones 3 through 7, start seeds indoors six to eight weeks before the last spring frost date. Transplant seedlings when nighttime temperatures remain above 50°F to prevent transplant shock.
For Zone 8 and warmer, direct-sow warm-season crops once soil temperature reaches 65°F at 4 inches deep. Coir-based potting mixes warm 10% faster than peat blends due to darker color and lower thermal mass. Indoor propagation can proceed year-round with supplemental grow lights providing 200 to 400 foot-candles for seedlings.
Rehydrate stored coir during off-season months. Compressed bricks maintain viability for five years if kept dry and sealed. Exposure to humidity above 60% triggers premature microbial activity and reduces usable lifespan by 40%.
Phases of Preparation and Expansion
Sowing Phase: Place the brick in a 15-liter tub or basin. Pour 4 liters of warm water directly onto the top surface. The water penetrates within 90 seconds, initiating fiber separation. Wait five minutes, then break apart outer layers with gloved hands. Add 1 additional liter of water to any compressed pockets remaining. Full expansion completes in 15 to 20 minutes.
Pro-Tip: Soak coir in dechlorinated water or rainwater. Municipal chlorine concentrations above 3 ppm inhibit beneficial Trichoderma colonies by 22%.
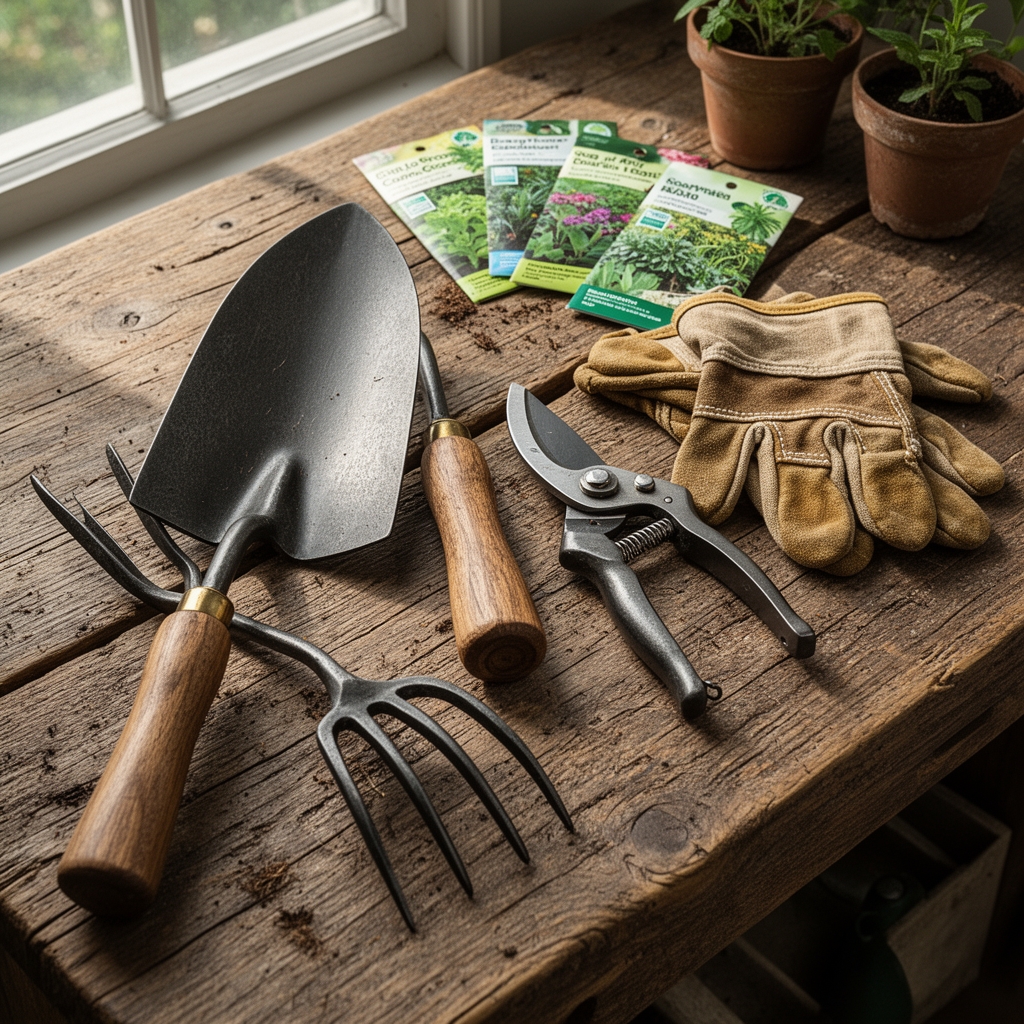
Transplanting Phase: Fluff the expanded coir with a hand fork to incorporate air pockets. Mix in perlite and organic amendments until the texture resembles coarse ground coffee. Fill pots to within 1 inch of the rim, tapping sides to settle without compaction. Water-holding capacity should stabilize at 65% after gentle tamping.
Moisten the mix to field capacity before transplanting. Squeeze a handful; two drops should emerge. This moisture level promotes root adhesion and reduces transplant wilting by 35%. Create a planting hole 20% larger than the root ball to encourage lateral spread.
Pro-Tip: Dust transplant holes with azomite rock dust at 1 teaspoon per 6-inch pot. The paramagnetic minerals enhance nutrient uptake during the first three weeks of establishment.
Establishing Phase: Monitor the coir surface daily. The top quarter-inch dries within 24 hours under standard greenhouse conditions (70°F, 50% humidity). Apply 250 milliliters of water per gallon of pot volume when the surface loses color. Root systems colonize coir 18% faster than peat due to superior oxygen availability in the root zone.
After two weeks, plants exhibit active auxin distribution with visible feeder root formation along pot walls. Increase watering frequency by 30% as leaf area doubles. Coir retains structure through eight to twelve weeks without breakdown.
Pro-Tip: Prune seedling apical meristems at a 45-degree angle when four true leaves emerge. The angle maximizes cut-surface area for callus formation and lateral shoot initiation within five days.
Troubleshooting Common Disorders
Symptom: White salt crust forming on coir surface within ten days.
Solution: Excess sodium or potassium from low-grade coir. Leach pots with three volumes of distilled water. Replace with buffered, washed coir rated below 1.0 mS/cm electrical conductivity.
Symptom: Seedlings exhibit purple leaf undersides and stunted growth.
Solution: Phosphorus lockout from pH drift below 5.5. Drench with potassium bicarbonate solution (1 teaspoon per gallon) to raise pH by 0.4 units within 48 hours.
Symptom: Fungus gnats (Bradysia spp.) emerge from pot drainage holes.
Solution: Allow top 2 inches of coir to dry completely between waterings. Apply Bacillus thuringiensis var. israelensis (Bti) at label rates. Yellow sticky traps capture 140 adults per card over seven days.
Symptom: Roots appear brown and smell of sulfur.
Solution: Anaerobic conditions from overwatering. Repot into fresh coir amended with 40% perlite. Trim affected roots at clean white tissue. Reduce irrigation frequency by 50%.
Symptom: Leaves show interveinal chlorosis starting at margins.
Solution: Magnesium deficiency common in coir without dolomite. Foliar spray with Epsom salt solution (1 tablespoon per gallon) every five days for three applications. Soil drench at half-strength.
Maintenance and Watering Precision
Deliver 1 inch of water per week for established plants in 8-inch pots under moderate light (200 to 400 foot-candles). Increase to 1.5 inches during fruit set. Use drip irrigation or bottom watering to keep foliage dry and reduce foliar disease pressure by 60%.
Feed every two weeks with liquid fertilizer diluted to 300 ppm nitrogen. Coir's low nutrient content requires consistent supplementation. Alternate between fish emulsion (5-1-1) and kelp-based blends (0-0-2) to provide balanced macronutrients and growth hormones.
Top-dress pots with 0.5 inches of worm castings every four weeks. The casting layer moderates moisture loss and delivers slow-release nitrogen at 2% by dry weight. Cation exchange capacity increases by 12% with each application.
Coir reuse is practical for two growing cycles. After harvest, break up root balls and re-amend with 20% fresh coir, additional perlite, and organic fertilizer. Pasteurize at 180°F for 30 minutes to eliminate pathogens before reuse.
Frequently Asked Questions
How long does coconut coir take to fully hydrate?
Complete hydration occurs in 15 to 20 minutes with 4 liters of warm water per 650-gram brick. Agitate the mass at the 10-minute mark to distribute moisture evenly.
Can I use cold water to hydrate coir bricks?
Yes, but expansion time doubles to 35 to 45 minutes. Cold water below 60°F slows fiber separation and may leave dense pockets that require manual breaking.
Does coir need rinsing before potting?
High-quality buffered coir requires no rinsing. Electrical conductivity should measure below 1.0 mS/cm. Unbuffered or low-grade products need three rinse cycles to remove excess sodium and chloride salts.
What is the ideal coir-to-perlite ratio for potting?
A 70:30 coir-to-perlite ratio balances water retention and drainage. Increase perlite to 40% for succulents and cacti. Reduce to 20% for moisture-loving tropicals.
How often should I replace coir in containers?
Coir maintains structure for eight to twelve weeks of active growth. Replace or re-amend after two crop cycles or when visible decomposition reduces volume by 15%.