6 Steps to Prepare a Level Garden Sculpture Site
Learning how to prepare a site for a garden sculpture transforms a simple ornamental piece into a permanent landscape focal point. The weight of stone, bronze, or concrete demands stable footing. Poor drainage causes shifting. Frost heave buckles pedestals. A methodical site preparation sequence prevents these failures and ensures structural integrity for decades.
Materials
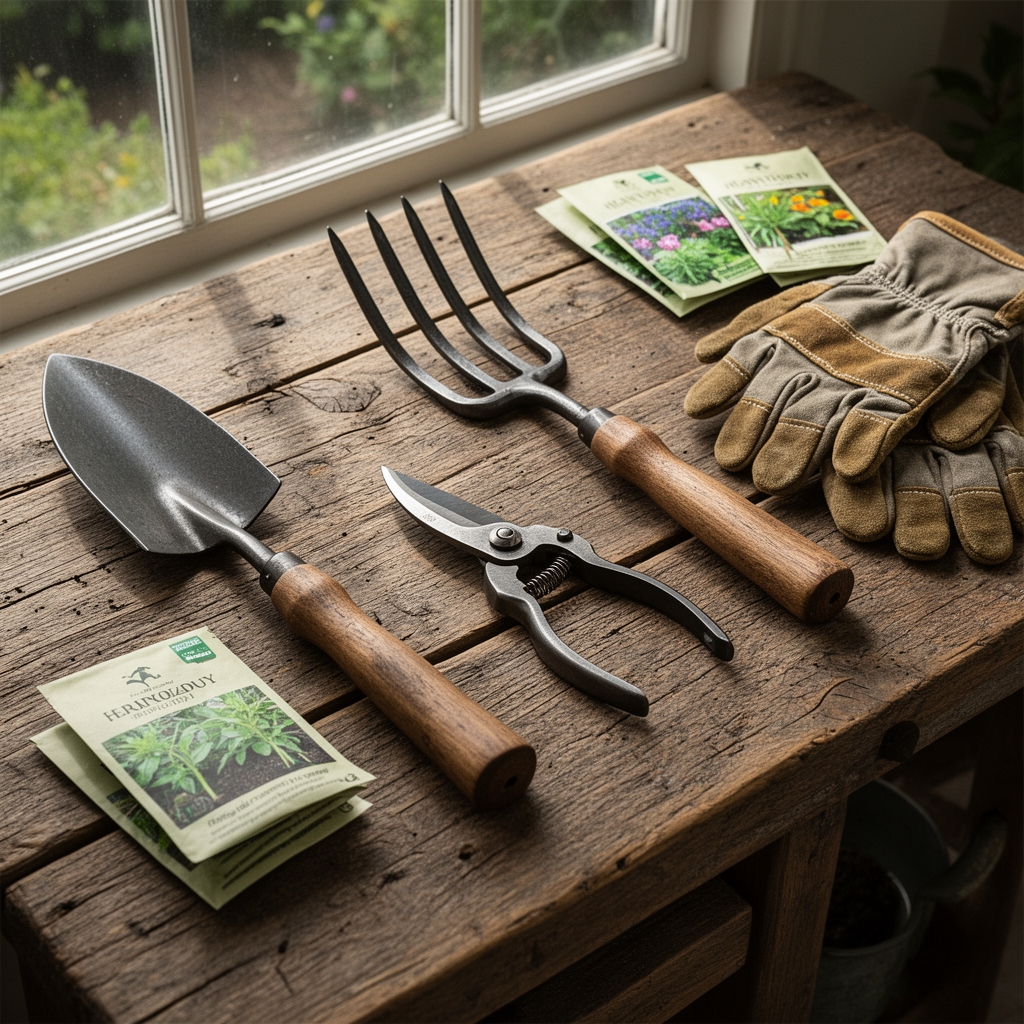
Base aggregate forms the foundation. Crushed limestone at three-quarter-inch diameter provides superior compaction and pH buffering near 7.2. Order 0.5 cubic yards for a standard 36-inch-diameter pad. Angular edges interlock better than river rock.
Geotextile fabric separates soil from aggregate. Choose non-woven polypropylene rated at 4 ounces per square yard. This weight prevents aggregate migration while maintaining drainage capacity at 120 gallons per square foot per day.
Concrete paver base or polymeric sand stabilizes the surface layer. A 50-pound bag covers 8 square feet at one-inch depth. Select pH-neutral formulations to avoid efflorescence staining on sculpture bases.
Hand tampers or plate compactors achieve proper density. Rental plate compactors deliver 5,000 pounds of force across a 14-by-20-inch surface. Manual tampers work for sites under 4 square feet but require triple the repetitions.
For living borders, incorporate compost at a 3-1-2 NPK ratio. Aged leaf mold at pH 6.5 improves cation exchange capacity without excessive nitrogen that promotes weak stem growth in perimeter plantings.
Timing
Zone 6 gardeners begin site work between April 15 and May 1, after final frost dates when soil temperature reaches 50°F at 6-inch depth. Colder soil remains plastic and resists proper compaction. Delayed installation into June coincides with peak rainfall in many regions, complicating drainage assessment.
Zone 7 through 9 practitioners can work year-round but should avoid saturated winter soils. December through February installation in Zone 8 allows settlement before spring when mycorrhizal fungi colonize perimeter plantings most aggressively.
Hardscape curing requires consideration. Concrete pedestals need 28 days to reach 90% strength. Schedule sculpture placement accordingly. Freeze-thaw cycles within this window cause spalling and surface deterioration.
Phases

Step 1: Site Assessment and Marking
Drive stakes 6 inches beyond the planned sculpture footprint. String lines between stakes and check level using a 4-foot builder's level. Slopes exceeding one-quarter inch per foot require cut-and-fill excavation. Mark high and low points with spray paint.
Pro-Tip: Conduct a percolation test by digging a 12-inch hole, filling with water, and measuring drainage rate. If water remains after 24 hours, install a French drain 18 inches deep extending 10 feet from the sculpture center.
Step 2: Excavation
Remove sod and topsoil to 8-inch depth for sculptures under 200 pounds, 12 inches for heavier installations. Preserve topsoil separately for perimeter planting beds. Excavate 3 inches wider than the finished pad diameter to accommodate edge restraints.
Pro-Tip: Slope the excavation floor one-eighth inch per foot away from the sculpture center. This gradient directs subsurface moisture outward, preventing hydrostatic pressure against the base.
Step 3: Base Installation
Lay geotextile fabric across the entire excavation, overlapping seams by 6 inches. Pour crushed limestone in 2-inch lifts. Compact each lift with 6 passes of a plate compactor, traveling in perpendicular directions. Final base height should sit 2 inches below grade.
Pro-Tip: Spray each compacted lift with water at 0.5 gallons per square yard. Moisture activates limestone fines, creating a semi-hydraulic set that increases load-bearing capacity by 30%.
Step 4: Surface Layer
Spread paver base or polymeric sand in a uniform 1-inch layer. Screed level using a straight 2-by-4 drawn across opposite edges. Compact with 4 passes. Final surface should sit one-quarter inch below surrounding grade to prevent water pooling.
Step 5: Edge Restraint
Install rigid plastic or aluminum edging around the perimeter. Anchor with 10-inch galvanized spikes every 18 inches. Backfill against edging with native soil, compacting in 3-inch lifts.
Pro-Tip: Leave a 2-inch gap between edging and sculpture base. Fill this expansion joint with coarse sand to accommodate thermal movement without cracking rigid bases.
Step 6: Sculpture Placement and Perimeter Planting
Position the sculpture using a two-person lift for pieces under 150 pounds. Heavier installations require machinery with load distribution pads. Check level in four directions. Shim with slate fragments if necessary.
Amend perimeter soil with compost at 4-4-4 NPK. Plant low-growing sedums or thymes 12 inches from the sculpture base. These species tolerate reflected heat and require minimal irrigation that might compromise foundation stability.
Troubleshooting
Symptom: Sculpture tilting within first season.
Solution: Insufficient compaction caused settlement. Excavate one side, add compacted aggregate in 1-inch lifts, re-level. Future installations require 8 tamper passes per lift.
Symptom: White crystalline deposits on stone bases.
Solution: Efflorescence results from water-soluble salts migrating through porous material. Improve drainage with extended French drains. Seal stone with penetrating silane-based sealer after cleaning with pH-neutral masonry cleaner.
Symptom: Frost heave displacing sculpture in winter.
Solution: Excavation depth insufficient for local frost line. In Zone 5, extend base to 18 inches. In Zone 4, 24 inches. Backfill with non-frost-susceptible aggregate containing less than 10% fines passing a number 200 sieve.
Symptom: Moss growth covering pad surface.
Solution: Excessive shade and moisture. Thin overhead canopy to increase light penetration by 30%. Apply copper sulfate solution at 1 tablespoon per gallon monthly during growing season.
Symptom: Perimeter plants exhibiting chlorosis.
Solution: High pH from limestone leaching. Amend planting beds with elemental sulfur at 1 pound per 100 square feet to lower pH by 0.5 units. Retest soil after 60 days.
Maintenance
Inspect level annually using a 4-foot builder's level. Correct deviations exceeding one-eighth inch by shimming with slate or adjusting aggregate base. Remove accumulated organic debris monthly to prevent moisture retention against sculpture bases.
Apply 1 inch of water weekly to perimeter plantings during establishment year. Reduce to 0.5 inches in subsequent years. Deep infrequent irrigation encourages root development below the sculpture foundation, preventing disturbance.
Replenish polymeric sand or paver base every 3 years. Sweep away deteriorated material and replace with a fresh half-inch layer. Compact with 2 passes to maintain surface integrity.
Prune perimeter plantings to maintain 10-inch clearance from sculpture bases. This spacing allows air circulation, reducing fungal colonization of both plants and artwork. Remove spent flowers before seed set to prevent volunteer seedlings undermining the pad.
FAQ
How deep should the base extend for a 300-pound sculpture?
Excavate 12 inches and install 10 inches of compacted crushed limestone. The remaining 2 inches accommodates the surface stabilization layer. Heavier sculptures require engineering consultation.
Can I install a sculpture pad over existing lawn?
No. Decomposing organic matter creates voids causing settlement. Remove all sod and topsoil to mineral subsoil before beginning aggregate placement.
What is the minimum pad diameter relative to sculpture size?
Extend the pad 6 inches beyond the sculpture footprint in all directions. A 24-inch-wide sculpture requires a 36-inch pad. This overhang distributes load and provides visual proportion.
How long before placing the sculpture after site preparation?
Wait 7 days after final compaction. This settling period reveals inadequate compaction or drainage issues. Address deficiencies before permanent placement.
Should I use concrete instead of aggregate base?
Aggregate bases accommodate minor soil movement and simplify future adjustments. Concrete works for sculptures exceeding 500 pounds but requires proper reinforcement and control joints every 8 feet.