7 Steps to Prepare a Custom Garden Bench Site
The smell of damp earth after a heavy rain indicates more than just moisture; it signals the activation of microbial life within the rhizosphere. When the turgor pressure of a surrounding boxwood hedge is at its peak, the structural integrity of the landscape is ready for permanent interventions. Understanding how to prepare a site for a garden bench requires a technical grasp of soil mechanics and drainage. A bench is not merely furniture; it is a static load that interacts with the soil Cation Exchange Capacity (CEC) and compaction rates. If the substrate is not stabilized, the bench will sink, leading to uneven weight distribution and structural failure of the wood or stone. Proper site preparation ensures that the surrounding flora, from deep-rooted perennials to delicate groundcovers, remains undisturbed by the footprint of the installation. You must account for the frost heave and the specific gravity of your chosen materials to maintain a level surface through multiple seasonal cycles.
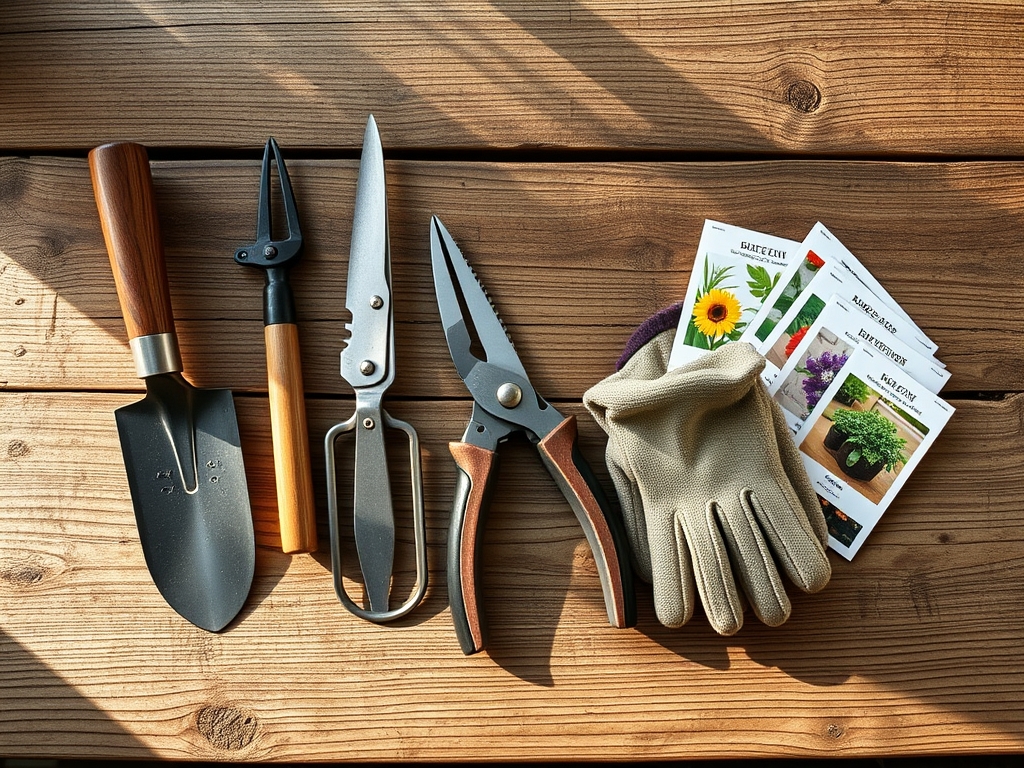
Materials:
The foundation of a stable bench site begins with the substrate. You are looking for a friable loam that allows for adequate gas exchange while maintaining structural density. Before excavation, test the soil pH; a range of 6.2 to 6.8 is ideal for most turf or ornamental surrounds to prevent nutrient lockout.
If the site requires backfilling, use a mixture of crushed stone and coarse sand. Avoid high-clay soils which have a high CEC but poor drainage, leading to anaerobic conditions. For the surrounding vegetation, incorporate a slow-release fertilizer with an NPK ratio of 5-10-5. The higher phosphorus content supports root development rather than excessive foliar growth, which is critical when plants are recovering from the mechanical stress of nearby construction. Ensure the base material consists of three to four inches of compacted 3/4-inch minus gravel to provide a capillary break between the soil and the bench feet.
Timing:
The biological clock of your garden dictates the window for site preparation. In Hardiness Zones 4 through 7, the ideal window opens after the last spring frost when the soil temperature consistently reaches 55 degrees Fahrenheit. This ensures the soil is no longer "plastic" or over-saturated, which prevents permanent compaction.
Observe the transition from vegetative to reproductive stages in your indicator plants. For example, when Forsythia blooms begin to drop, the soil is dry enough to handle without destroying its structure. Avoid excavation during peak summer heat when plants are under high transpiration stress; the loss of root mass during this period can lead to rapid senescence. Aim for a period of overcast weather with humidity levels above 50 percent to minimize moisture loss from exposed soil profiles.
Phases:
Sowing and Site Clearing
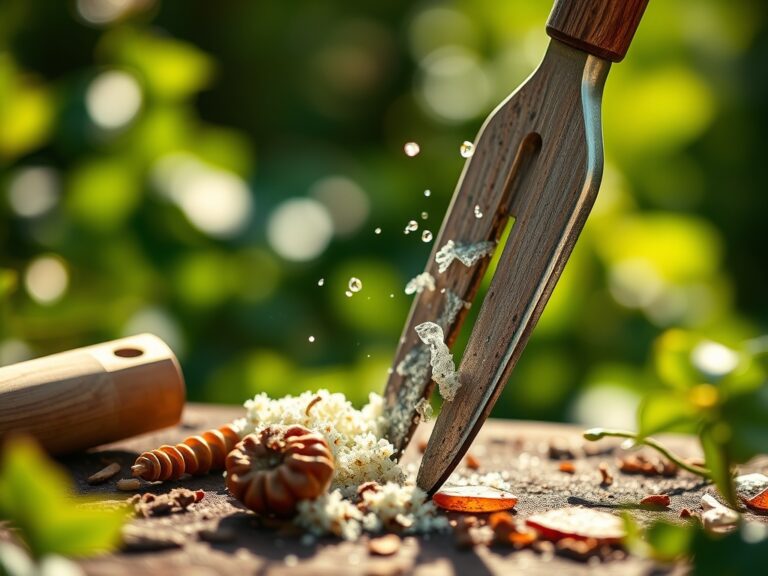
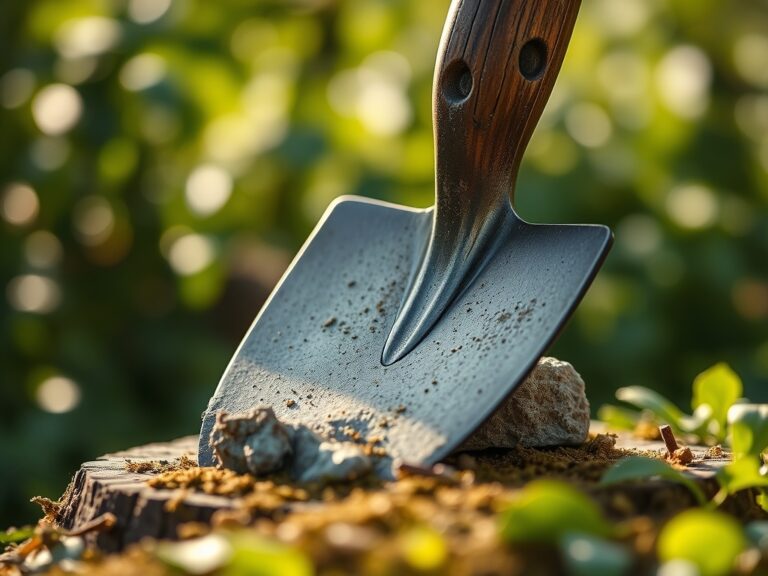
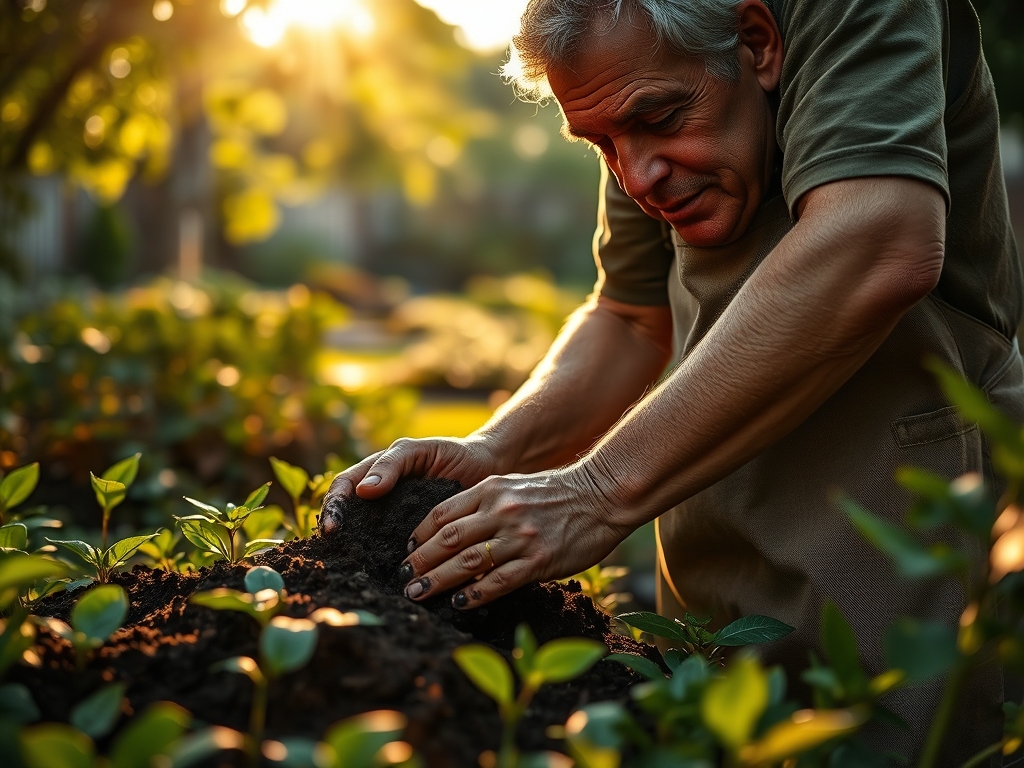
Clear the footprint of all vegetation using a sharp hori-hori knife to cut through fibrous root mats. Remove the top six inches of organic matter. If you are sowing new groundcover around the bench, select species with high foot-traffic tolerance like Thymus praecox.
Pro-Tip: Minimize soil disturbance to protect the mycorrhizal symbiosis. These fungal networks extend the reach of plant roots; excessive tilling severs these hyphae, reducing the plants' ability to uptake phosphorus and water.
Transplanting and Leveling
If existing perennials are in the way, transplant them with a root ball at least twice the width of the stem spread. Dig the new hole before the plant is removed to minimize the time roots are exposed to air, preventing desiccation. Level the site using a straight-edge board and a bubble level, ensuring a one percent slope away from the center to prevent pooling.
Pro-Tip: When pruning roots during a transplant, you trigger auxin suppression. This hormonal shift temporarily halts upward growth and redirects energy to root regeneration, which is vital for the plant's survival in its new location.
Establishing the Base
Pour the gravel base in two-inch lifts, compacting each layer with a hand tamper. The final surface should be flush with the surrounding grade or slightly elevated. Once the bench is set, backfill the edges with a mixture of native soil and compost.
Pro-Tip: Plants near the bench will exhibit phototropism, leaning toward the light source if the bench creates a significant shadow. Position the bench to minimize light competition for sun-loving species.
The Clinic:
Physiological disorders often arise after the mechanical stress of site preparation. Monitor nearby plants for these specific symptoms:
- Nitrogen Chlorosis: Leaves turn pale yellow, starting with older growth. Fix-It: Apply a liquid kelp or fish emulsion with a 10-0-0 NPK to provide immediate bioavailable nitrogen.
- Iron Sequestration: Interveinal yellowing on new leaves, often caused by high soil pH from concrete bench runoff. Fix-It: Apply chelated iron and lower pH with elemental sulfur.
- Leaf Scorch: Brown, crispy edges on leaves due to root damage or high salts. Fix-It: Increase deep watering to leach salts and reduce transpiration.
- Etiolation: Weak, spindly growth if the bench or its backing blocks too much sun. Fix-It: Thin out overhead canopy or relocate shade-intolerant plants.
Maintenance:
A prepared site requires ongoing monitoring to prevent settling. Use a soil moisture meter to check the hydration levels around the bench legs weekly. Most ornamental borders require 1.5 inches of water per week delivered at the drip line. Avoid overhead irrigation that can cause wood rot on the bench; use drip lines or a soaker hose instead.
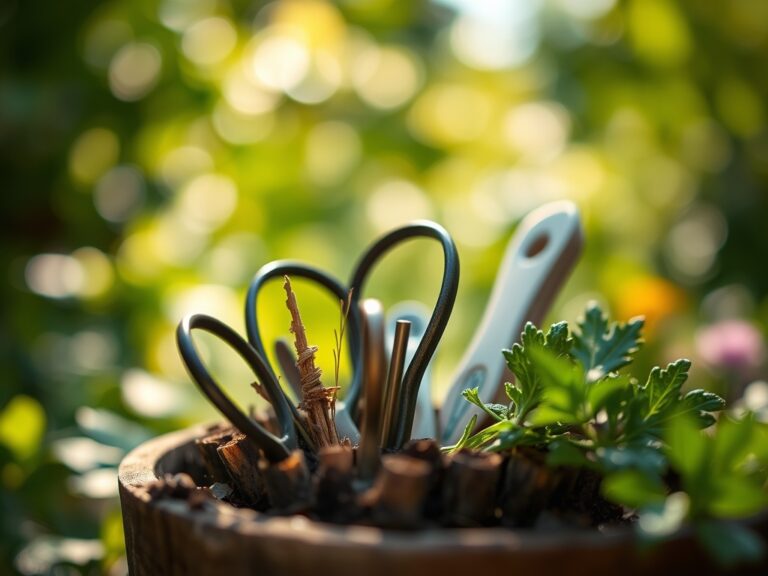
Keep a pair of bypass pruners sharp to remove any encroaching limbs that might cause physical damage to the bench or trap moisture against its surface. Every spring, check the level of the bench. If it has shifted more than 0.5 inches, use a crowbar to lift the low side and shim with additional crushed stone.
The Yield:
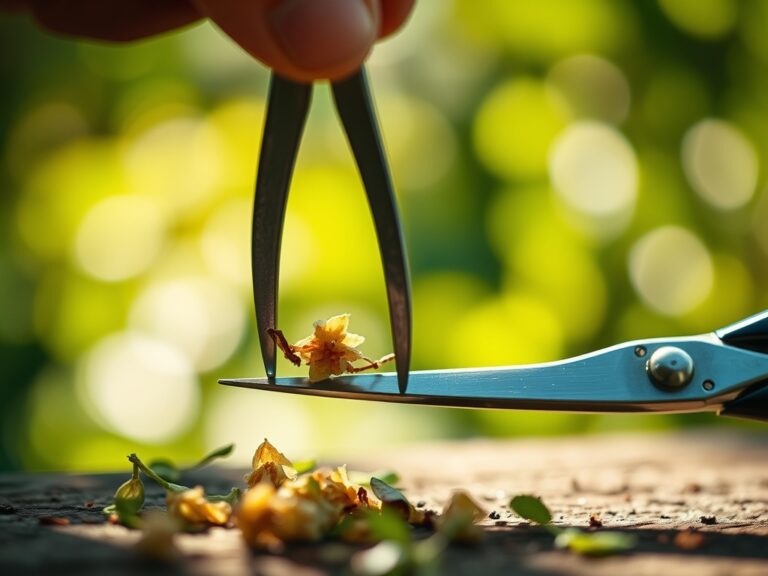
If your bench site is integrated into a cutting garden or an edible landscape, timing the harvest is essential for "day-one" freshness. For flowers like Zinnia or Dahlia, harvest in the early morning when turgor pressure is at its highest. Use a sharp knife to make a 45-degree cut and immediately plunge the stems into 100-degree Fahrenheit water to break air bubbles in the xylem. For herbs, harvest before the plant enters its reproductive (flowering) stage to ensure the highest concentration of essential oils in the foliage.
FAQ:
What is the best base for a heavy stone bench?
Use a four-inch deep base of compacted 3/4-inch minus gravel. This provides structural support and prevents frost heave. Avoid using sand alone, as it can wash away during heavy precipitation events.
How do I prevent weeds from growing under the bench?
Install a professional-grade geotextile fabric over the soil before adding gravel. This prevents weed seeds from contacting the soil while allowing water to permeate, maintaining the health of the surrounding rhizosphere.
Can I set a bench directly on the grass?
Setting a bench on turf leads to anaerobic soil compaction and fungal pathogens. The lack of airflow and light will kill the grass, leading to mud and structural instability for the bench.
How do I fix a bench that is sinking on one side?
Remove the bench and excavate the low spot. Add additional crushed stone and compact it thoroughly. Check the drainage; sinking usually indicates water is pooling under the foundation and softening the subsoil.