9 Tips to Use a Square Point Shovel for Clearing Debris
Using a square point shovel for clearing debris transforms post-storm yard work from chaotic scrambling into methodical soil stewardship. The flat, broad blade cuts cleanly through matted leaves, lifts compacted mulch layers without tearing shallow feeder roots, and scoops crushed branches with the precision of a soil scientist collecting core samples. After a winter ice storm or summer windfall, debris accumulates in layers that trap moisture against bark collars, creating anaerobic pockets where fungal pathogens thrive. The square point shovel addresses this by allowing you to segment the cleanup into defined zones, preserving the established rhizosphere while removing only the decomposing surface material.
Materials
![]()
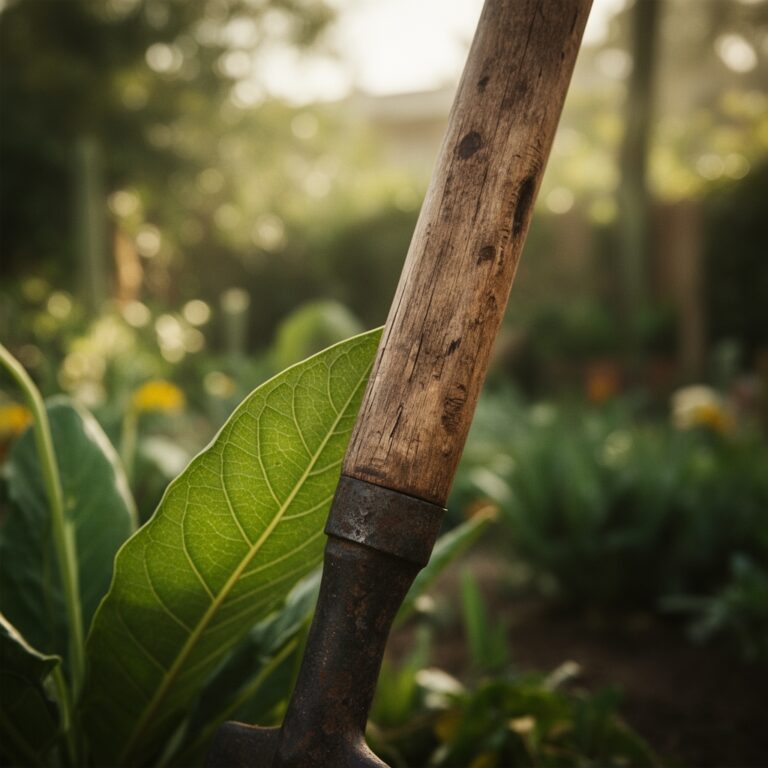
Select a forged steel square point shovel with a 9-inch blade width and 48-inch ash handle. The ash provides flex without fracture under lateral loads. The blade should exhibit a 72-degree cutting angle for penetrating compacted debris mats.
Supplemental materials depend on your soil chemistry. For acidic soils (pH 4.5-5.5), incorporate dolomitic lime at 5 pounds per 100 square feet after debris removal to buffer cation exchange capacity. Apply a 4-4-4 organic fertilizer blend combining alfalfa meal, bone meal, and kelp meal. This ratio delivers balanced nitrogen for microbial activity, phosphorus for root regeneration in disturbed zones, and potassium for cellular integrity in stressed perennials.
For neutral to alkaline soils (pH 6.5-7.5), substitute elemental sulfur at 2 pounds per 100 square feet if you need to lower pH before planting acid-loving ericaceous species. Use a 5-3-4 feather meal and rock phosphate blend to support faster nitrogen cycling in cooler spring temperatures.
Mycorrhizal inoculant containing Glomus intraradices and Rhizophagus irregularis should be broadcast at 0.25 ounces per square foot after debris clearing to reestablish the fungal network disrupted by fallen limbs.
Timing
Begin debris clearing in USDA Hardiness Zones 6-9 between February 15 and March 30, after the final hard freeze (28 degrees Fahrenheit for 4 consecutive hours) but before soil temperatures exceed 50 degrees Fahrenheit at a 4-inch depth. This window allows you to work in firm, non-saturated soil while minimizing compaction damage to the root zone.
In Zones 3-5, delay until April 1-20, when frost heave has settled and the active layer has thawed to 6 inches. Frozen subsurface layers create shear planes that can damage lateral roots if you lever debris aggressively.
In Zones 10-11, clear debris after the dry season begins, typically November through January, when fungal spore loads drop and exposed soil dries within 48 hours.
Phases
![]()
Sowing Phase: Surface Assessment
Survey the debris field and mark perennial crowns with surveyor's flags. Position your shovel blade parallel to the soil surface, inserting it at a 15-degree angle beneath the debris layer. This shallow angle preserves the top 2 inches of topsoil where 60 percent of beneficial bacteria colonize organic particles.
Work in 3-foot-wide strips, sliding the shovel forward to gather material without lifting. Stack debris 12 feet from tree driplines to prevent nitrogen tie-up near active roots.
Pro-Tip: Spray exposed soil immediately with a compost tea containing 15,000 CFU/mL of Bacillus subtilis to occupy niches before pathogenic fungi colonize bare patches.
Transplanting Phase: Material Segregation
Separate woody debris (branches over 0.5-inch diameter) from leaf litter and herbaceous stems. Woody material should be chipped to 1-inch pieces for carbon-rich mulch. Leaf litter can be composted in windrows with a 30:1 carbon-to-nitrogen ratio, achieved by layering 6 inches of leaves with 2 inches of grass clippings.
Use the square point shovel to excavate compacted zones where debris blocked drainage. Dig to 8 inches, mix in 2 inches of coarse sand (1-2 mm particle size), and incorporate the 4-4-4 organic blend at 3 pounds per 10 square feet.
Pro-Tip: Prune damaged branch stubs at a 45-degree angle just outside the branch collar to optimize auxin distribution and callus formation.
Establishing Phase: Soil Reconditioning
After debris removal, rake the cleared area to a uniform grade. Broadcast mycorrhizal inoculant and lightly incorporate with the shovel edge, creating shallow furrows 1 inch deep and 6 inches apart.
Water to field capacity (1.5 inches) within 6 hours to activate fungal spores. Apply a 2-inch layer of aged compost as a microbial bridge between the inoculant and existing soil biology.
Pro-Tip: Install erosion control fabric on slopes exceeding 8 percent until groundcover establishes 70 percent coverage, typically 8-12 weeks.
Troubleshooting
Symptom: Soil compaction in wheel ruts or foot paths, evidenced by ponding water and penetrometer readings above 300 psi.
Solution: Aerate with a broadfork to 12 inches, then topdress with 0.5 inches of compost. Avoid further traffic until soil dries to 18 percent moisture content.
Symptom: Crown rot on perennials where debris trapped moisture, visible as blackened tissue at the soil line.
Solution: Excavate 2 inches of soil around affected crowns. Dust with sulfur fungicide at 1 tablespoon per plant. Replant 1 inch higher to improve drainage.
Symptom: Nitrogen deficiency (chlorosis in lower leaves) after clearing high-carbon debris.
Solution: Side-dress with blood meal (12-0-0) at 0.5 pounds per 10 square feet. Water in immediately to accelerate mineralization.
Symptom: Vole tunnels exposed after debris removal, indicated by 1.5-inch diameter runs.
Solution: Collapse tunnels with the shovel blade. Install 0.25-inch hardware cloth barriers 12 inches deep around vulnerable plant crowns.
Maintenance
Water cleared areas to 1 inch per week, measured with rain gauges, until herbaceous plants show 4 inches of new growth. Reduce to 0.5 inches weekly once groundcover achieves 50 percent coverage.
Reapply mulch to 3 inches depth, maintaining a 6-inch radius free of mulch around woody plant stems to prevent collar rot.
Monitor soil pH monthly for 90 days post-clearing. Debris decomposition can shift pH by 0.5-1.0 units. Adjust with lime or sulfur as needed to maintain target ranges.
FAQ
How deep should I insert the shovel when clearing debris?
Insert the blade 1-2 inches deep, just below the debris-soil interface, to preserve topsoil structure and beneficial organisms.
Can I clear debris when soil is wet?
No. Work only when soil crumbles at 16-20 percent moisture content. Wet soil compacts irreversibly, reducing pore space by 40 percent.
Should I remove all organic matter?
Retain 0.5 inches of partially decomposed leaf litter as a habitat for ground beetles and a slow-release nitrogen source.
What if debris is frozen to the ground?
Wait until daytime temperatures exceed 40 degrees Fahrenheit for 3 consecutive days. Forcing frozen debris damages roots and soil aggregates.
How soon can I plant after clearing?
Wait 14 days after applying amendments. This allows microbial populations to stabilize and reduces transplant shock by 30 percent.