6 Steps to Sharpen a Garden Saw with a Coarse Stone
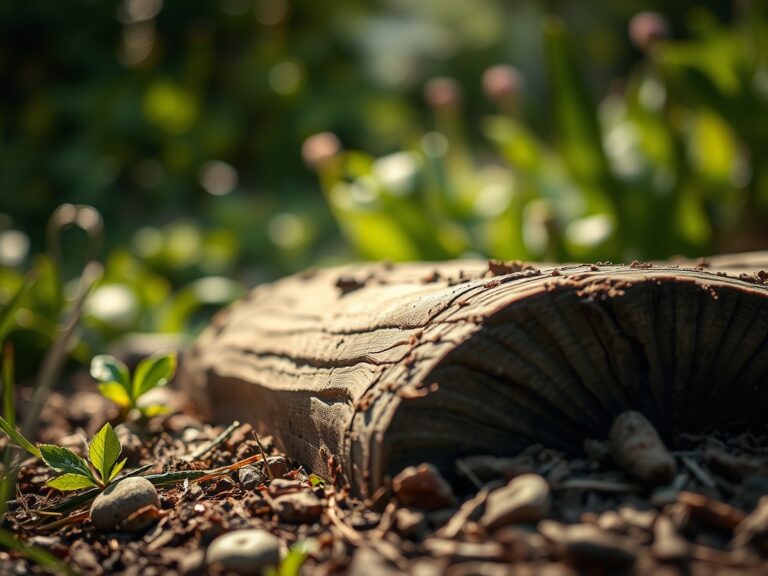
Damp earth releases geosmin when the blade tears rather than cuts; this ragged wounding triggers a surge in ethylene production that accelerates localized senescence. A dull garden saw does not slice through the xylem and phloem; it crushes them. This mechanical trauma compromises the turgor pressure of the specimen and invites opportunistic pathogens into the jagged vascular tissue. Maintaining a surgical edge is a requirement for plant health. Following the precise steps for sharpening a garden saw with a stone ensures that every pruning cut is a clean, transverse strike that allows the plant to seal the wound via rapid callus formation. A sharp blade reduces the energy the plant must divert from primary metabolic processes to wound repair. You must understand the geometry of the tooth and the grit of the abrasive to master this maintenance. By aligning the bevel and restoring the apex of each tooth, you protect the structural integrity of your orchard or woodlot. Precision in the workshop translates directly to vigor in the field.
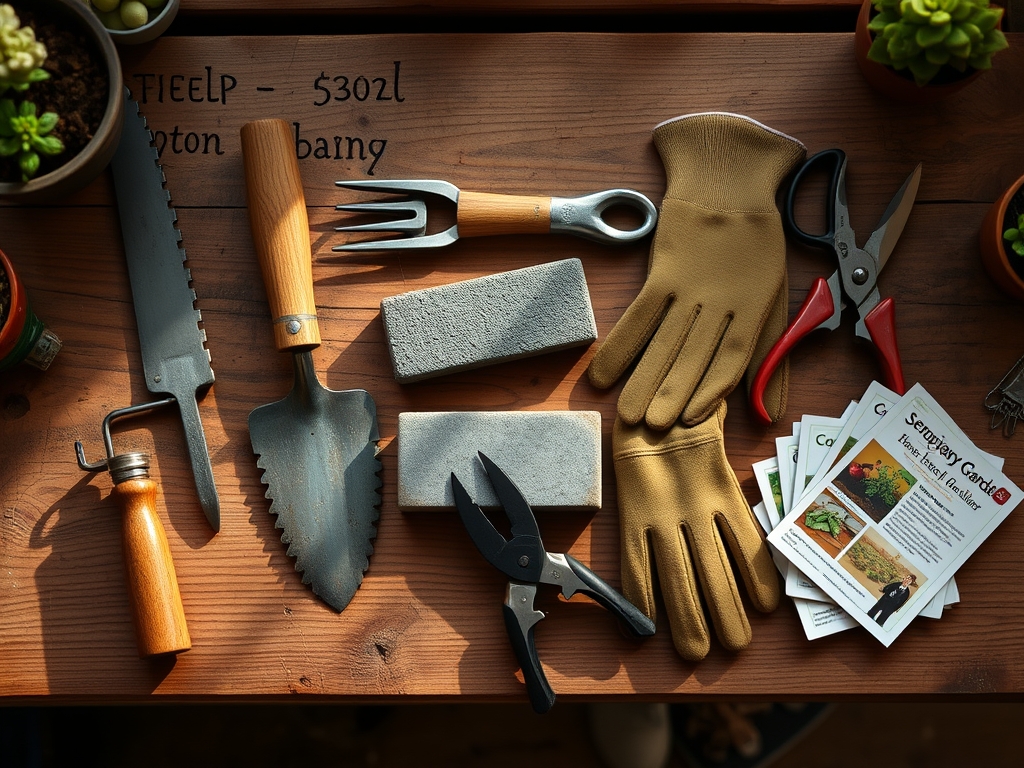
Materials:
While tool maintenance occurs on the bench, the health of the plants you prune depends on the soil environment. Use a **soil moisture meter** to ensure your substrate maintains a consistent hydration level before pruning. The ideal substrate is a **friable loam** with a **Cation Exchange Capacity (CEC) between 15 and 25 milliequivalents per 100 grams**. For woody perennials, maintain a **soil pH between 6.2 and 6.8** to optimize nutrient availability. If the soil is deficient, amend with a balanced **10-10-10 NPK ratio** to support the flush of new growth that follows a clean pruning cut. High nitrogen levels (the first number in the NPK sequence) are essential for the vegetative recovery phase, as nitrogen is a core component of the chlorophyll molecule. Ensure the workspace is clear of organic debris to prevent the transfer of fungal spores to the blade surface during the sharpening process.
Timing:
Sharpening and subsequent pruning should be synchronized with the biological clock of the species. In Hardiness Zones 5 through 7, the optimal window for heavy pruning is late dormancy, typically between February 15 and March 15, before the sap begins its vernal ascent. Pruning during the transition from the vegetative stage to the reproductive stage can stunt fruit production if the timing is off by even ten days. Observe the photoperiod; as daylight exceeds 12 hours, the plant shifts from dormancy to active metabolic signaling. Sharpen your tools before this window opens. If you prune after the "bud break" phase, you risk depleting the plant's stored carbohydrate reserves, leading to reduced leaf area index and diminished photosynthetic capacity for the remainder of the season.
Phases:
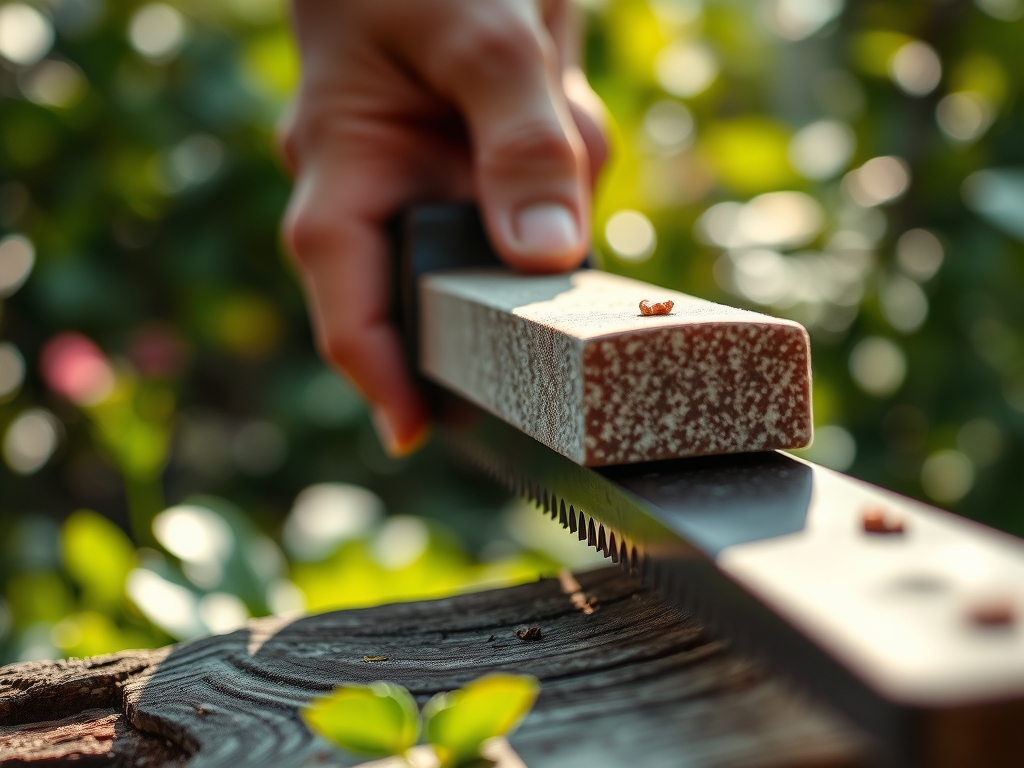
### Sowing the Edge: Preparation and Alignment
Secure the saw blade in a vise with the teeth pointing upward. Use a **600-grit silicon carbide stone** for the initial pass. Align the stone at the exact angle of the existing bevel, usually **20 to 25 degrees**. Move the stone in a single, fluid motion from the base of the tooth to the tip.
Pro-Tip: Maintaining a consistent angle prevents the formation of a "wire edge" that can break off and enter the plant's vascular system. This precision protects the rhizosphere by ensuring the plant does not leak excess sap, which can alter soil chemistry and attract unwanted vectors.
Transplanting the Motion: The Sharpening Stroke
Apply a thin layer of honing oil to the stone to float away metal swarf. Stroke each tooth an equal number of times, typically three to five passes. Focus on the "gullet" or the space between the teeth to ensure sawdust clears efficiently during the cut.
Pro-Tip: Clean cuts prevent the suppression of auxins, the hormones responsible for apical dominance. If a cut is jagged, the plant may produce excessive "water sprouts" due to a hormonal imbalance, diverting energy away from the main structural limbs.
Establishing the Finish: Honing and Burremoval
Flip the saw and repeat the process on the opposite side of the teeth. Use a finer 1000-grit stone for the final polish. This creates a microscopic smoothness that reduces friction during the stroke.
Pro-Tip: Reducing friction prevents localized heat buildup during pruning. High heat can cause protein denaturation in the cambium layer, the thin strip of living tissue between the bark and the wood, effectively cauterizing the wound and preventing proper healing.
The Clinic:
If your saw is sharp but the plants show distress, diagnose the physiological disorder immediately.
- Symptom: Interveinal chlorosis (yellowing between leaf veins).
Solution: This indicates a Magnesium deficiency. Magnesium is the central atom in the chlorophyll ring. Apply Epsom salts (magnesium sulfate) at a rate of 1 tablespoon per gallon of water. - Symptom: Dieback at the tips of new growth.
Solution: This is often Calcium deficiency, which affects cell wall structural integrity. Ensure the soil pH is not too acidic, as low pH inhibits calcium uptake. - Symptom: Purplish tint on older leaves.
Solution: This is a classic sign of Phosphorus deficiency. Phosphorus is vital for ATP production and energy transfer. Amend with bone meal or a high-phosphate fertilizer. - Fix-It for Nitrogen Chlorosis: If the entire leaf turns pale green or yellow, the plant lacks nitrogen. Apply a quick-release 20-0-0 liquid fertilizer to restore nitrogen levels and boost vegetative vigor.
Maintenance:
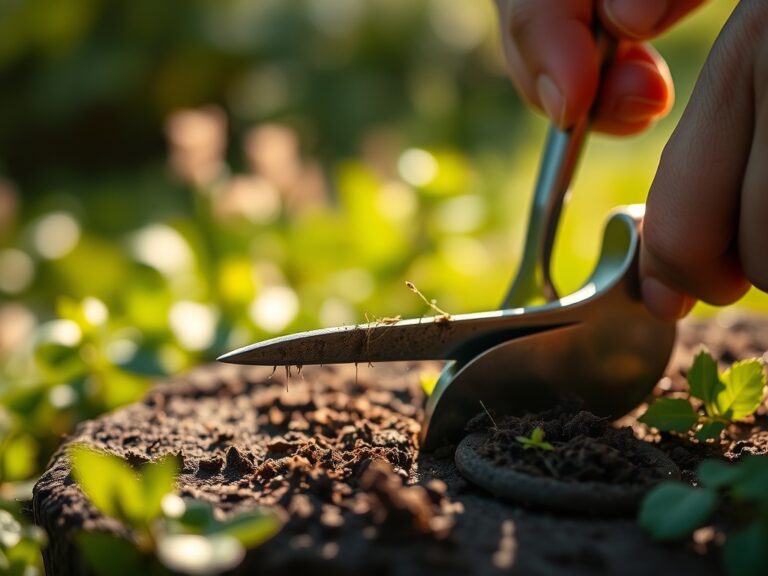
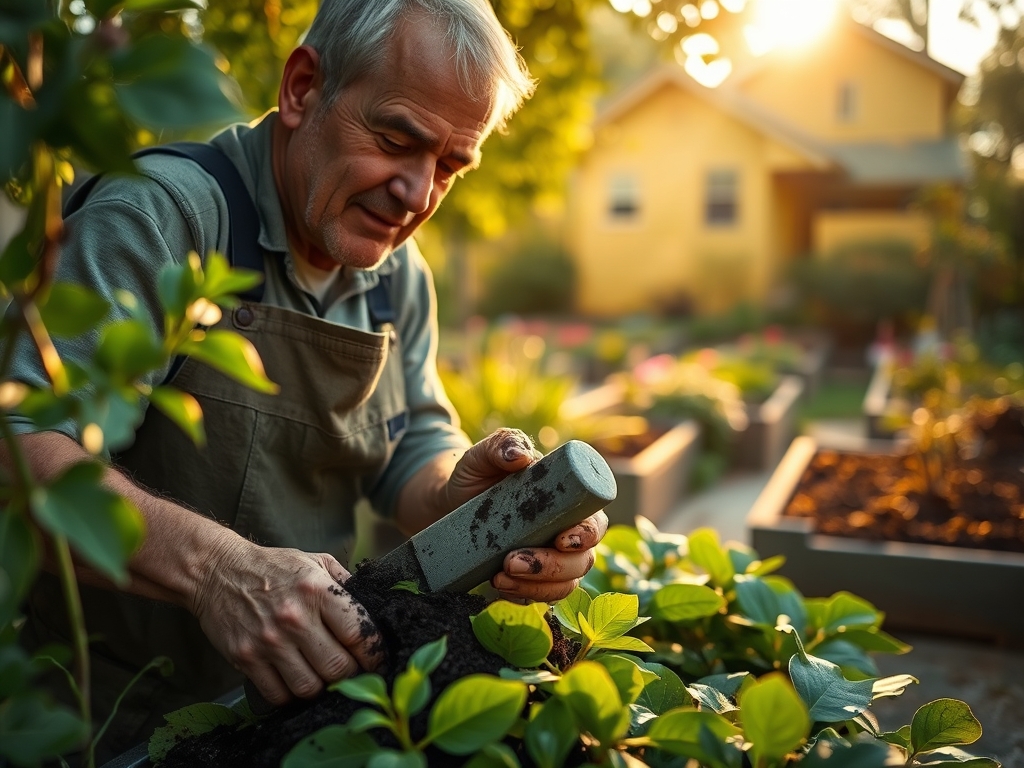
After sharpening, protect the steel with a light coat of camellia oil to prevent oxidation. When using your saw in the field, always carry a hori-hori knife for weeding and bypass pruners for smaller diameters. For the plants themselves, irrigation is the most critical maintenance factor. Provide 1.5 inches of water per week delivered at the drip line, which is the outermost circumference of the tree canopy. Use a soil moisture meter to verify that the water is penetrating at least 6 to 8 inches deep into the root zone. Surface watering encourages shallow root systems that are susceptible to drought stress and frost heave.
The Yield:
A sharp saw facilitates a high-quality harvest for fruit-bearing trees. Harvest fruit when the Brix level (sugar content) reaches its peak, typically in the early morning when turgor pressure is highest. For flowers, cut the stems at a 45-degree angle using your sharpened tool and immediately plunge them into 110-degree Fahrenheit water. This "hardening off" process removes air bubbles from the xylem and ensures "day-one" freshness by maintaining the hydraulic column within the stem.
FAQ:
How often should I sharpen my garden saw?
Sharpen the blade every 10 to 15 hours of active use. If you notice the saw "jumping" or requiring more physical force to penetrate the wood, the teeth have lost their apex and require immediate honing.
Can I use a file instead of a stone?
Yes, a tapered triangular file is standard for most garden saws. However, a coarse stone is superior for restoring the flat bevels on Japanese-style pull saws or removing significant nicks from the metal surface.
Why does my saw get stuck in the wood?
This is often caused by a lack of "set," where the teeth are not angled outward enough. It can also result from a dull edge that creates friction rather than removing wood chips, leading to heat expansion.
What is the best way to clean a saw blade?
Use isopropyl alcohol or a specialized pitch remover to dissolve resin. Removing organic buildup is essential before sharpening to ensure the stone makes direct contact with the steel and to prevent the spread of pathogens.