9 Removal Tips to Use a Garden Lopper for Heavy Pruning
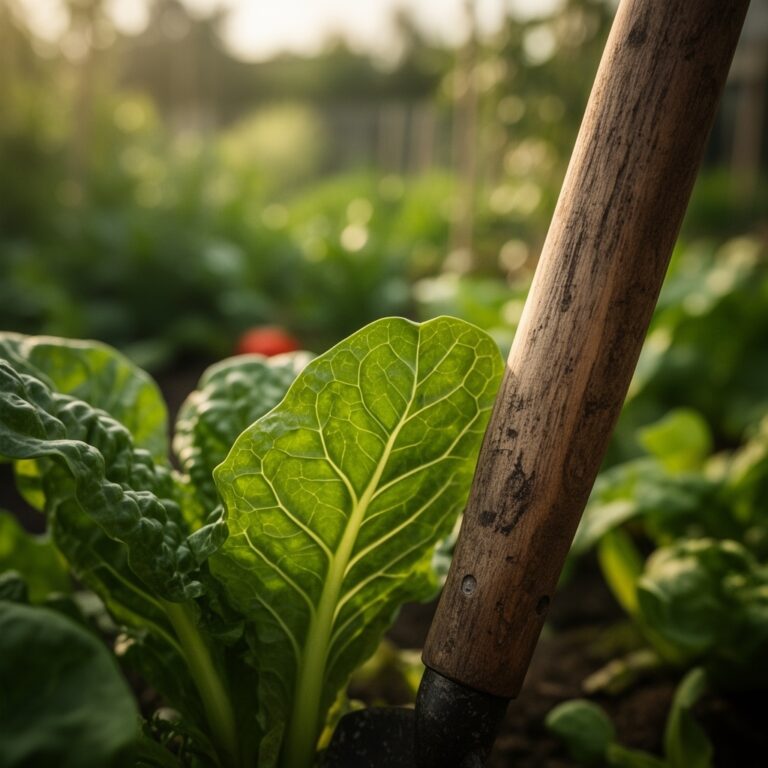
Crushing the cell walls of a thickened tomato vine or a woody artichoke stalk requires more than just force; it requires the mechanical advantage of leverage. The smell of damp earth and the sharp, metallic scent of oxidized sap signal the start of a serious maintenance session. When the turgor pressure of a plant remains high, the stems are rigid and prone to shattering under the wrong blade. Using a garden lopper for vegetable pruning allows for a clean, surgical bypass cut on stalks exceeding 0.75 inches in diameter. This tool is essential for managing overgrown perennial vegetables and large-scale indeterminate varieties that have transitioned from succulent green to lignified brown. By utilizing the long handles of a lopper, you apply concentrated pressure that ensures the vascular cambium is not crushed, preserving the plant's ability to transport water and nutrients through the xylem and phloem. This level of precision is the difference between a plant that heals and one that succumbs to opportunistic pathogens.
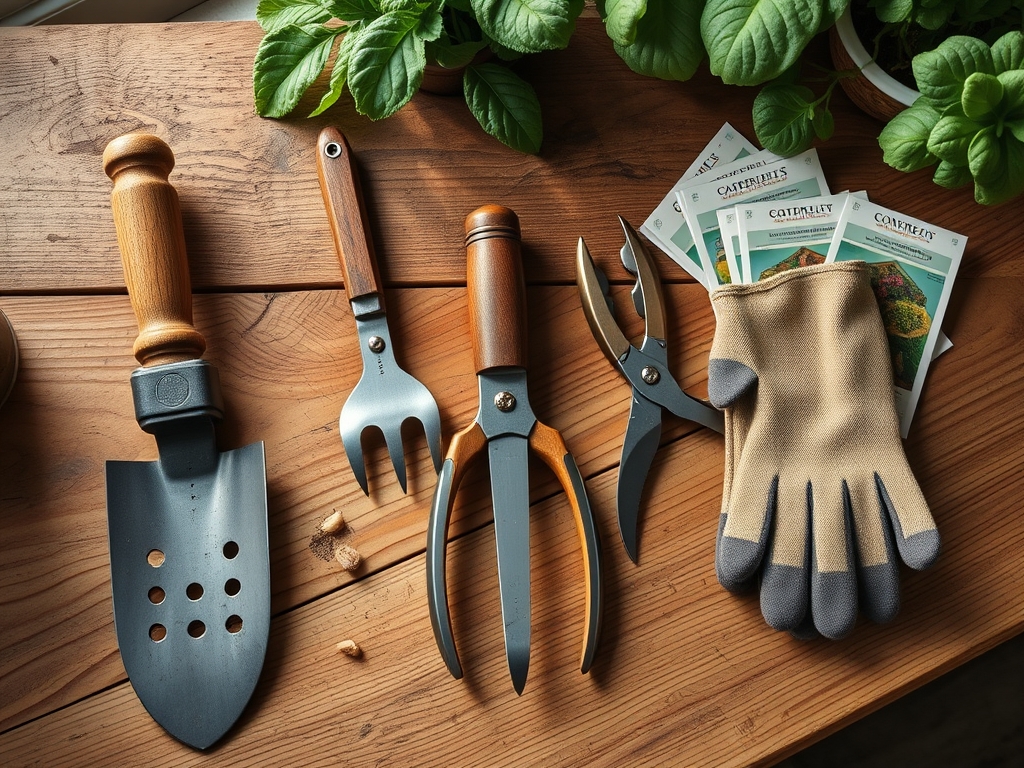
Materials:
Success in heavy pruning begins with the substrate. For high-output vegetable systems, maintain a **friable loam** with a **Cation Exchange Capacity (CEC) between 15 and 25**. This range ensures the soil can hold and exchange essential cations like potassium and magnesium. The soil pH must be stabilized between **6.2 and 6.8** to maximize nutrient bioavailability.
Before pruning, assess the nutrient profile. Use a 5-10-10 NPK ratio for root crops and established perennials to encourage structural integrity without triggering excessive vegetative flushes. For heavy feeders like brassicas or large squash vines, a 10-10-10 balanced fertilizer applied at a rate of 1 pound per 100 square feet provides the necessary nitrogen for recovery. The physical texture of the soil should be crumbly; if the soil forms a hard ribbon when squeezed, the bulk density is too high, which restricts root respiration and slows post-pruning recovery.
Timing:
Timing is governed by the Hardiness Zone and the specific biological clock of the cultivar. In Zones 5 through 7, the primary window for heavy lopper work occurs during the late dormant season, typically 4 to 6 weeks before the last frost. This timing exploits the plant's transition from winter dormancy to the active vegetative stage.
As the photoperiod increases, plants move from a state of senescence into active growth. Pruning during this transition redirects hormonal energy. For indeterminate tomatoes or perennial herbs like rosemary, pruning should occur when the plant has reached 70 percent of its expected height but before it enters the full reproductive stage. Removing large, non-productive limbs at this stage prevents the plant from wasting carbohydrates on maintenance respiration and focuses energy on fruit development.
Phases:
Sowing and Initial Growth
Start seeds in a sterile medium with a pH of 5.8 to 6.2. Maintain a consistent temperature of 70 degrees Fahrenheit for optimal germination. Once the second set of true leaves appears, begin a dilute liquid fertilization regimen.
Pro-Tip: Monitor the rhizosphere temperature. Keeping the roots at 65 degrees Fahrenheit encourages mycorrhizal symbiosis, which increases the surface area of the root system for better phosphorus uptake.
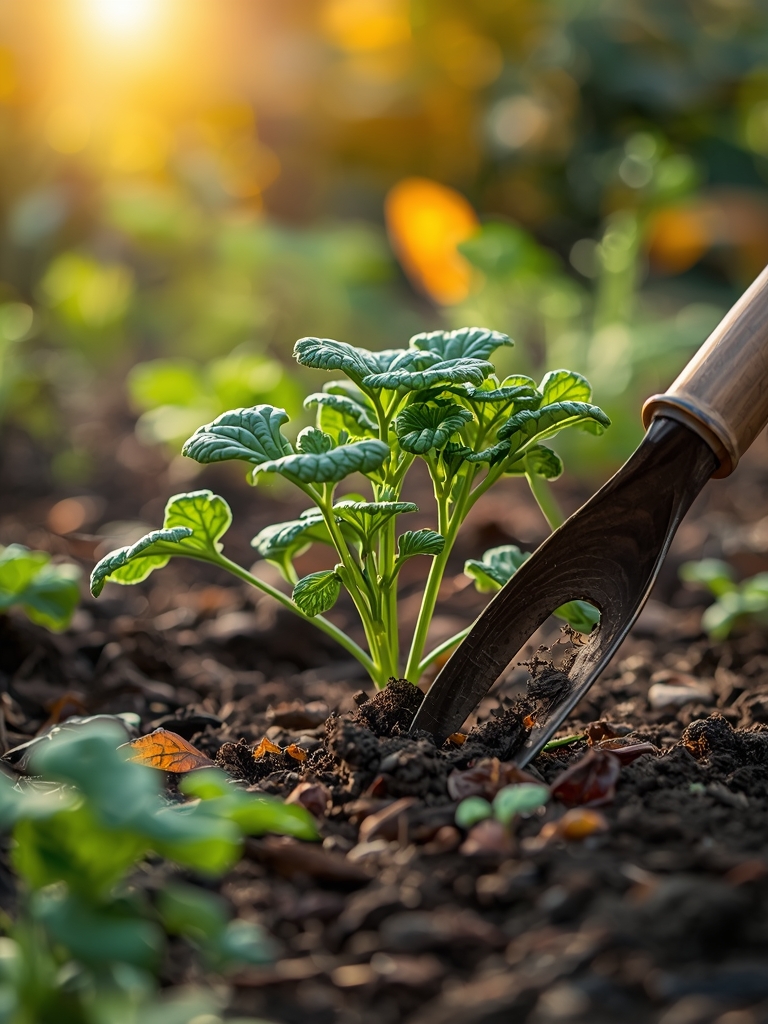
Transplanting and Hardening
Move seedlings to the field after the soil temperature reaches a consistent 60 degrees Fahrenheit. Space plants according to their mature width to ensure adequate airflow, which reduces the need for emergency pruning later.
Pro-Tip: Use a hori-hori knife to slice through any circling roots during transplanting. This disrupts apical dominance in the root tips and encourages lateral branching, creating a more stable base for heavy stalks.
Establishing and Structural Pruning
As the plant matures, identify the primary leader. Use your lopper to remove any secondary suckers that exceed 0.5 inches in diameter. Position the blade 0.25 inches above a lateral bud at a 45-degree angle.
Pro-Tip: Pruning the lower third of the foliage suppresses auxin production in those specific areas. This redirection of hormones toward the upper canopy promotes larger fruit size and improved light penetration.
The Clinic:
Physiological disorders often manifest through visual cues in the foliage and stem.
Symptom: Interveinal chlorosis on older leaves.
Solution: This indicates a Magnesium deficiency. Apply Epsom salts (Magnesium Sulfate) at a rate of 1 tablespoon per gallon of water as a foliar spray.
Symptom: Blossom end rot on fruit.
Solution: This is a Calcium transport issue, often caused by inconsistent soil moisture rather than a lack of soil calcium. Maintain a consistent moisture level to ensure calcium moves through the xylem.
Symptom: Stunted growth and purple tinting on the underside of leaves.
Solution: This is a classic Phosphorus deficiency. Incorporate bone meal or a high-phosphate fertilizer into the top 2 inches of soil.
Fix-It for Nitrogen Chlorosis: If the entire plant turns a pale lime green, apply a quick-release Nitrogen source like blood meal. Aim for a concentration of 2 pounds per 100 square feet to rapidly restore chlorophyll production.
Maintenance:
Precision maintenance requires the right tools and data. Use a soil moisture meter to ensure the root zone stays within the 60 to 80 percent field capacity range. Most large vegetable plants require 1.5 inches of water per week delivered at the drip line to avoid wetting the foliage.
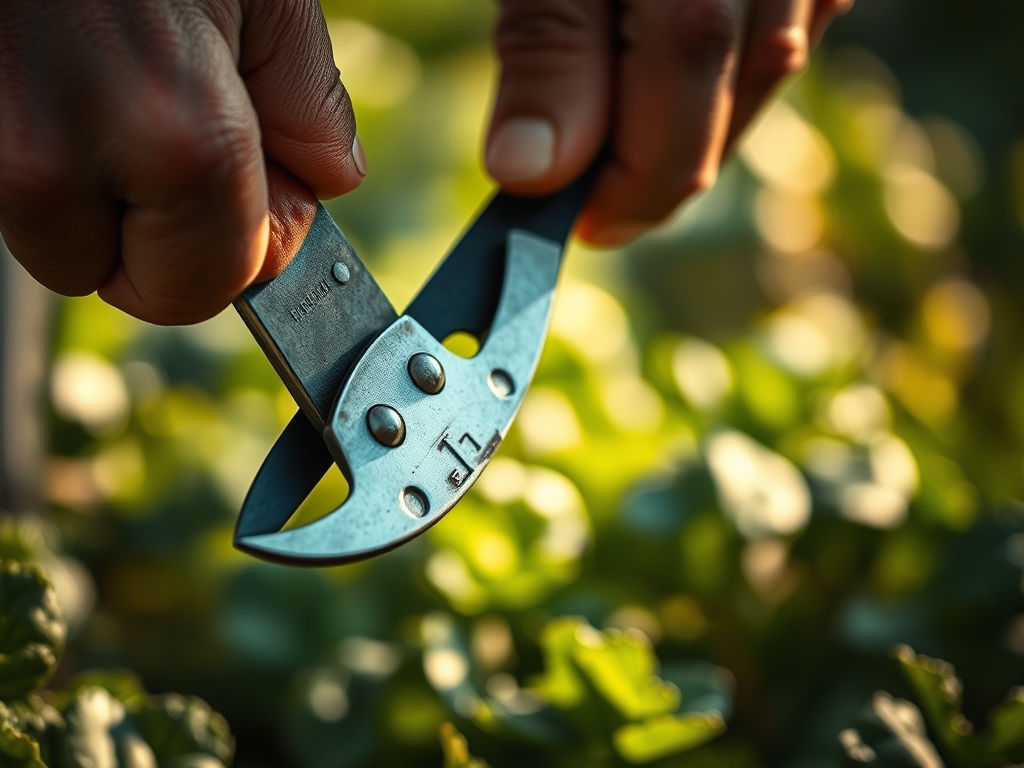
Keep your bypass pruners and loppers sharp. A dull blade tears the tissue, creating an entry point for fungal spores. After every ten cuts, wipe the blades with 70 percent isopropyl alcohol to prevent the cross-contamination of pathogens. If you encounter a thick, woody stem that resists the lopper, do not twist the tool; this can bend the tension bolt and ruin the alignment. Instead, use a pruning saw for anything over 2 inches in diameter.
The Yield:
Harvesting is the final stage of the pruning cycle. For vegetables like broccoli or kale, use your lopper to take the main head or lower stalks once they reach the desired size. Harvest in the early morning when turgor pressure is at its peak. This ensures the cells are fully hydrated, which extends the shelf life of the produce.
Post-harvest, immediately submerge the cut ends in 40-degree Fahrenheit water to remove field heat. This process, known as hydro-cooling, slows down the metabolic rate of the plant and prevents rapid wilting. For woody perennials, apply a light dressing of compost after the final harvest of the season to replenish the organic matter in the rhizosphere.
FAQ:
When should I use a lopper instead of pruners?
Use a lopper for any vegetable stem exceeding 0.5 to 0.75 inches in diameter. The long handles provide the necessary leverage to cut through lignified tissue without crushing the vascular system or straining your wrists.
How do I clean my lopper blades?
Wipe blades with 70 percent isopropyl alcohol or a 10 percent bleach solution between plants. This sterilization prevents the spread of soil-borne pathogens and viral infections like tobacco mosaic virus across your vegetable garden.
Can I prune vegetables during a drought?
Avoid heavy pruning during extreme moisture stress. Pruning triggers a metabolic response that requires water for healing. Wait until the plant has been irrigated and turgor pressure is restored before removing large structural limbs.
What is the best angle for a pruning cut?
Make all cuts at a 45-degree angle, sloping away from the bud. This prevents water from pooling on the raw surface, which reduces the risk of fungal rot and encourages the rapid formation of callus tissue.