7 Vertical Training Steps to Build a Garden Arbor
Crushing a handful of friable loam reveals the earthy scent of geosmin; this organic compound signals a healthy microbial population ready to support vigorous root systems. When a plant maintains high turgor pressure, its cellular walls remain rigid and upright. Vertical cultivation maximizes this physiological efficiency by lifting heavy foliage into the airflow. Mastering the steps for building a vegetable garden arbor transforms a horizontal plot into a three dimensional production engine. This structural intervention is not merely aesthetic; it is a tactical response to limited square footage and the need for superior fungal management. By elevating crops like Cucurbita pepo or Phaseolus vulgaris, you reduce the incidence of soil borne pathogens and improve photosynthetic capture across the entire leaf surface area. Success requires an understanding of structural load and the biological requirements of climbing cultivars. A well executed arbor serves as the skeletal system for your garden, supporting hundreds of pounds of biomass while ensuring that sunlight penetrates the lower canopy layers for maximum fruit set and sugar accumulation.
Materials:

The foundation of any vertical system begins in the rhizosphere. The soil at the base of your arbor must be a **friable loam** with a **pH between 6.2 and 6.8** to ensure optimal nutrient bioavailability. A high Cation Exchange Capacity (CEC) is necessary to hold onto essential minerals. Before construction, amend the soil with a balanced **5-10-10 NPK ratio** for fruiting crops or a **10-10-10** for heavy leafy biomass. You will need **four 4×4 pressure-treated posts** (rated for ground contact), **two 2×6 headers**, and **heavy-duty 4-gauge cattle panels**. Use **3-inch stainless steel deck screws** to prevent corrosion. For the plants, ensure you have a supply of **mycorrhizal inoculant** to enhance phosphorus uptake and water absorption through symbiotic fungal networks.
Timing:
Timing is dictated by the Hardiness Zone and the specific photoperiod requirements of your selected species. In Zones 5 through 7, construction should conclude at least two weeks before the last predicted frost date. This allows the soil to settle and reach a consistent 60 degrees Fahrenheit (15.5 Celsius) at a four inch depth. The biological clock of most vining vegetables transitions from the vegetative stage to the reproductive stage based on heat units and light duration. Sowing too early in cold, anaerobic soil leads to root rot; sowing too late misses the peak solar radiation of the summer solstice. Monitor the Growing Degree Days (GDD) to predict when the plant will require the most structural support as it enters its rapid elongation phase.
Phases:
Sowing and Site Preparation
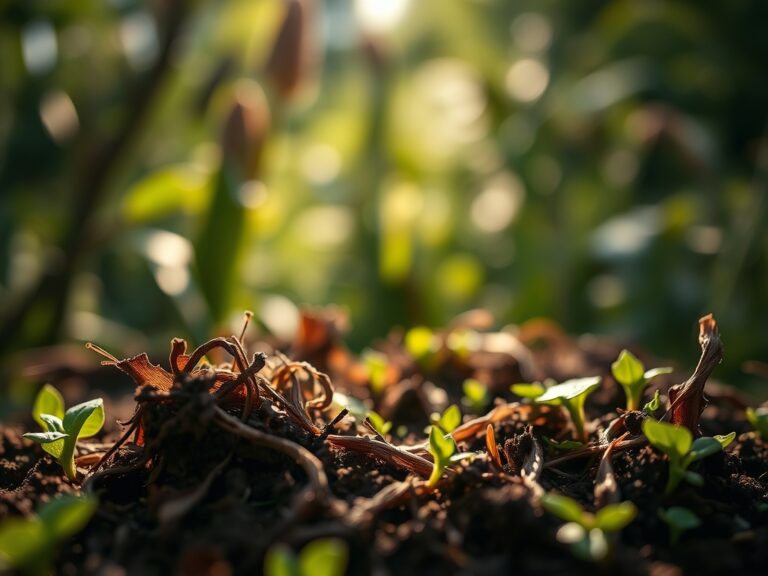
Excavate post holes to a depth of 24 inches to ensure stability against wind shear and heavy fruit loads. Backfill with a mix of native soil and aged compost. Sow seeds at a depth of one inch, spacing them 6 inches apart along the base of the arbor line.
Pro-Tip: Utilize mycorrhizal symbiosis by dusting seeds or root balls with Glomus intraradices. This fungus extends the root system's reach by up to ten times, significantly increasing the plant's ability to extract copper and zinc from the soil matrix.
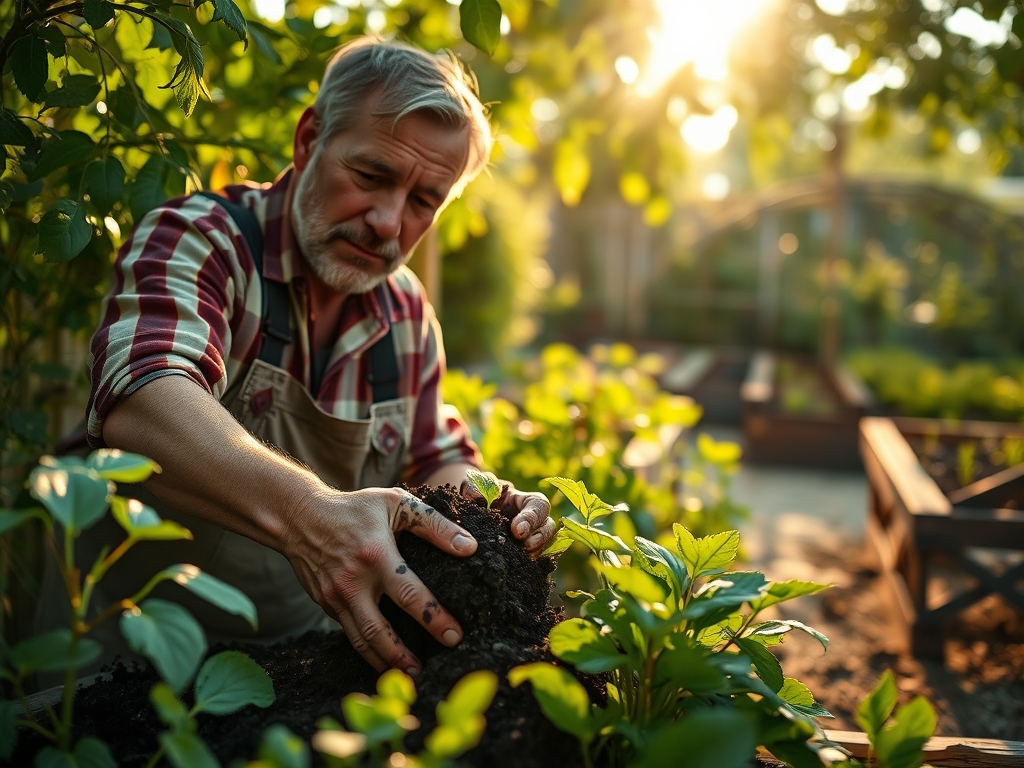
Transplanting and Initial Anchoring
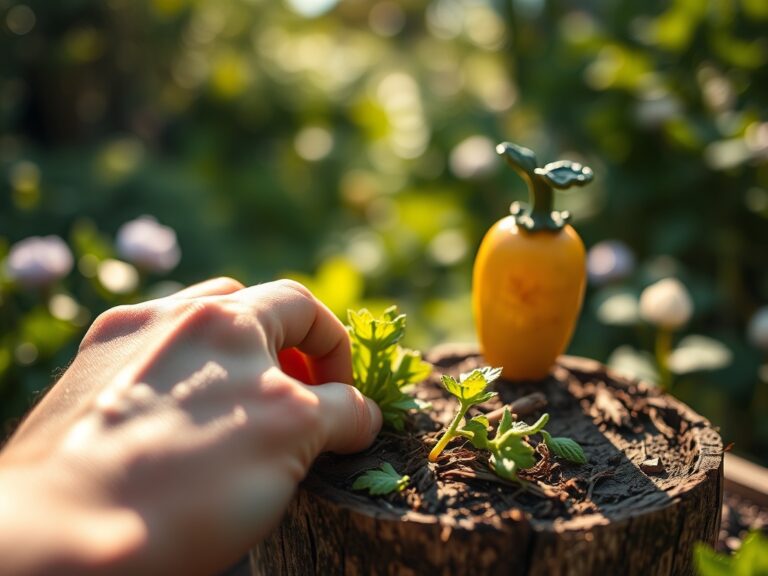
If using starts, ensure they have at least two sets of true leaves before moving them to the arbor base. Use a hori-hori knife to cut a clean vertical hole, minimizing root disturbance. Firm the soil to eliminate air pockets that cause root desiccation.
Pro-Tip: Observe phototropism in action. Ensure the arbor is oriented on a North-South axis. This orientation allows the sun to pass directly over the structure, providing equal light distribution to both sides of the climbing plants and preventing "blind spots" in the lower canopy.
Establishing and Training
As the primary leader reaches 12 inches in height, gently guide it toward the cattle panel. Use soft twine or garden tape to secure the stem. Do not tie tightly; the vascular tissue (xylem and phloem) needs room to expand as the plant matures.
Pro-Tip: Understand auxin suppression through apical dominance. If you want a bushier plant with more lateral fruit-bearing branches, pinch off the terminal bud. This redirects growth hormones (auxins) to the lateral buds, creating a denser wall of foliage on your arbor.
The Clinic:
Physiological disorders often mimic infectious diseases. Accurate diagnosis is critical for intervention.
- Symptom: Interveinal chlorosis on older leaves (yellowing between green veins).
- Solution: This indicates a Magnesium deficiency. Apply a foliar spray of Epsom salts (1 tablespoon per gallon of water) to bypass soil lockout and provide immediate relief.
- Symptom: Blossom end rot (dark, leathery spots on the bottom of fruit).
- Solution: This is a Calcium transport issue, often caused by inconsistent moisture. Maintain a steady transpiration stream by stabilizing soil moisture levels.
- Symptom: Purpling of the underside of leaves.
- Solution: Phosphorus deficiency, common in cold soils. Increase soil temperature with mulch or wait for ambient temperatures to rise above 65 degrees Fahrenheit.
- Symptom: Stunted growth and pale green overall color.
- Solution: Nitrogen chlorosis. Side-dress with a high-nitrogen organic fertilizer like blood meal to boost chlorophyll production.
Maintenance:
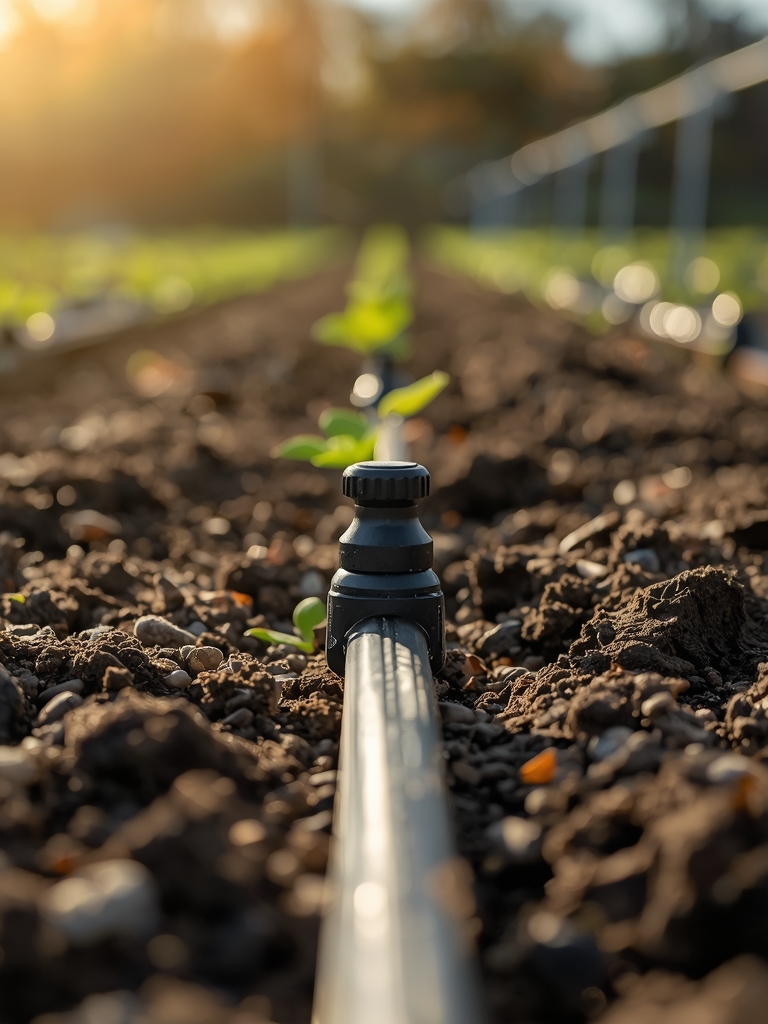
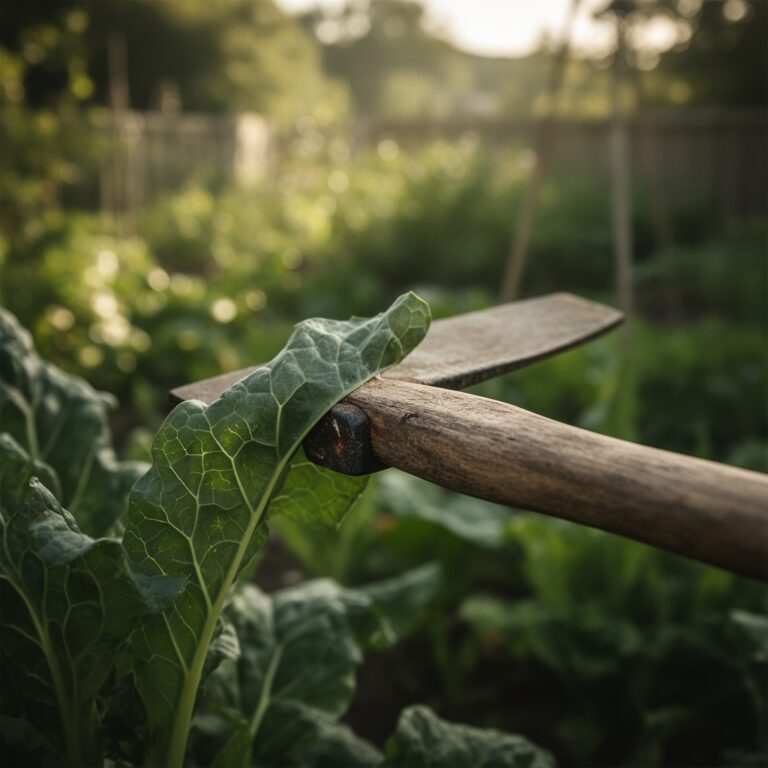
Precision maintenance ensures the structural integrity of the arbor and the health of the crop. Provide 1.5 inches of water per week at the drip line; do not water the foliage, as this encourages powdery mildew (Erysiphe cichoracearum). Use a soil moisture meter to verify that the root zone is hydrated to a depth of 8 inches. Use bypass pruners to remove any yellowing or necrotic tissue (senescence) to improve airflow. Regularly check the tension on the cattle panels. As the fruit weight increases, you may need to add secondary support ties to prevent the vines from slipping or breaking under the gravitational load.
The Yield:
Harvesting from an arbor requires a keen eye for maturity markers. For legumes, harvest when the pods are firm but before the seeds bulge significantly. For cucurbits, look for the "ground spot" to turn from white to creamy yellow, or check the tendril closest to the fruit; if it is brown and shriveled, the fruit is ready. Use a sharp blade to cut the peduncle; never pull the fruit, as this can damage the main vine and invite pathogens. To maintain "day-one" freshness, harvest in the early morning when the plant is at maximum turgidity. Immediately move the produce to a cool, shaded area to remove field heat and slow down the metabolic rate of the harvested tissue.
FAQ:
What is the best material for a vegetable arbor?
Use pressure-treated 4×4 posts and 4-gauge galvanized cattle panels. These materials withstand high humidity and the heavy weight of vining crops like squash or melons without sagging or rotting over multiple growing seasons.
How deep should I set the arbor posts?
Set posts at least 24 inches deep. In areas with high winds or soft soil, use concrete footings to ensure the structure does not lean once the plant canopy reaches full maturity and maximum wind resistance.
Can I grow heavy melons on a vertical arbor?
Yes. Use nylon mesh slings to support the weight of individual fruits. Tie the slings to the cattle panel to take the mechanical stress off the vine, preventing breakage and ensuring the fruit stays attached until fully ripe.
How do I prevent fungal issues on an arbor?
Maintain a strict pruning schedule to remove lower leaves and increase airflow. Water only at the base of the plant using a soaker hose to keep the leaf surface dry, which prevents the germination of fungal spores.