9 Sturdy Steps to Prepare a DIY Indoor Plant Stake
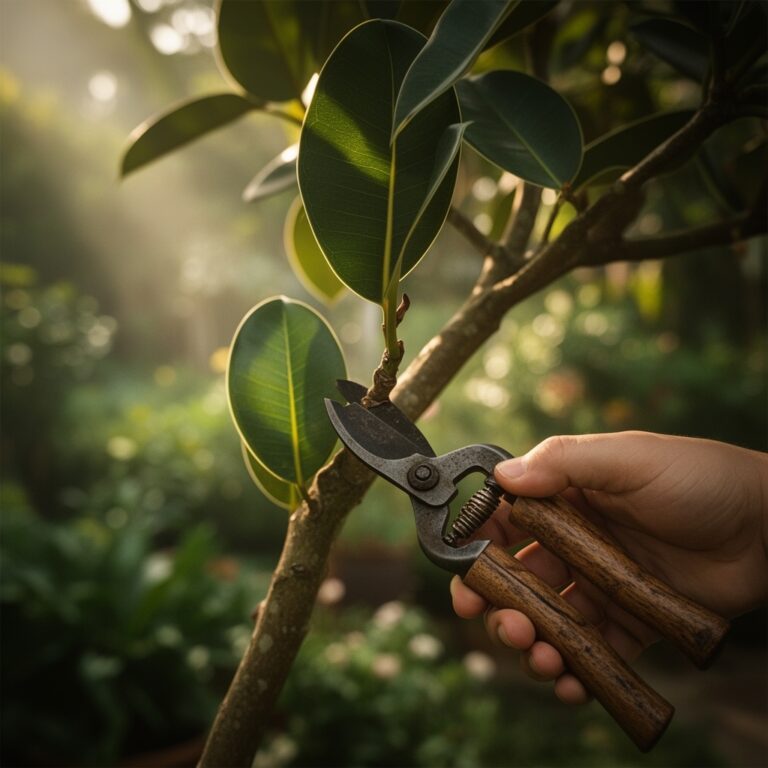
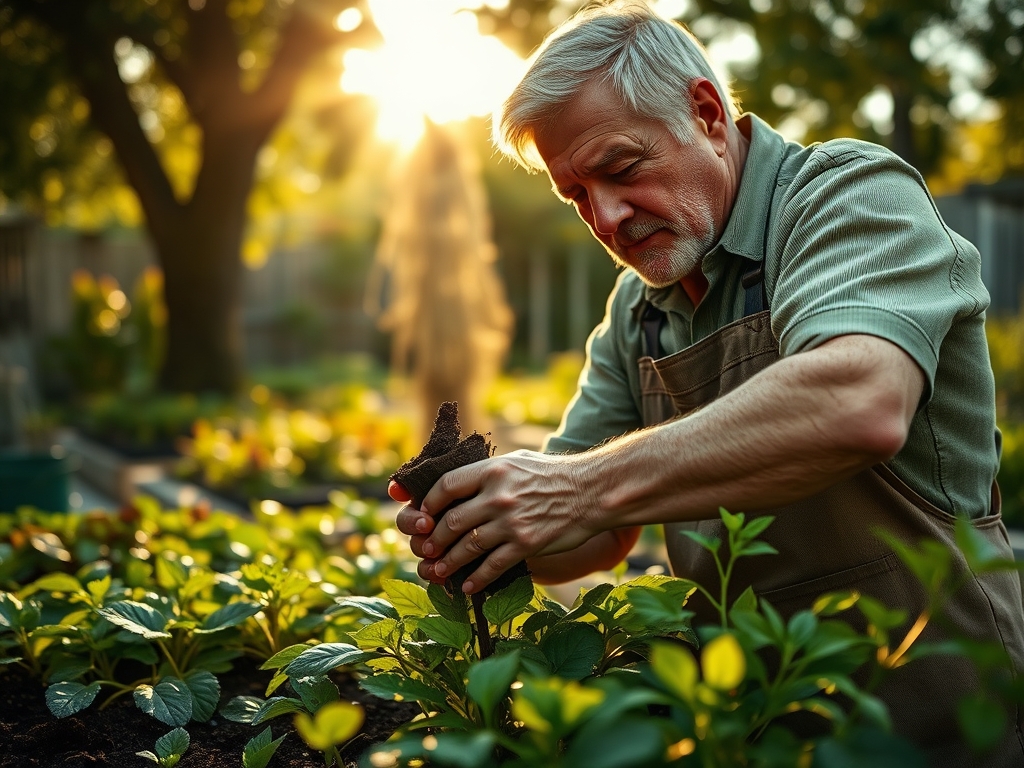
The smell of damp peat and the sharp, metallic scent of a clean hori-hori knife signal the start of a serious potting session. When a Monstera deliciosa or Philodendron erubescens loses its vertical orientation, turgor pressure alone cannot counteract gravity. Stems begin to sprawl; leaves diminish in size. Learning how to prepare a DIY plant stake is the only way to facilitate the upward growth required for mature leaf fenestration and structural integrity.
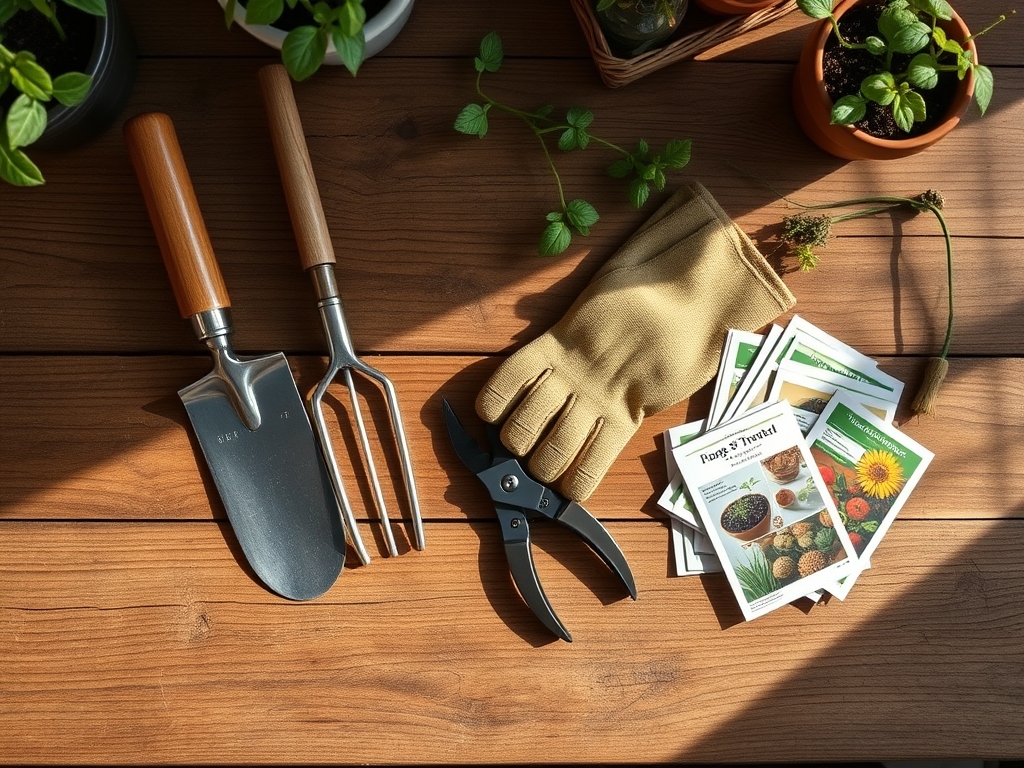
Materials:
The success of a support system depends on the substrate it inhabits. For indoor aroids, you require a **friable loam** with high porosity. The ideal soil pH for these tropicals ranges from **5.5 to 6.5**. This acidity ensures that micronutrients like iron and manganese remain bioavailable. Before inserting your stake, verify your soil nutrient profile. A balanced NPK ratio of **20-20-20** is standard for general maintenance, but a nitrogen-heavy **3-1-2** ratio supports the rapid vegetative expansion triggered by new vertical support.
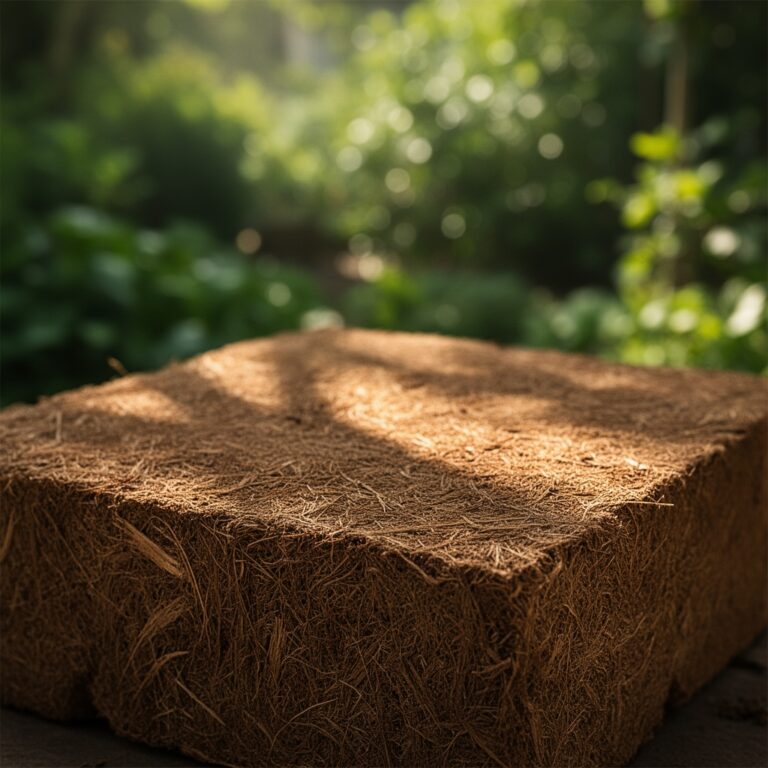
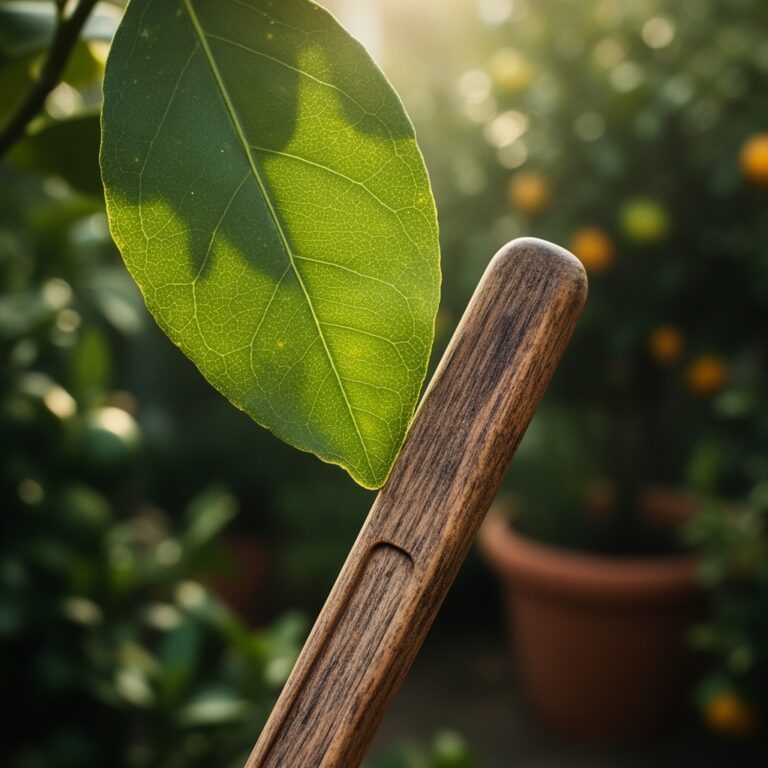
Gather a PVC pipe or cedar lath, sphagnum moss (long-fiber), and fishing line or plastic-coated wire. Avoid untreated softwoods that decay rapidly in high-moisture environments. Cedar is preferred for its natural resistance to fungal pathogens. Ensure your moss is pre-hydrated to a point where it holds moisture but does not drip when squeezed; this represents the ideal field capacity for aerial root penetration.
Timing:
Timing your intervention is critical to plant health. Indoor environments do not strictly follow Hardiness Zones; however, most tropical houseplants thrive in conditions mimicking Zones 10 through 12. The best window for staking is the early spring, coinciding with the break of dormancy when the photoperiod extends beyond 12 hours.
Monitor the "Biological Clock" of your specimen. You must intervene during the vegetative stage, specifically when the plant exhibits circumnutation; the rhythmic searching movement of the apical bud. If you wait until the plant enters a reproductive stage or late-season senescence, the stems will be too lignified to bend without fracturing the vascular cambium.
Phases:
Sowing the Foundation
The first step in how to prepare a DIY plant stake involves the structural core. Cut your cedar or PVC to a length 12 inches taller than the current height of the plant. If using a moss pole style, wrap the long-fiber sphagnum moss around the pole in a layer 1.5 inches thick. Secure it tightly with fishing line using a spiral hitch knot every 0.5 inches.
Pro-Tip: Proper moss density facilitates hydrotropism. When the moss remains consistently damp, the plant's adventitious roots will grow toward the moisture source rather than away from it, creating a self-securing biological bond.
Transplanting and Integration
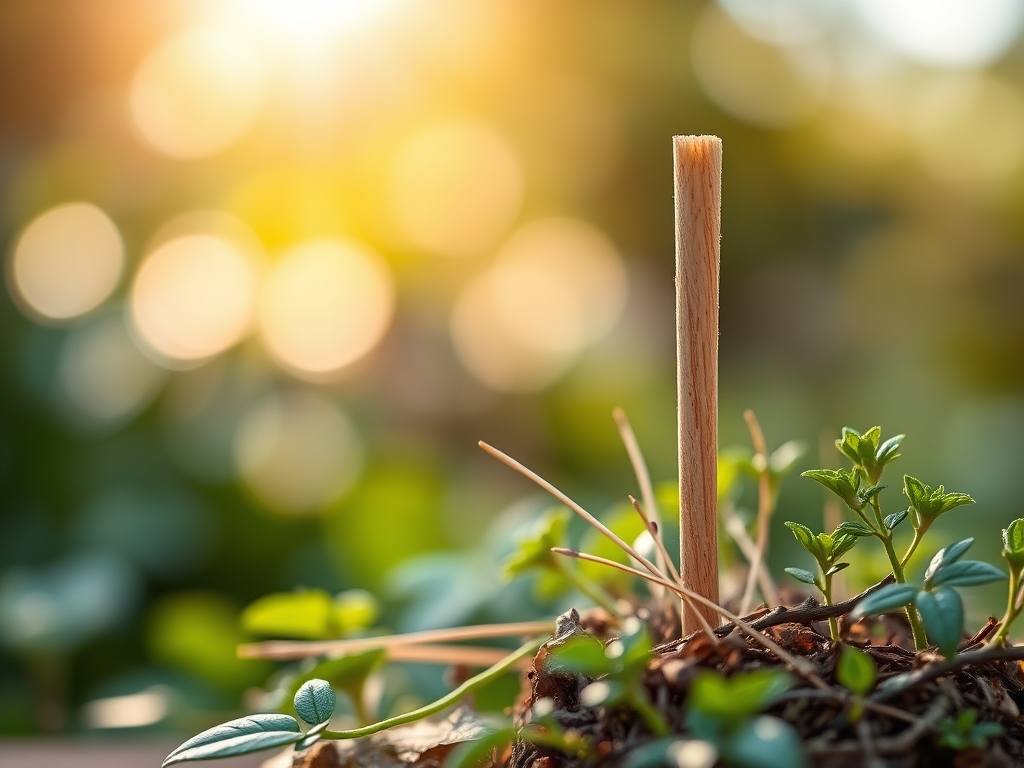
Clear a space in the rhizosphere by gently probing the soil with a chopstick to locate a gap between major root masses. Insert the stake at least 6 to 8 inches deep to ensure leverage. If the pot is too small to balance the weight, transplant the entire unit into a heavy ceramic vessel that provides a lower center of gravity.
Pro-Tip: Avoid placing the stake directly against the main stem. Leaving a 1-inch gap prevents the suppression of auxins, the hormones responsible for cell elongation. Compressed stems often result in stunted growth nodes.
Establishing Verticality
Affix the primary stem to the stake using soft garden ties. Do not over-tighten. The tie should be loose enough to allow for secondary thickening of the xylem and phloem. Position the nodes (the points where leaves emerge) directly against the damp moss to encourage the development of aerial roots.
Pro-Tip: Utilizing vertical support exploits negative geotropism. By forcing the apical meristem upward, you concentrate growth energy into larger leaf blades rather than elongated, leggy stems.
The Clinic:
Physiological disorders often manifest shortly after physical manipulation. Monitor your plant for these specific indicators:
- Symptom: Interveinal chlorosis (yellowing between leaf veins).
Solution: This typically indicates a Magnesium deficiency. Apply a solution of 1 tablespoon of Epsom salts per gallon of water to restore chlorophyll production. - Symptom: Epinasty (downward curling of leaves).
Solution: Check for root binding or over-saturation. Ensure the soil has a Cation Exchange Capacity (CEC) high enough to hold nutrients without suffocating roots. - Symptom: Stem snapping during tying.
Solution: Immediately splint the break with floral tape. If the vascular tissue is intact, the plant may form a callus and heal. - Symptom: Brown, crispy leaf tips.
Solution: Low humidity. Maintain a minimum of 50% relative humidity around the stake to prevent the moss from leaching moisture from the plant's aerial roots.
Fix-It: If you observe Nitrogen chlorosis (uniform paling of older leaves), flush the substrate with a 10-5-5 liquid fertilizer at half-strength to rapidly boost nitrogen levels in the leaf tissue.
Maintenance:
A staked plant requires more frequent monitoring than a trailing one. Use a soil moisture meter to ensure the root ball remains at a "4" or "5" on a 10-point scale. Provide 1.5 inches of water per week at the drip line; do not pour water directly onto the base of the stake as this can encourage localized anaerobic bacteria.
Every 90 days, use bypass pruners to remove any yellowing foliage or spent stipules. Inspect the ties for tightness. As the plant grows, you must add "extensions" to your stake or replace it with a taller unit. If using a moss pole, mist the pole daily. A dry stake is a useless stake; it must remain a living, hydrated extension of the growth medium.
The Yield:
For those growing fruiting indoor plants like Monstera deliciosa, the "yield" is the fruit itself, which takes approximately 10 to 12 months to ripen. Harvest only when the hexagonal scales start to lift and the scent of pineapple is detectable. For foliage plants, the yield is the increase in leaf surface area. To maintain "day-one" freshness, wipe the leaves with a damp cloth every 14 days to remove dust that blocks stomata and inhibits gas exchange.
FAQ:
What is the best material for a DIY stake?
Untreated cedar or PVC coated in sphagnum moss is superior. Cedar resists rot for 3 to 5 years, while moss provides the necessary moisture for aerial root attachment and nutrient uptake via the plant's adventitious system.
How deep should the stake be buried?
The stake must reach the bottom of the container, typically 6 to 10 inches deep. This depth utilizes the weight of the substrate to counter the leverage exerted by the plant's mass and prevents the stake from leaning.
Can I use bamboo for indoor staking?
Bamboo is acceptable for temporary support but tends to develop mold in high-humidity indoor environments within 6 months. For long-term verticality, synthetic or rot-resistant wood is a more stable choice for the plant's rhizosphere health.
How do I attach the plant without damage?
Use soft Velcro strips or thick garden twine. Ensure a 0.25-inch gap between the tie and the stem. This prevents "girdling," which restricts the flow of photosynthates from the leaves to the root system.
When should I replace the DIY stake?
Replace the stake when the apical meristem exceeds the top of the support by 6 inches. This prevents the plant from folding over and maintains the structural integrity of the main stem during its peak vegetative growth phase.