8 Nutrient-Intake Benefits of Specialized Houseplant Soil
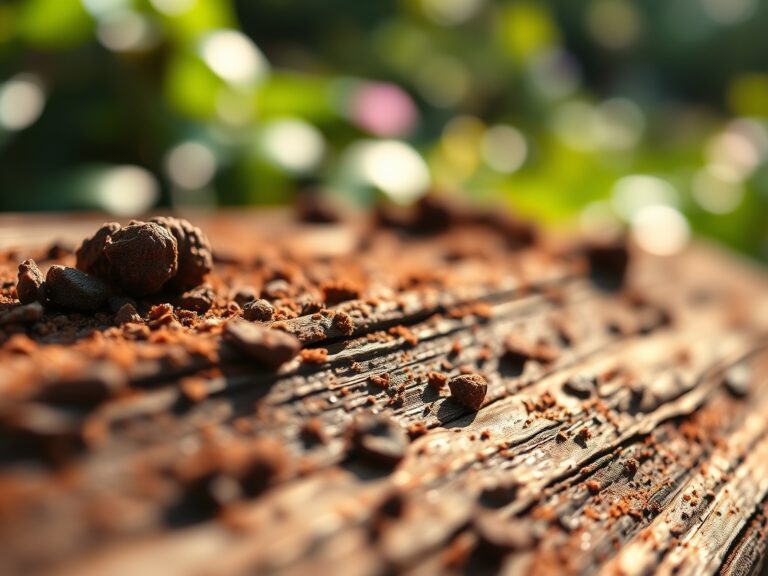
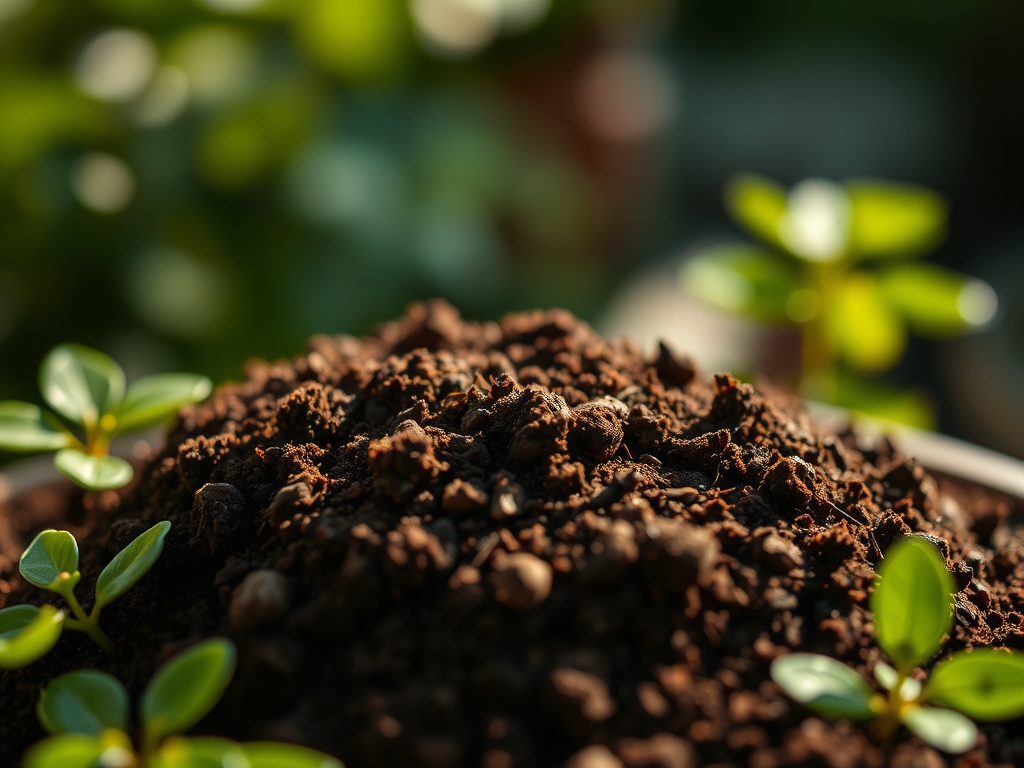
The scent of damp, mineralized earth signals a healthy rhizosphere. When you compress a handful of high quality substrate, it should hold its shape momentarily before shattering into friable granules. This structural integrity ensures that turgor pressure remains constant within the plant's vascular system. Using a specialized houseplant soil prevents the catastrophic collapse of air pores that occurs with standard garden dirt. By maintaining a porous architecture, the substrate facilitates the gas exchange necessary for cellular respiration at the root level. A plant grown in precision media exhibits thick, waxy cuticles and rigid stems. These physical traits are direct results of optimized nutrient uptake and consistent moisture retention. Most indoor mortality is not caused by neglect; it is caused by anaerobic conditions in the root zone. Specialized blends solve this by balancing capillary action with drainage. This creates a stable environment where cation exchange can occur without the interference of salt buildup or heavy metal toxicity.
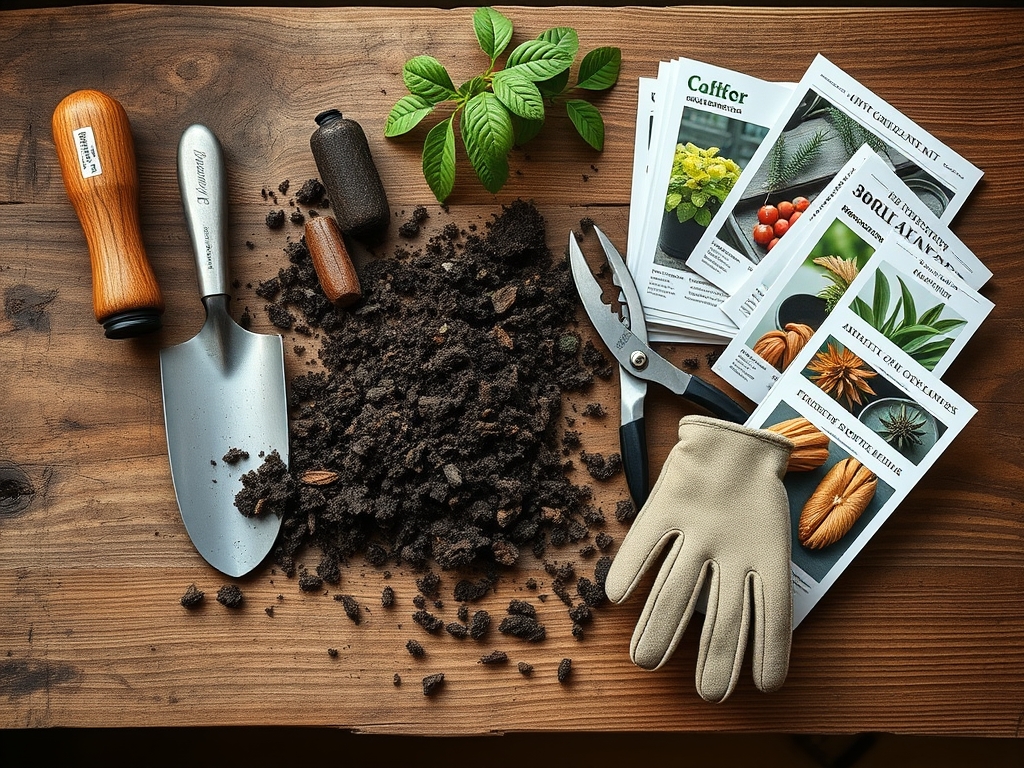
Materials:
The chemical composition of your substrate dictates the bioavailability of essential elements. For most tropical indoor species, a **pH range of 5.8 to 6.5** is optimal. This slightly acidic environment prevents the lockout of micronutrients like iron and manganese. The ideal physical texture is a **friable loam** consisting of 40 percent peat or coco coir, 30 percent perlite or pumice, and 30 percent composted organic matter.
Nutrient ratios should be tailored to the growth phase. A starter NPK ratio of 5-10-5 encourages early root development through high phosphorus availability. For established foliage plants, a balanced 10-10-10 ratio provides the nitrogen necessary for chlorophyll production. Specialized soils often include calcined clay or zeolites to increase the Cation Exchange Capacity (CEC), which allows the soil to hold onto positively charged ions like potassium (K+) and calcium (Ca2+) until the plant requires them.
Timing:
Indoor gardening operates on a biological clock independent of local weather, yet it remains tethered to the photoperiod. In Hardiness Zones 7 through 10, the transition from vegetative to reproductive stages typically aligns with the increase in daylight hours during late March. You should initiate repotting or soil refreshment approximately two to three weeks before the spring equinox. This timing ensures that the plant has access to fresh nutrients exactly when its metabolic rate increases.
Avoid major soil disturbances during the winter dormancy period. When light levels drop below 1,000 foot-candles, most houseplants enter a state of reduced transpiration. Adding high nitrogen soil during this phase can lead to "leggy" growth or etiolation, as the plant lacks the light energy to support the rapid cell division triggered by the fertilizer. Monitor the Biological Clock by observing the apical meristem; once new leaf buds begin to swell, the window for soil optimization is open.
Phases:

Sowing and Propagation
When starting seeds or cuttings, the substrate must be sterile and fine-textured. Use a mix with a low EC (Electrical Conductivity) value to avoid burning delicate primary roots. Maintain a consistent temperature of 70 to 75 degrees Fahrenheit to optimize germination enzymes.
Pro-Tip: Maintain high humidity to prevent the desiccation of the radicle. The Biological Why is rooted in auxin suppression; by keeping the environment stable, you prevent the plant from diverting energy into stress-response hormones, allowing it to focus entirely on initial root elongation.
Transplanting
Moving a plant into specialized soil requires careful handling of the root ball. Ensure the new container is only 2 inches wider than the previous one. Centering the plant and filling the voids with specialized soil prevents "perched water tables" where moisture sits at the bottom of the pot.
Pro-Tip: Lightly dust the roots with endomycorrhizal fungi during the move. The Biological Why is mycorrhizal symbiosis; these fungi extend the reach of the root system by hundreds of times, significantly increasing the surface area available for phosphorus absorption.
Establishing
The first 14 to 21 days after repotting are critical for establishment. During this phase, the plant is recovering from "transplant shock" and re-establishing hydraulic conductance. Keep the soil consistently moist but not saturated.
Pro-Tip: Avoid direct sunlight for the first week. The Biological Why involves phototropism and transpiration rates; reducing light intensity lowers the demand on the damaged root system, allowing the plant to prioritize repairing vascular tissues over photosynthetic output.
The Clinic:
Physiological disorders often manifest as visual cues on the foliage. Identifying these early allows for precise soil amendments.
- Symptom: Interveinal chlorosis (yellowing between green veins) on new leaves.
- Solution: This indicates Iron deficiency. Check the soil pH; if it is above 7.0, the iron is chemically locked. Lower the pH using elemental sulfur or chelated iron drench.
- Symptom: Marginal necrosis (brown, crispy edges) on older leaves.
- Solution: This suggests Potassium deficiency or salt accumulation. Flush the specialized soil with distilled water to leach excess salts and apply a 0-0-50 sulfate of potash supplement.
- Symptom: Purpling of the underside of leaves or stems.
- Solution: This is a classic sign of Phosphorus deficiency, often caused by soil temperatures falling below 55 degrees Fahrenheit. Increase the ambient temperature to restore nutrient mobility.
Fix-It for Nitrogen Chlorosis: If the entire plant is turning a pale, uniform yellow, it lacks nitrogen. Apply a liquid fertilizer with a high Nitrate-N content for immediate uptake, as ammonium-based fertilizers require microbial conversion which takes longer in indoor pots.
Maintenance:
Precision maintenance requires the right tools. Use a soil moisture meter to verify that the root zone is at the desired level before adding water. For most tropicals, wait until the top 1.5 inches of soil feels dry to the touch. When watering, apply enough volume so that 10 percent of the water exits the drainage holes; this prevents the buildup of mineral salts.
Use a hori-hori knife to occasionally aerate the soil by gently poking holes into the substrate. This prevents compaction and ensures oxygen reaches the deep roots. Prune dead or senescing leaves using bypass pruners to prevent the spread of pathogens. Clean your tools with 70 percent isopropyl alcohol between plants to maintain a sterile environment.
The Yield:
For flowering houseplants like African Violets or Peace Lilies, the "yield" is the duration and intensity of the bloom cycle. To maximize this, shift to a soil high in potassium and phosphorus once flower primordia are visible. Harvest spent blooms by cutting at the base of the pedicel to prevent the plant from wasting energy on seed production.
For edible indoor herbs, harvest in the morning when essential oil concentration is at its peak. Use sharp shears to avoid tearing the vascular tissue. Post-harvest, place stems in cool water immediately to maintain day-one freshness and prevent the rapid wilting associated with moisture loss in the xylem.
FAQ:
How often should I replace specialized houseplant soil?
Replace or refresh the top 3 inches of soil every 12 to 18 months. Over time, organic components decompose and lose their aeration properties. This leads to compaction and reduced oxygen availability in the rhizosphere.
Can I reuse soil from a plant that died?
Never reuse soil from a deceased plant. Pathogens like Pythium or Fusarium can persist in the substrate for years. Always start with fresh, sterilized specialized soil to ensure a clean environment for new root growth.
Why is my specialized soil repelling water?
Peat-based soils can become hydrophobic if allowed to dry out completely. To fix this, submerge the pot in a bucket of water for 20 minutes. This forces the organic fibers to rehydrate and restores capillary action.
Does specialized soil need additional fertilizer?
Most specialized mixes contain a "starter charge" of nutrients lasting 4 to 6 weeks. After this period, you must begin a regular fertilization regimen based on the plant's specific NPK requirements and growth stage.