8 Custom Steps to Prepare a DIY Indoor Plant Trellis
The scent of damp, pasteurized peat moss signals a high-functioning indoor ecosystem. When a climbing aroid or hoya reaches the limits of its nursery pot, the loss of turgor pressure in the upper petioles indicates a lack of structural support. Learning how to prepare a DIY plant trellis allows a grower to manage vertical growth and optimize light interception. Proper support prevents stem breakage and encourages the development of larger, mature foliage through increased auxin flow.
Materials:
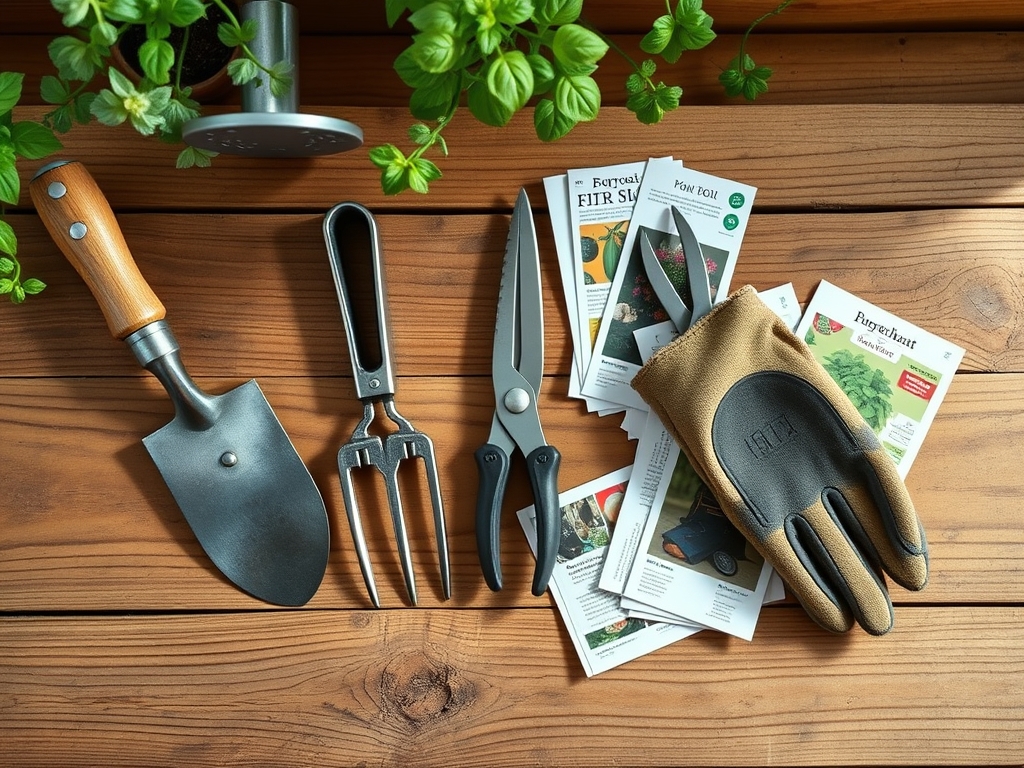
Constructing a trellis requires a substrate that facilitates stable anchoring without compromising the rhizosphere. The ideal potting medium for a trellised indoor plant is a **friable loam** consisting of 40 percent coco coir, 30 percent perlite, and 30 percent orchid bark. This mixture ensures a high Cation Exchange Capacity (CEC), allowing the plant to readily access nutrients. Maintain a **soil pH between 5.8 and 6.5** to ensure maximum bioavailability of micronutrients.
For fertilization during the construction phase, utilize a water-soluble NPK ratio of 9-3-6. This high-nitrogen formula supports the rapid vegetative expansion required for the plant to grip the new structure. You will need 12-gauge copper wire or untreated cedar lath, as these materials resist fungal degradation in high-humidity environments. Avoid pressure-treated woods that may leach arsenic or copper chromium arsenate into the root zone.
Timing:
Indoor cultivation bypasses traditional Hardiness Zone restrictions, yet the biological clock of the plant remains tethered to the photoperiod. Initiate trellis installation during the transition from late winter to early spring. This window aligns with the increase in ambient light intensity, triggering the plant to move from a semi-dormant state into an active vegetative stage.
Monitor the plant for the emergence of new axillary buds. In Hardiness Zones 7 through 10, this typically occurs when indoor temperatures stabilize at 68 to 75 degrees Fahrenheit. Attempting to trellis a plant during the onset of senescence or winter dormancy can result in mechanical damage to brittle stems. The goal is to provide support exactly when the plant begins its most aggressive upward surge.
Phases:
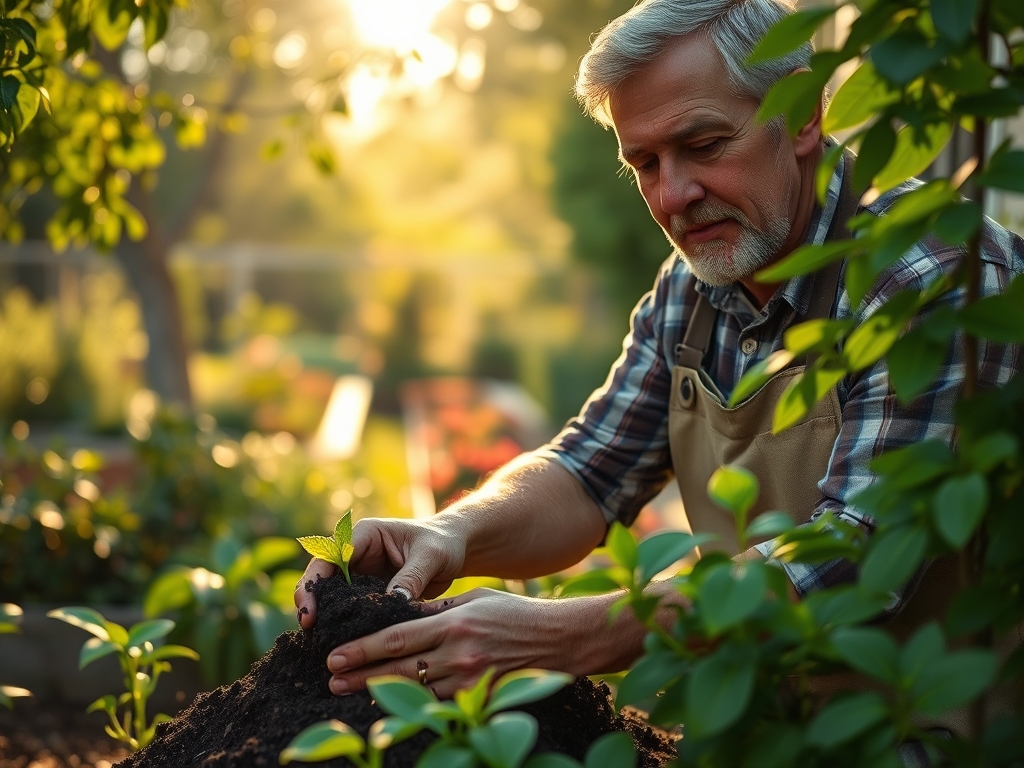
Sowing and Foundation
Before the plant is introduced, secure the trellis base to the interior of the container. If using a moss pole, soak the sphagnum in water with a pH of 6.0 for thirty minutes. Position the support at the rear of the pot to allow the root system to expand forward.
Pro-Tip: Proper anchoring utilizes the principle of thigmotropism. When a climbing plant's tendrils or adventitious roots make physical contact with a solid surface, the plant redirects energy to thicken the cell walls in that area, creating a permanent mechanical bond.
Transplanting and Integration
Carefully extract the plant from its current vessel. Inspect the roots for a healthy, creamy white appearance. If the roots are circling the base, use a hori-hori knife to make four shallow vertical incisions. This encourages lateral root branching into the new, nutrient-rich substrate.
Pro-Tip: This process stimulates mycorrhizal symbiosis. By disturbing the outer root layer slightly, you encourage the colonization of beneficial fungi that extend the surface area of the root system, increasing phosphorus uptake by up to 20 percent.
Establishing and Training
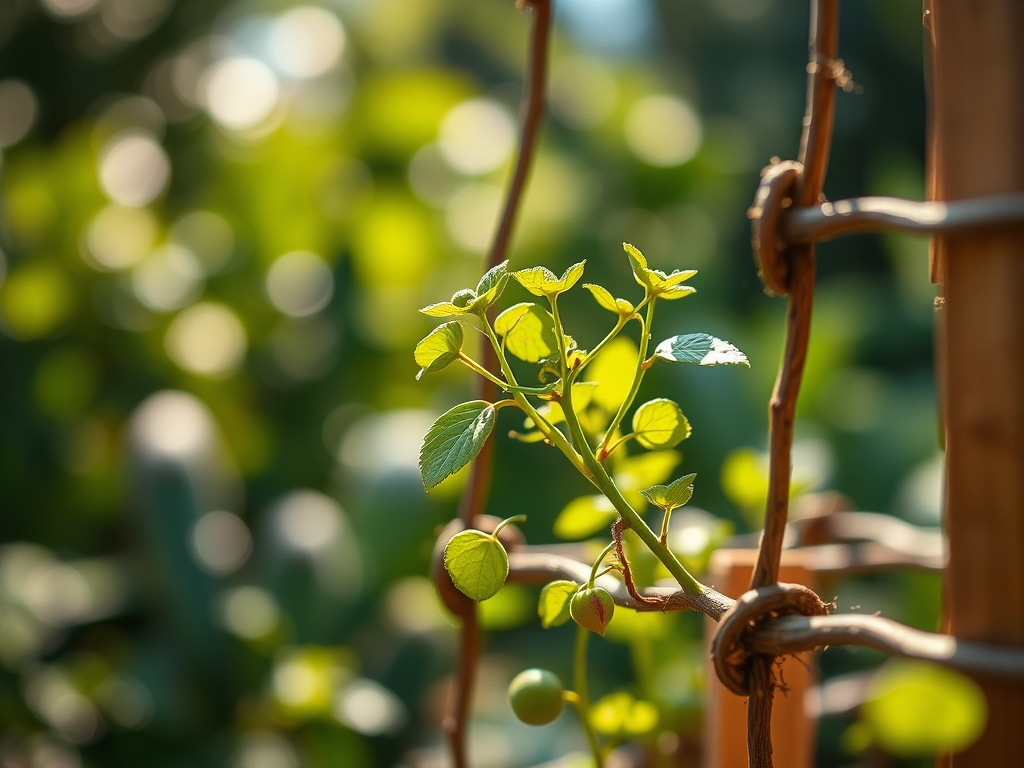
Secure the primary lead stem to the trellis using soft horticultural tape or VELCRO brand plant ties. Do not overtighten; leave a 0.25-inch gap to allow for secondary xylem expansion. Orient the leaves toward the primary light source to maximize photosynthetic efficiency.
Pro-Tip: Training the stem vertically suppresses apical dominance. By manipulating the angle of the vine, you control the distribution of auxins, which are hormones produced in the growing tip. This can be used to encourage bushier growth lower on the trellis.
The Clinic:
Physiological disorders often manifest shortly after a trellis is installed due to environmental stress or improper handling.
- Nitrogen Chlorosis: Lower leaves turn a uniform pale yellow. This indicates the plant is scavenging mobile nitrogen to support new growth at the top of the trellis. Fix-it: Apply a liquid fertilizer with a 5-1-1 NPK ratio to quickly restore nitrogen levels.
- Etiolation: Stems become thin, pale, and excessively long between nodes. This is a response to insufficient light. Fix-it: Increase light intensity to at least 400 foot-candles or provide supplemental LED growth lights.
- Mechanical Necrosis: Brown, crispy spots appear where the plant is tied to the trellis. This is caused by friction or ties that are too tight. Fix-it: Loosen all bindings and ensure the trellis is not vibrating or shifting.
- Leaf Epinasty: Downward curling of leaves despite wet soil. This often indicates root suffocation or anaerobic conditions at the base of the trellis. Fix-it: Use a soil moisture meter to ensure the medium is drying out to a level of 3 or 4 before re-watering.
Maintenance:
Consistency is the primary driver of success in vertical gardening. Provide 1.5 inches of water per week, distributed evenly across the soil surface rather than concentrated at the stem base. Use bypass pruners to remove any yellowing foliage or spent flowers, making cuts at a 45-degree angle just above a node to prevent water pooling on the wound.
Every six months, check the structural integrity of the trellis. Use a soil moisture meter to verify that the moisture levels at the bottom of the pot are not significantly higher than at the top; a discrepancy of more than 20 percent indicates a need for improved drainage. If the plant outgrows the support, do not remove the original trellis. Instead, "stack" a secondary extension on top to avoid disturbing the established adventitious roots.
The Yield:
For those growing fruiting indoor plants like peppers or vining herbs on a trellis, harvest timing is critical. Collect fruit when it reaches its characteristic color and a firm texture. Use sharp snips to avoid tearing the vascular tissue. For leafy greens, harvest the outer leaves first, leaving the central "heart" intact to allow for continuous production.
Post-harvest, submerge the cut ends in 40-degree Fahrenheit water for fifteen minutes. This rapid cooling halts the metabolic process and preserves the sugar content, ensuring the produce maintains its crispness and nutritional density for several days.
FAQ:
How deep should I bury the trellis base?
Insert the trellis at least 3 to 5 inches into the substrate. For larger plants, the base should touch the bottom of the container to prevent leaning. This provides the mechanical leverage necessary to support the plant's vertical biomass.
Can I use metal wire for an indoor trellis?
Yes, but ensure it is plastic-coated or stainless steel. Uncoated ferrous metals can rust in high-humidity environments, potentially releasing excess iron oxides into the rhizosphere, which may interfere with the uptake of other essential metallic ions.
Why are my plant's leaves getting smaller as it climbs?
This is often due to a light gradient issue. If the top of the trellis is further from the light source or the plant is not receiving enough nutrients, it will produce smaller leaves to conserve energy and reduce transpiration.
How often should I adjust the ties on my trellis?
Inspect the ties every 4 to 6 weeks. As the stem diameter increases through secondary growth, original ties can become restrictive. Loosen any bindings that appear to be indenting the plant's epidermis to prevent vascular constriction.
What is the best material for a moss pole?
Use long-fiber sphagnum moss encased in a plastic or galvanized wire mesh. This material retains moisture effectively, providing the humidity required for adventitious roots to anchor deeply, which facilitates the transport of water to the highest leaves.