8 Best Specialized Bricks for Custom Landscaping
The smell of damp, anaerobic clay shifting under a spade signifies the beginning of any structural intervention in the garden. When the turgor pressure of your specimen plants is at its peak in the early morning, the stability of the surrounding hardscape determines the long-term health of the rhizosphere. Selecting the best bricks for custom landscaping requires more than aesthetic consideration; it demands an understanding of thermal mass and moisture wicking. A poorly chosen paver can alter the local soil temperature by several degrees, potentially shocking sensitive root systems or accelerating the senescence of nearby perennials. High-quality masonry acts as a thermal heat sink, regulating the microclimate of the garden bed during the volatile temperature swings of early spring.
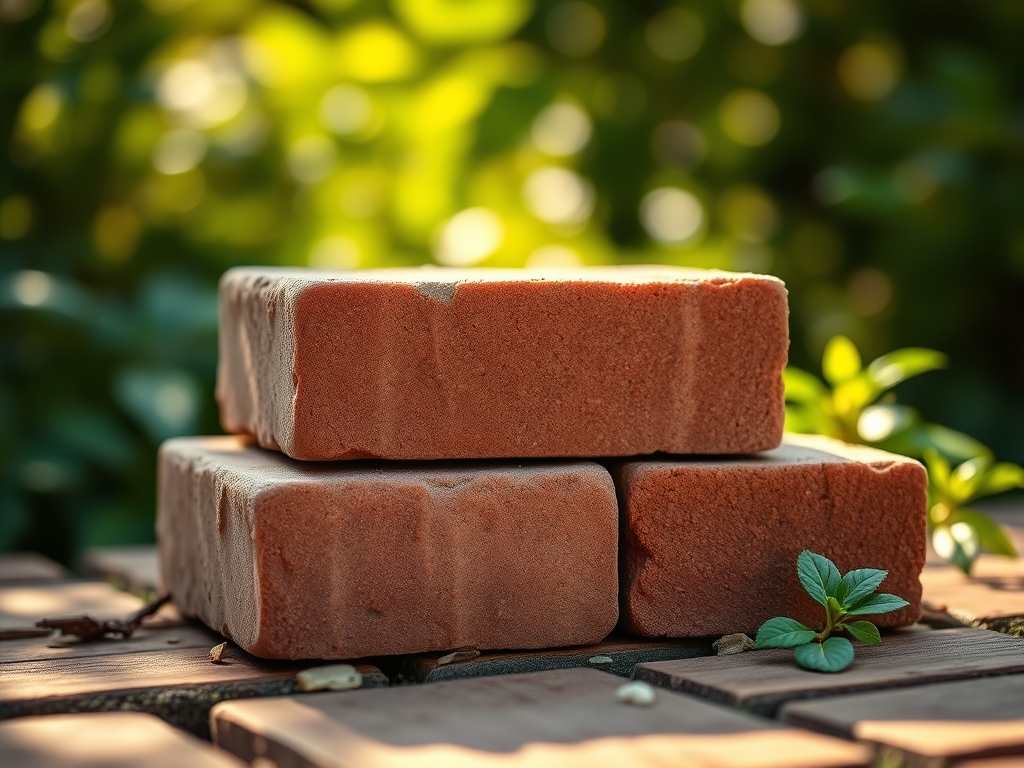
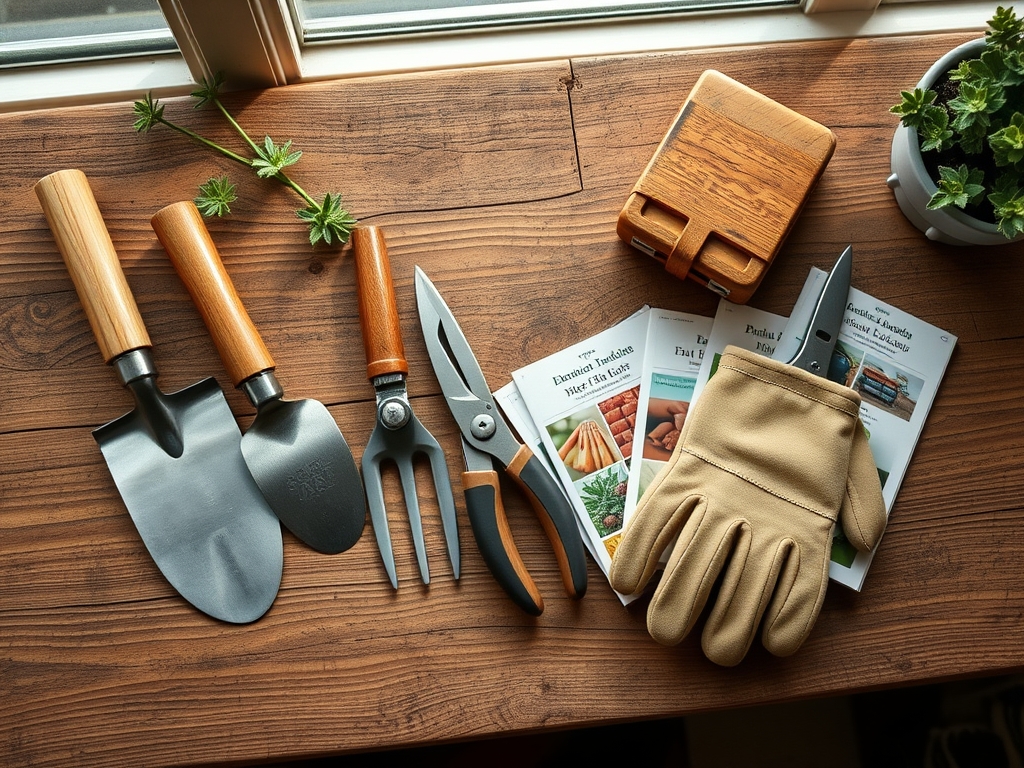
Materials:
The interaction between masonry and soil chemistry is governed by the leaching of minerals. For an ideal planting environment, maintain a soil pH between 6.2 and 6.8. When installing brick borders, ensure the substrate is a friable loam consisting of 40 percent sand, 40 percent silt, and 20 percent clay. This ratio ensures a high Cation Exchange Capacity (CEC), allowing the soil to retain essential nutrients.
Before laying your chosen brick, amend the surrounding soil with a balanced NPK ratio. For vegetative growth, a 10-10-10 NPK application provides the necessary nitrogen for chlorophyll production, phosphorus for ATP transfer, and potassium for cellular signaling. If you are installing bricks near acid-loving species like Pieris or Rhododendron, avoid lime-based mortars that can spike the pH above 7.5, leading to iron chlorosis.
Timing:
Hardiness Zones 4 through 9 dictate the window for masonry installation. You must complete heavy brickwork at least 30 days before the first hard frost. This window allows the soil to settle and prevents frost heave from displacing the leveled units. The biological clock of the garden transitions from the vegetative stage to the reproductive stage as the photoperiod shortens in late summer.
Installing the best bricks for custom landscaping during the dormant season (late autumn) minimizes compaction damage to the root zones of deciduous trees. At this time, the metabolic rate of the plants is low, and the risk of damaging the fine root hairs responsible for water uptake is significantly reduced. Monitor the soil moisture meter; never install heavy masonry on saturated soil, as this collapses the macro-pores essential for oxygen diffusion to the roots.
Phases:
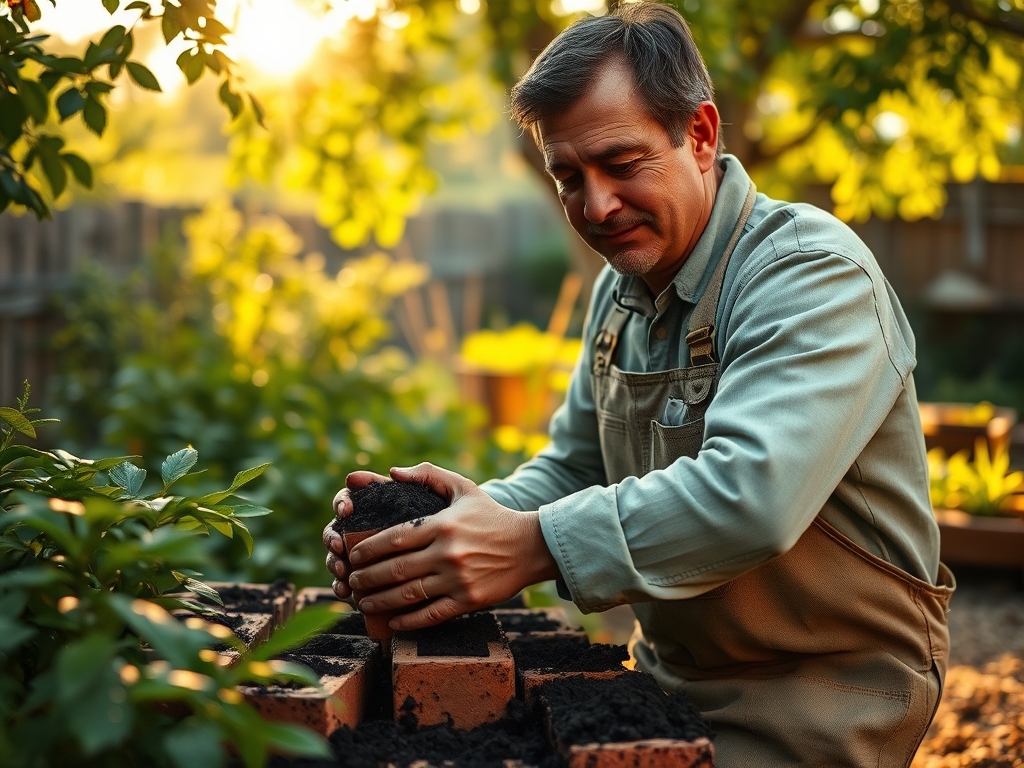
Sowing and Preparation
Excavate the trench to a depth of 8 inches. Fill the first 4 inches with a compacted crushed stone base. This layer prevents capillary rise, which can pull salts from the subsoil into your brickwork.
Pro-Tip: Proper drainage prevents the "bathtub effect" where water accumulates around the roots. This is vital because oxygen deprivation in the rhizosphere leads to root rot within 48 hours of saturation.
Transplanting and Integration
When placing bricks near established plants, use a hori-hori knife to cleanly prune any roots larger than 0.5 inches in diameter. A clean cut allows the plant to seal the wound quickly with suberin, preventing fungal pathogens from entering the vascular system.
Pro-Tip: Maintaining a distance of at least 12 inches from the trunk flare of a tree preserves the critical root zone. This prevents the suppression of auxins, the hormones that regulate downward root growth and structural stability.
Establishing the Hardscape
Once the bricks are set, backfill with a mix of native soil and organic compost. Water the area to 100 percent field capacity to settle the air pockets.
Pro-Tip: Introducing mycorrhizal fungi to the backfill creates a symbiotic relationship with the plant roots. These fungi extend the reach of the root system by up to 10 times, increasing the uptake of phosphorus and water.
The Clinic:
Physiological disorders often manifest when hardscaping interferes with natural plant processes.
Symptom: Interveinal chlorosis (yellowing leaves with green veins).
Solution: This indicates a high pH caused by mortar leaching. Apply elemental sulfur at a rate of 5 pounds per 100 square feet to lower the pH.
Symptom: Marginal leaf burn or scorching.
Solution: This is often heat stress from the thermal mass of the bricks. Increase irrigation frequency and use a soil moisture meter to ensure the root zone stays above 20 percent moisture.
Symptom: Stunted growth and purplish leaves.
Solution: Phosphorus deficiency. The cold bricks may be keeping the soil too cool for phosphorus uptake. Apply a 0-20-0 superphosphate fertilizer to the drip line.
Fix-It for Nitrogen Chlorosis: If the entire leaf turns pale yellow, apply a quick-release liquid fertilizer with a high Nitrogen (N) value to restore turgor and color within 7 to 10 days.
Maintenance:
Precision is the hallmark of a healthy landscape. Deliver exactly 1.5 inches of water per week at the drip line using a soaker hose. This prevents the fluctuating moisture levels that cause fruit cracking or root stress. Use bypass pruners to remove any "suckers" or water sprouts that emerge near the brickwork; these epicormic shoots drain energy from the main canopy.
Every spring, check the integrity of the brick joints. Use a hori-hori knife to remove invasive weeds that can exert up to 300 pounds per square inch of pressure, eventually cracking the masonry. If the bricks show signs of white powdery efflorescence, scrub them with a stiff brush and water to prevent salt buildup from migrating into the soil.
The Yield:
For those using brick raised beds for edibles, harvest timing is determined by the Brix scale or visual cues. Harvest leafy greens when the leaf blade is firm and the turgor pressure is highest, typically before 8:00 AM. For fruiting crops like tomatoes, harvest when they reach the "breaker stage" (50 percent color change).
To ensure "day-one" freshness, immediately submerge the cut ends of herbs in 40-degree Fahrenheit water. This rapid cooling slows the rate of respiration and prevents the degradation of volatile oils. For woody perennials, use a sharp cut to ensure the phloem and xylem remain open for water transport during the post-harvest period.
FAQ:
What is the best brick for drainage?
Permeable clay pavers are superior. They allow water to infiltrate the joints at a rate of 2 to 5 gallons per minute, preventing runoff and ensuring the rhizosphere receives adequate hydration without becoming anaerobic or waterlogged.
How do bricks affect soil pH?
Standard concrete-based bricks contain lime, which can leach and raise soil pH above 7.5. For acid-loving plants, use reclaimed clay bricks or "fire bricks," which are chemically inert and will not alter the soil's mineral balance.
Can I lay bricks over tree roots?
No. Placing bricks directly over roots causes soil compaction and limits gas exchange. Maintain a 3-foot radius from the trunk and use a "floating" deck or permeable gravel if you must cover the root zone.
How deep should a brick border go?
A border should be at least 6 inches deep. This depth acts as a root barrier, preventing aggressive turf grasses from sending rhizomes into your flower beds, while also providing enough structural mass to resist frost heaving.