9 Steps to Prepare a Custom Garden Light Installation
The smell of damp earth and the crisp turgor of a healthy leaf define the success of a horticultural project. When you learn how to prepare a garden for a light, you are not merely digging a hole for a fixture; you are re-engineering the rhizosphere to accommodate infrastructure without compromising plant health. Proper preparation requires managing soil compaction and protecting the root systems of established perennials. A successful installation balances the electrical requirements of low-voltage systems with the biological needs of the soil. You must evaluate the soil structure to ensure that trenching for wires does not create drainage issues or sever primary taproots. This process demands a surgical approach to the landscape. By integrating technical lighting specs with botanical science, you ensure that the garden thrives under the new illumination rather than suffering from root shock or nutrient leaching caused by disrupted soil horizons.
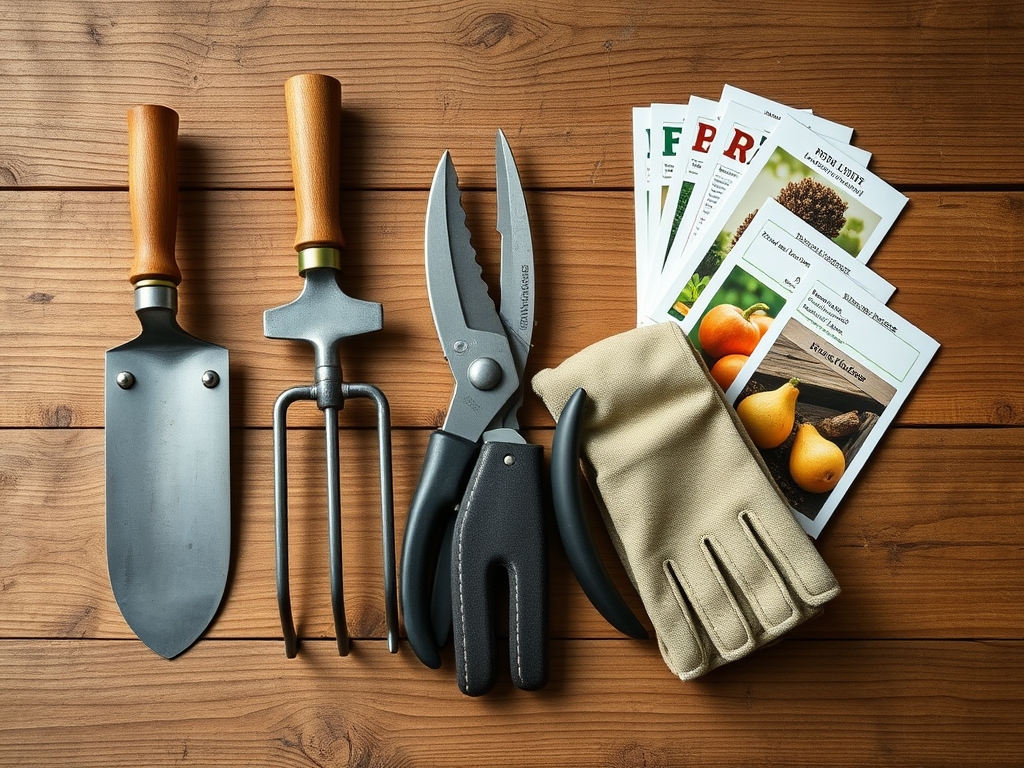
Materials:
Before disturbing the earth, you must understand the substrate. The ideal environment for both plant health and stable light placement is a **friable loam**. This soil type typically contains **40 percent sand, 40 percent silt, and 20 percent clay**. In this medium, the **Cation Exchange Capacity (CEC)** is high enough to retain essential nutrients like ammonium and potassium while allowing for adequate drainage.
To restore the area after installation, use a top-dressing with a specific NPK ratio of 5-10-5. This low-nitrogen, high-phosphorus blend encourages root repair without forcing excessive vegetative growth that could shade out your new fixtures. Maintain a soil pH between 6.0 and 7.0 to ensure maximum nutrient bioavailability. If your soil is too acidic, apply dolomitic lime at a rate of 5 pounds per 100 square feet. For alkaline soils, use elemental sulfur to bring the pH down to the target range.
Timing:
The window for garden modification is dictated by the Biological Clock of your specific Hardiness Zone. For zones 5 through 7, the optimal time to prepare the ground is during the dormant season or early spring before the transition from vegetative to reproductive stages. You must complete heavy trenching at least three weeks before the last frost date.
Disturbing the soil during the peak of the growing season can induce senescence in sensitive species due to root desiccation. By working when the ground temperature is between 45 and 55 degrees Fahrenheit, you minimize the metabolic stress on the plants. This timing ensures that the photoperiod triggers natural growth cycles just as the soil settles back into place around the new installations.
Phases:

Sowing and Site Selection
Identify the locations for your lights based on the mature spread of your plants. Use a soil moisture meter to find areas that do not collect standing water, which can cause electrical shorts and root rot. Mark a 12-inch radius around each planned fixture site to clear away mulch and debris.
Pro-Tip: Understanding phototropism is vital. Plants will grow toward the strongest light source; if you place a powerful LED too close to a shrub, the plant may develop asymmetrical growth as it leans toward the artificial heat and light.
Transplanting and Root Management
If a light must be placed where a plant currently resides, you must transplant with precision. Use a sharp hori-hori knife to cut a clean circle around the root ball, preserving as much of the mycorrhizal symbiosis as possible. Keep the roots moist and shaded during the few hours they are above ground.
Pro-Tip: Maintaining turgor pressure during a transplant is critical. When roots are exposed to air, the plant loses water through transpiration faster than it can be replaced. Use a temporary burlap wrap to prevent the root hairs from drying out.
Establishing and Backfilling
Once the light housing is secure, backfill the trench with the original soil, ensuring you do not flip the soil horizons. The topsoil must remain on top to preserve the organic matter layer. Lightly tamp the soil to remove large air pockets, but avoid heavy compaction which restricts oxygen flow to the rhizosphere.
Pro-Tip: Proper backfilling prevents auxin suppression. If roots are crushed or buried too deeply, the hormonal balance of the plant shifts, often resulting in stunted terminal buds and poor lateral branching.
The Clinic:
When you disturb the soil to prepare for lighting, plants may exhibit physiological disorders.
-
Symptom: Interveinal chlorosis (yellowing between leaf veins).
-
Solution: This often indicates a Magnesium deficiency caused by soil pH fluctuations during digging. Apply Epsom salts (magnesium sulfate) at a rate of 1 tablespoon per gallon of water.
-
Symptom: Wilting despite moist soil.
-
Solution: This is likely Root Shear. You have severed too many feeder roots. Prune back the canopy by 20 percent using bypass pruners to reduce the water demand on the compromised root system.
-
Symptom: Nitrogen chlorosis (uniform pale green or yellow leaves).
-
Fix-It: The microbial activity used to break down newly introduced organic matter is "stealing" nitrogen. Apply a quick-release liquid fertilizer with a 10-0-0 ratio to bridge the gap.
Maintenance:
Post-installation care is a game of precision. Provide exactly 1.5 inches of water per week at the drip line of any plants affected by the installation. Use a soil moisture meter to ensure the water is penetrating at least 6 inches deep.
Regularly inspect the areas around the light fixtures for soil erosion. If the soil settles and exposes the wiring or the root flare of a nearby tree, add a 2-inch layer of organic mulch, keeping it 3 inches away from the base of the plant and the light fixture to prevent fungal pathogens. Use your hori-hori knife to remove any weeds that compete for nutrients in the disturbed soil zones.
The Yield:
For those integrating lights into a cutting garden or edible landscape, the timing of your harvest remains paramount. Harvest flowers and leafy greens in the early morning when turgor pressure is at its peak. Use sharp bypass pruners to make clean 45-degree cuts, which maximizes the surface area for water uptake.
To maintain "day-one" freshness, immediately plunge the stems into 40-degree Fahrenheit water. This rapid cooling slows down the metabolic rate and delays the onset of senescence, ensuring your garden's output remains crisp and viable for longer periods.
FAQ:
How deep should I dig for garden light wires?
Trench to a depth of 6 to 8 inches for low-voltage landscape lighting. This depth protects the cable from standard gardening tools like a hori-hori knife while remaining above the deeper primary root systems of most ornamental shrubs.
Will artificial lights hurt my plants' sleep cycles?
Most garden plants are not negatively affected by low-intensity landscape lighting. However, avoid high-output floodlights on "short-day" plants like chrysanthemums, as excessive light can interfere with their photoperiodism and prevent them from flowering in the autumn.
Can I install lights near large tree roots?
Avoid cutting any root thicker than 2 inches in diameter. If you encounter a large structural root, tunnel under it rather than cutting through it. This preserves the tree's stability and prevents the entry of wood-decaying fungi.
What is the best soil to use for backfilling?
Use the native soil you removed during excavation to maintain consistency in Cation Exchange Capacity. If the soil is heavy clay, mix in 20 percent coarse sand to improve drainage around the electrical components and the plant's rhizosphere.