8 Tips to Use a Level for Precise Custom Layouts
The scent of damp, disturbed earth signals the start of a structural transformation where precision dictates the success of every biological system. When the turgor pressure of a plant is high, its cells are fully hydrated and rigid; however, no amount of cellular health can compensate for a foundational failure in drainage or grading. Proper site preparation begins with the geometry of the land itself. Using a level for custom landscaping ensures that water moves away from the crown of the plant and prevents the anaerobic conditions that lead to root rot. A deviation of even two degrees can result in localized saturation, drowning the rhizosphere and halting gas exchange. Professional horticulture relies on the marriage of soil science and structural engineering. By establishing a true horizontal plane or a calculated pitch, you control the hydraulic movement across your site. This precision allows for the uniform distribution of nutrients and prevents the leaching of essential minerals from high spots to low basins.
Materials:
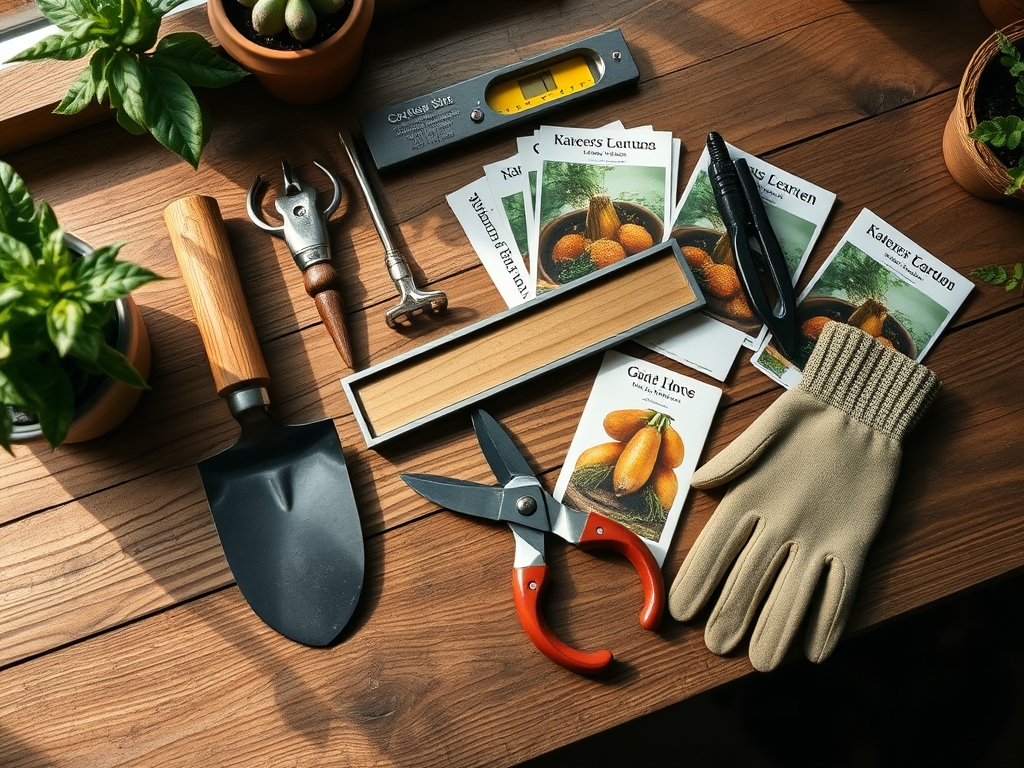
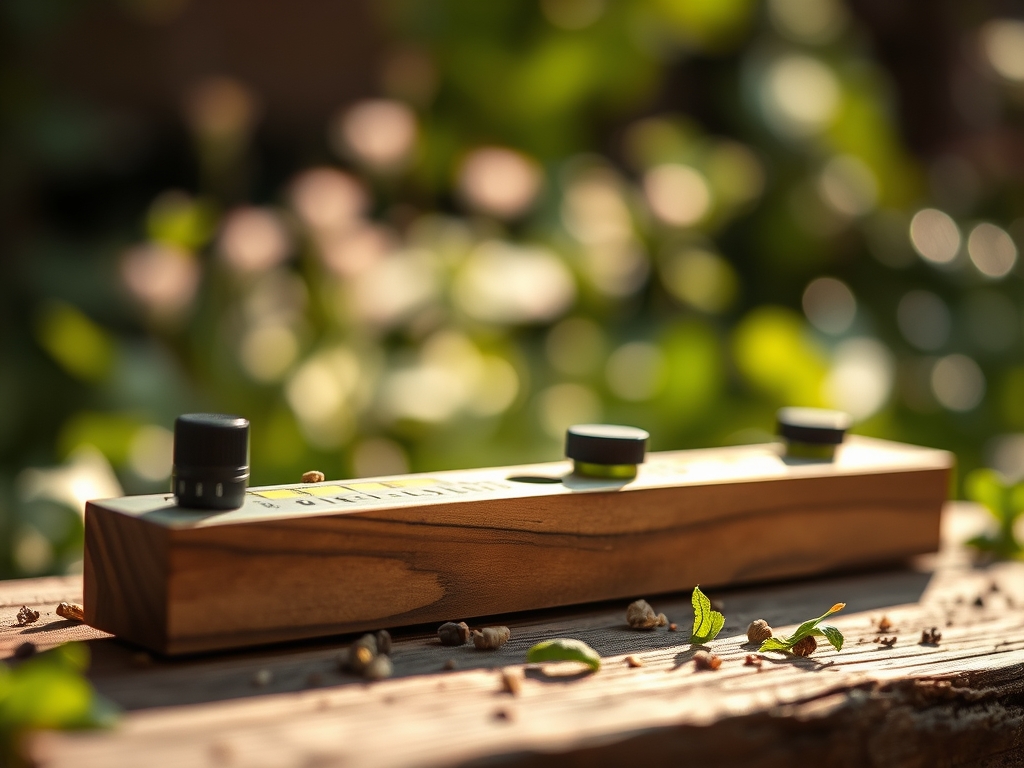
The success of any custom layout depends on the substrate beneath the hardscape or planting bed. Aim for a **friable loam** with a physical texture composed of **40 percent sand, 40 percent silt, and 20 percent clay**. This balance ensures a high Cation Exchange Capacity (CEC), allowing the soil to hold onto essential positively charged ions like Calcium and Magnesium. For structural areas, the soil pH should be stabilized between **6.2 and 6.8** to optimize nutrient availability. If you are installing masonry or timber tiers, use a **three-foot spirit level** and a **string level** for long spans.
For the planting zones integrated into your leveled layout, incorporate a slow-release fertilizer with an NPK ratio of 5-10-5 to encourage root establishment without triggering excessive succulent growth. The substrate must be compacted to 85 percent Proctor density in structural areas to prevent settling, while planting pockets should remain porous to allow for oxygen diffusion. Use a laser level for distances exceeding 20 feet to maintain a consistent 1 percent to 2 percent slope for drainage.
Timing:
Timing your layout work is critical to avoid soil compaction and structural shifts. Perform heavy grading and leveling during the dormant season or early spring when the soil moisture is between 15 percent and 25 percent. Working in saturated soil destroys the soil structure, leading to massive clods and reduced pore space. In Hardiness Zones 5 through 7, the window between the last spring frost and the onset of high summer heat is the prime period for establishing leveled beds.
The biological clock of your landscape is tied to the photoperiod. As plants transition from the vegetative stage to the reproductive stage, their root systems expand rapidly to support the metabolic demands of flowering. You must have your levels set and your drainage planes established before this surge. If you disturb the soil during the peak of the growing season, you risk inducing senescence in younger plants due to root trauma and moisture stress.
Phases:

Sowing and Grading
Begin by clearing all biomass and establishing your subgrade. Use a transit level to mark your high and low points. For turf or wildflower meadows, a grade of 1 inch of fall for every 4 feet of run is the industry standard. This prevents standing water while allowing for steady infiltration.
Pro-Tip: Proper leveling prevents the accumulation of salts in low-lying areas. This protects the mycorrhizal symbiosis between fungal hyphae and plant roots, as high salinity can inhibit the growth of these beneficial fungi which are responsible for phosphorus uptake.
Transplanting and Alignment
When placing specimen trees or shrubs within a leveled layout, use a torpedo level on the trunk to ensure verticality. A leaning tree will experience uneven auxin distribution. Auxins are hormones that migrate to the shaded or lower side of a stem, causing differential cell elongation.
Pro-Tip: Ensuring a perfectly vertical transplant prevents asymmetric canopy development. If a tree is not plumb, the plant will prioritize growth on one side to compensate for gravity, leading to structural instability as the wood matures.
Establishing and Retention
For tiered gardens or retaining walls, the level is your primary tool for preventing structural failure. Each course of stone or timber must be checked for level both longitudinally and transversely. Backfill with three-quarter inch crushed stone to facilitate drainage and reduce hydrostatic pressure against the wall.
Pro-Tip: Consistent leveling ensures that water moves via capillary action evenly through the soil profile. This prevents "dry spots" where the soil tension becomes so high that plants cannot extract water, leading to a loss of turgor and eventual wilting.
The Clinic:
Physiological disorders often stem from poor site leveling and drainage. Monitor your plants for these specific indicators of environmental stress.
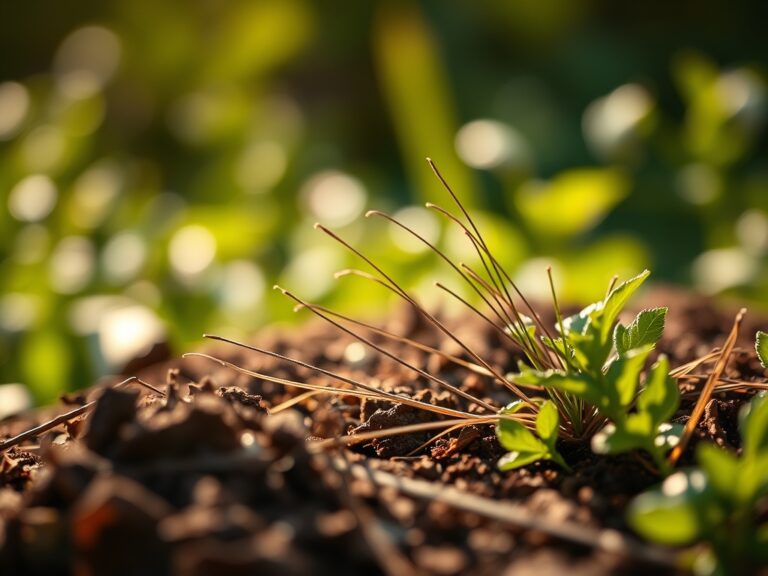
- Symptom: Edema. Small, corky bumps on the undersides of leaves. This occurs when roots take up water faster than the plant can transpire it, often due to high humidity and saturated, un-leveled soil.
- Solution: Improve drainage by re-grading the area to a 2 percent slope and incorporating coarse organic matter to increase macropore space.
- Symptom: Iron Chlorosis. Yellowing of young leaves while veins remain green. This is common in leveled areas where over-compaction has raised the pH or restricted oxygen.
- Solution: Apply chelated iron and use a core aerator to relieve compaction. Ensure the level of the bed allows for oxygen to reach the top 6 inches of the soil.
- Symptom: Nitrogen Deficiency. General chlorosis (yellowing) of older, lower leaves. Nitrogen is highly mobile and leaches away in poorly leveled areas with excessive runoff.
- Solution: Apply a high-nitrogen fertilizer (20-10-10) and check the level of your irrigation distribution to ensure even soaking.
Maintenance:
Precision does not end after the layout is set. Use a soil moisture meter twice weekly to ensure the root zone maintains a moisture level of 60 percent to 80 percent field capacity. Most woody ornamentals require 1.5 inches of water per week delivered at the drip line. Use a hori-hori knife to check for soil layering or "crusting" which can deflect water away from the roots.
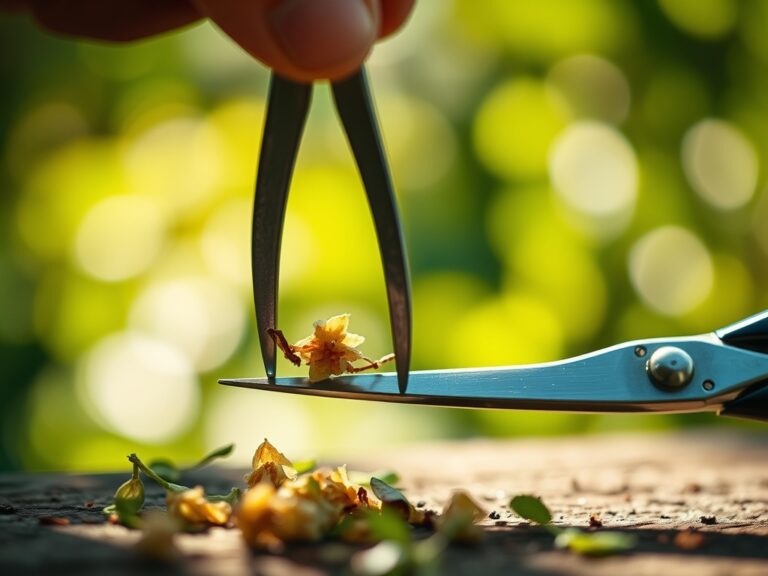
Prune with bypass pruners to maintain the intended geometry of your layout; remove no more than 25 percent of the canopy in a single season to avoid shocking the system. Check the level of your hardscape elements annually. Frost heave can shift stones by 0.5 to 2 inches in colder climates, necessitating a re-leveling of the base material to maintain proper drainage away from the home foundation.
The Yield:
When harvesting from a leveled, high-performance garden, timing is dictated by sugar and starch content. For woody herbs or flowers, harvest in the early morning when turgor pressure is at its peak. This ensures the stems are rigid and the vascular tissues are fully hydrated. Use a sharp, sterilized blade to make clean cuts at a 45-degree angle, increasing the surface area for water uptake post-harvest. Immediately plunge the stems into 40-degree Fahrenheit water to slow the rate of respiration and preserve the metabolic integrity of the plant material for maximum longevity.
FAQ:
How do I check for level over a 50-foot garden bed?
Use a string level or a laser level. Drive stakes at both ends, pull a high-tension mason line between them, and use the level to ensure the line is true. Measure down from the line to the soil.
What is the best slope for a patio next to a garden?
Aim for a quarter-inch drop per foot of length. This ensures that rainwater sheds away from the building foundation and into the planting zones without causing erosion or displacing the mulch and topsoil.
Why does my leveled lawn still have puddles?
Puddles indicate subsurface compaction or high clay content regardless of the surface level. Use a soil probe to check for a hardpan layer. You may need to aerate or install a French drain to manage the subsurface water.
Can I use a level to plant a hedge?
Yes. Stretch a level line at the desired finished height of the hedge. This allows you to plant each specimen at the correct depth and provides a visual guide for the initial structural pruning to ensure uniform growth.