9 Steps to Prepare a Workspace for Tool Care
The smell of damp earth after a cold rain indicates more than just a change in weather; it signals the specific moisture levels required for high turgor pressure in plant tissues. When sap flows freely through the xylem, every cut made by a dull blade risks tearing the vascular cambium. Learning how to prepare a garden for a tool care task is the first step in preventing pathogen entry during routine maintenance. A clean, sharp edge minimizes cellular trauma and ensures rapid wound closure.
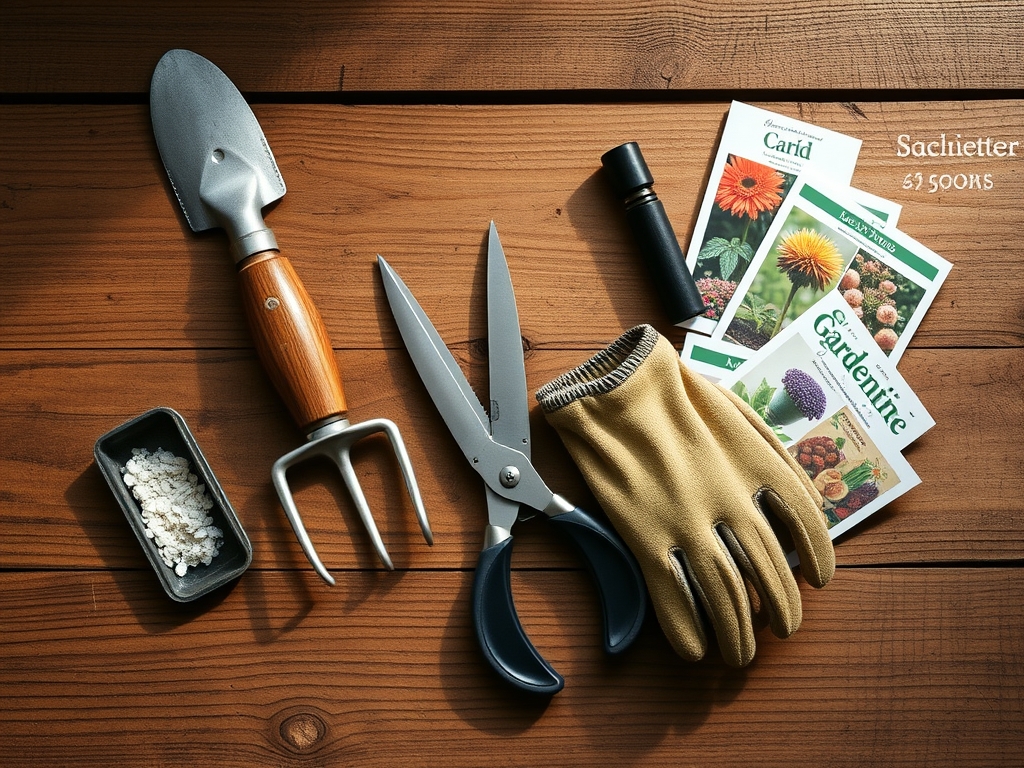
Materials:
Your workspace requires a foundation of stability and cleanliness. If you are working directly on a garden surface, ensure the soil is a **friable loam** with a **pH between 6.0 and 7.0**. This acidity level prevents rapid oxidation of steel tools if they come into contact with the ground. High clay content increases moisture retention, which promotes rust through electrochemical oxidation.
For the task itself, gather 70 percent isopropyl alcohol for sterilization and a fine-grit diamond hone. To manage the surrounding soil health during the process, maintain a Cation Exchange Capacity (CEC) of 15 to 25. This range ensures that any accidental runoff of lubricating oils does not immediately disrupt the nutrient availability of Nitrogen (N), Phosphorus (P), and Potassium (K). Use a balanced 10-10-10 NPK organic top-dressing around the work area to buffer the rhizosphere against physical compaction caused by your presence.
Timing:
The ideal window for tool maintenance aligns with the dormant season in Hardiness Zones 4 through 8, typically between the first hard frost and the late winter thaw. In warmer Zones 9 and 10, perform these tasks during the transition from the vegetative to the reproductive stage of your primary crops. This "Biological Clock" is critical; you must have your steel ready before the spring flush of growth begins. Forcing a dull blade through a stem during high sap flow causes senescence in the surrounding foliage due to crushed cell walls. Schedule your sharpening when the photoperiod is less than 12 hours to ensure you are ready for the high-intensity maintenance required during long-day cycles.
Phases:

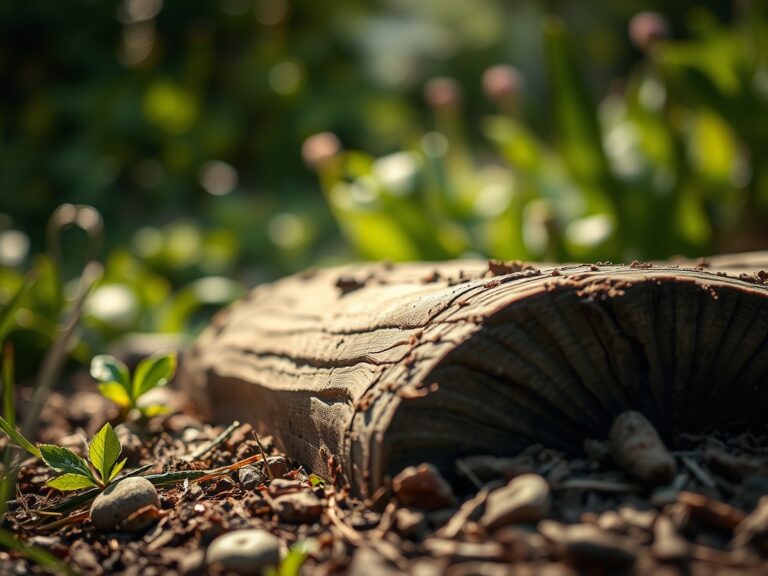
Sowing the Workspace
Clear a flat area of at least 15 square feet. Remove all organic debris that could harbor fungal spores like Botrytis cinerea. Lay down a heavy canvas tarp to catch metal filings. This prevents heavy metal accumulation in the topsoil, which can lead to phytotoxicity in sensitive root systems.
Pro-Tip: Maintaining a clean workspace prevents the transfer of soil-borne pathogens. The Biological Why is simple: many oomycetes can survive on uncleaned steel for months, utilizing the tool as a vector to bypass the plant's natural dermal defenses.
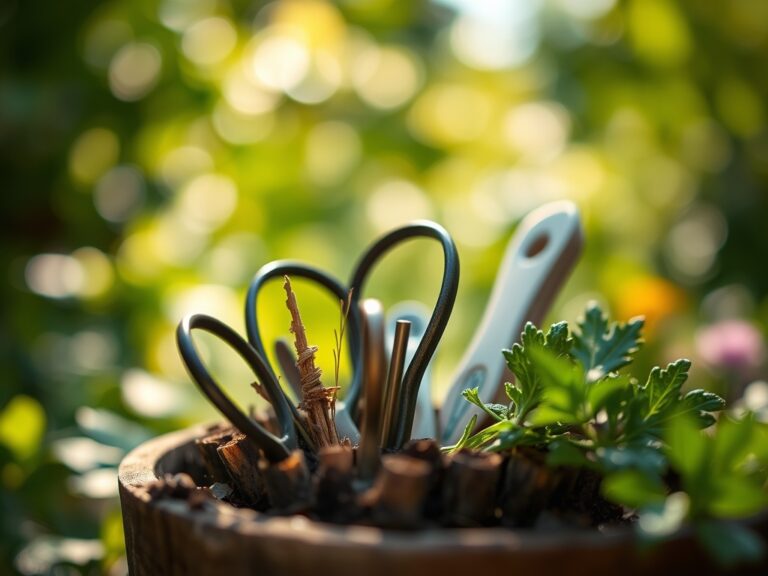
Transplanting the Tools
Bring your bypass pruners, hori-hori knife, and loppers to the station. Disassemble any multi-part tools to inspect the tension springs and pivot bolts. Use a soil moisture meter to ensure the ground beneath your feet is not at field capacity; standing on saturated soil causes anaerobic conditions by collapsing the macropores necessary for oxygen exchange.
Pro-Tip: Lubricate pivot points with food-grade mineral oil. The Biological Why involves preventing the mechanical heat that friction generates; excessive heat during a cut can thermally shock the meristematic tissue, delaying the plant's healing response.
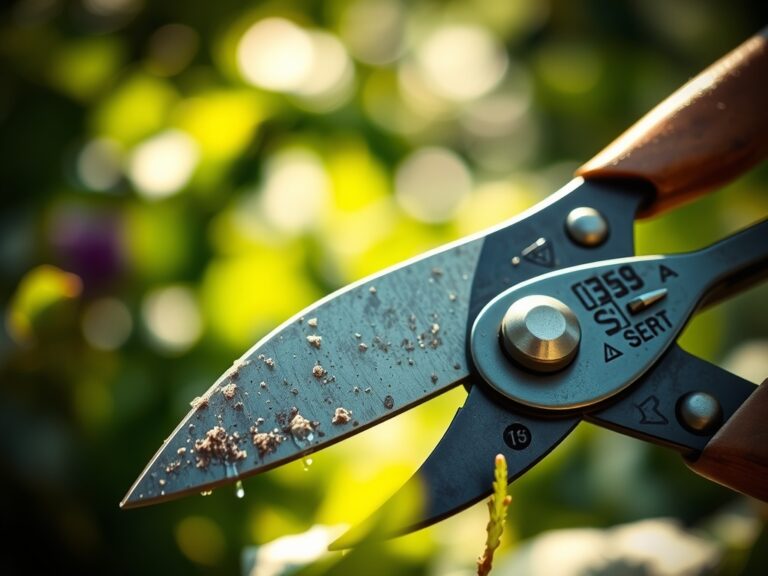
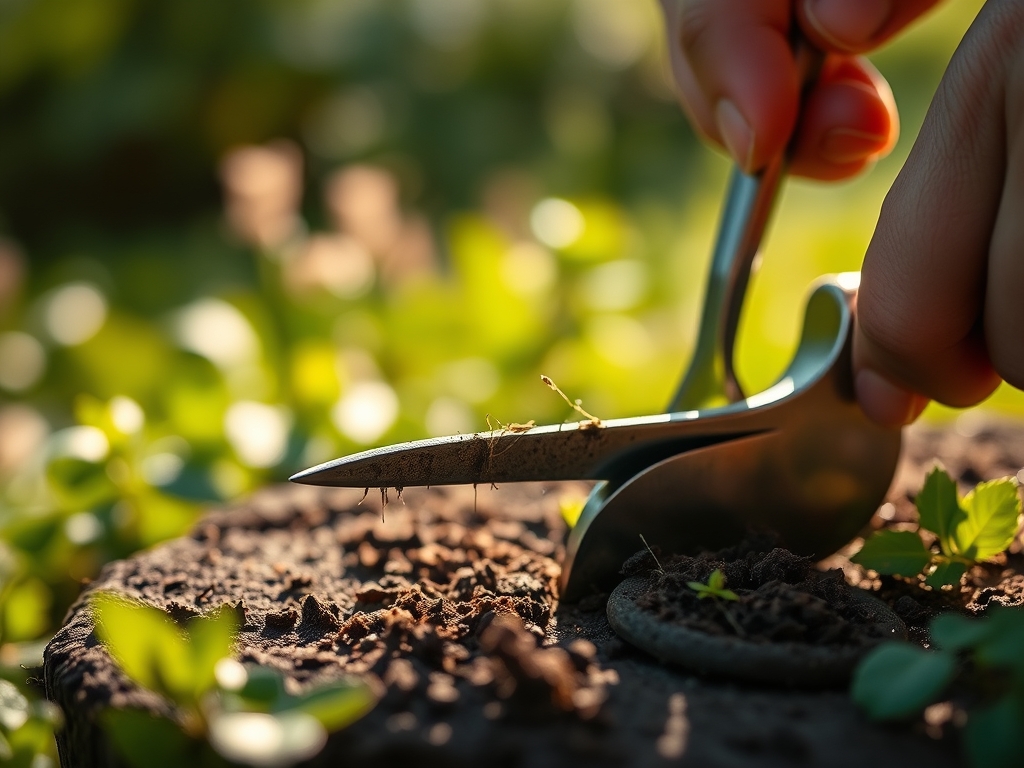
Establishing the Edge
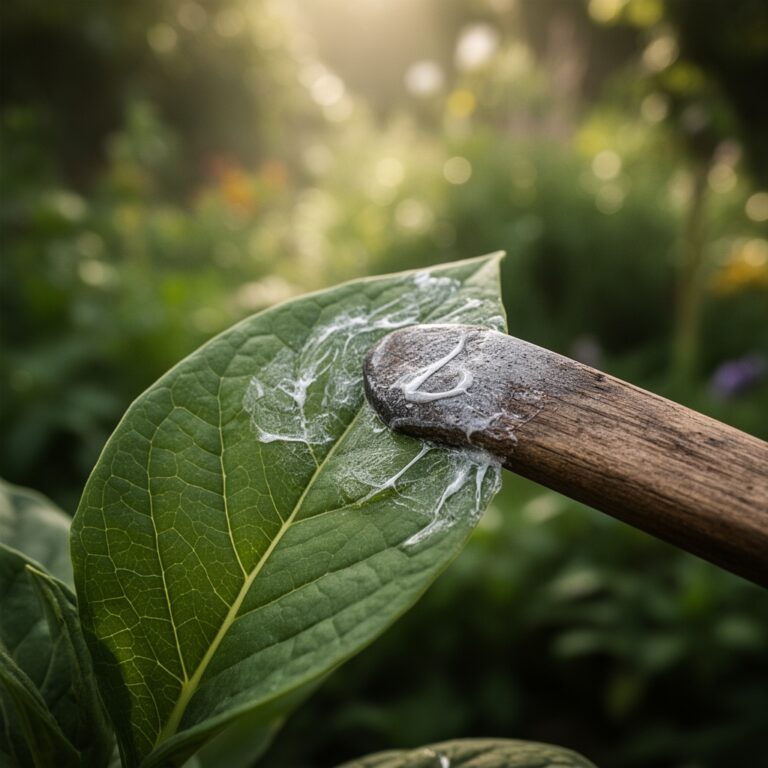
Use a consistent 20-degree angle when honing blades. Move the stone in a single direction to avoid creating a wire edge. Once sharpened, the blade should slice through a leaf with zero resistance, indicating it can cut through cellulose and lignin without crushing the vascular bundles.
Pro-Tip: Always finish with a disinfectant wipe. The Biological Why centers on auxin suppression; a jagged, infected cut triggers a stress response that redirects energy away from growth and toward defense, effectively stalling the plant's development.
The Clinic:
Physiological disorders often stem from poor tool hygiene or improper cutting techniques.
- Symptom: Dieback at the Pruning Cut.
- Solution: This is often caused by a "crush injury" from dull blades. Recut the stem 0.25 inches above a lateral bud using a sharpened bypass pruner at a 45-degree angle.
- Symptom: Interveinal Chlorosis (Nitrogen Deficiency).
- Fix-It: If the plant shows yellowing on older leaves, it lacks Nitrogen. Apply a quick-release high-N fertilizer (20-10-10) to restore chlorophyll production.
- Symptom: Bacterial Gummosis.
- Solution: This oozing is a sign of infection. Sterilize all tools in a 1:10 bleach-to-water solution after every single cut on an infected specimen to prevent cross-contamination.
- Symptom: Marginal Leaf Burn.
- Fix-It: This often indicates potassium deficiency or salt buildup. Flush the soil with 2 inches of water and adjust the NPK ratio to include more Potash (K2O) to improve water regulation within the cells.
Maintenance:
Post-task maintenance requires strict adherence to environmental variables. Provide exactly 1.5 inches of water per week at the drip line to help the garden recover from any physical compaction caused during your work. Use a soil moisture meter daily to verify that the top 6 inches of the profile remain moist but not saturated.
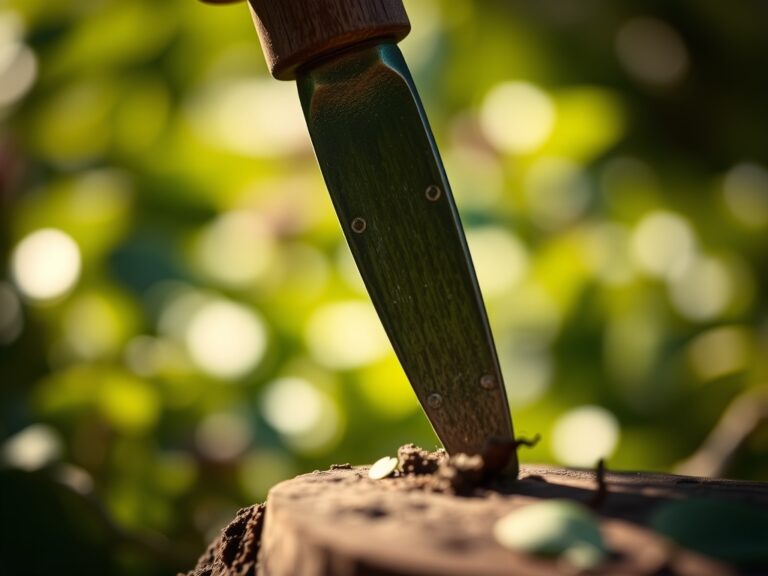
For your tools, wipe down the hori-hori knife after every use in the soil to prevent the acidic components of the earth from etching the metal. Store all cutting implements in a bucket of sand mixed with vegetable oil to displace oxygen and prevent rust. Check the tension on your bypass pruners monthly; a loose pivot bolt allows the blades to twist, which shears the plant's bark rather than cutting it cleanly.
The Yield:
When your tools are maintained, the harvest yield increases in both quality and shelf life. For leafy greens, harvest when turgor pressure is at its peak, usually before 8:00 AM. Use a razor-sharp harvest knife to make a single, swift cut. This minimizes the surface area of the wound, reducing the rate of transpiration and ethylene production.
For woody perennials or fruit, ensure the cut is clean to prevent the entry of wood-boring insects. Immediately place harvested material in a cool, shaded environment to maintain "day-one" freshness. The absence of ragged edges on the mother plant ensures it can quickly seal the wound with callous tissue, preserving its energy for the next reproductive cycle.
FAQ:
How often should I sharpen my garden tools?
Sharpen blades after every 10 hours of heavy use or at the start of each season. Dull blades cause jagged wounds that invite fungal infections and slow the plant's recovery time.
What is the best way to disinfect pruners?
Wipe blades with 70 percent isopropyl alcohol between different plants. This kills pathogens like tobacco mosaic virus and prevents the mechanical transfer of spores across your garden's rhizosphere.
Can I use WD-40 on my garden tools?
While it prevents rust, WD-40 is a petroleum product that can be phytotoxic if it transfers to plant tissues. Use food-grade mineral oil or linseed oil to lubricate moving parts safely.
Why does my soil feel hard after I work in the garden?
Physical activity causes soil compaction, which reduces the pore space for oxygen. Use a broadfork or aerator to restore the soil structure and maintain a healthy Cation Exchange Capacity.