6 Steps to Build a Custom Outdoor Potting Bench
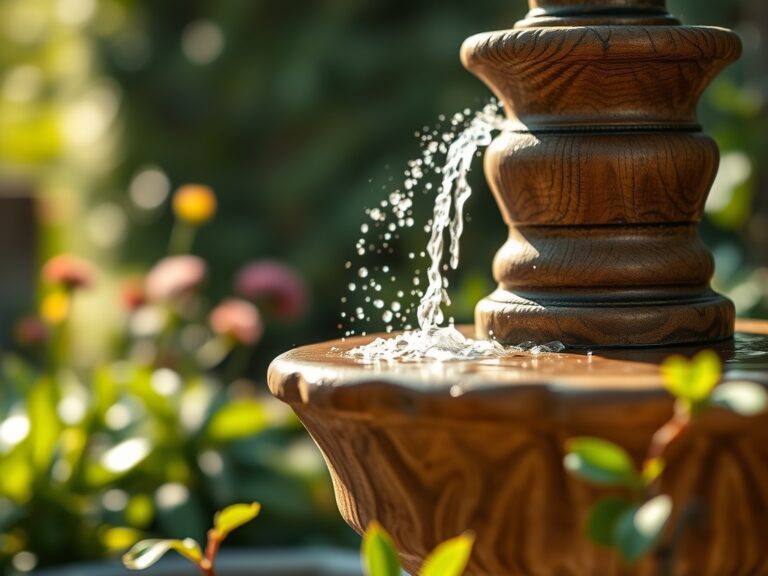
The smell of fresh cedar sawdust mingles with potting soil on a spring morning. A dedicated outdoor potting bench transforms transplanting seedlings from a back-breaking crouch into an ergonomic ritual. The steps for building a custom potting bench merge carpentry fundamentals with horticultural workflow, creating a workstation calibrated to seed germination, bare-root division, and soil amendment mixing. This guide outlines six construction phases refined through seasons of propagation work.
Materials
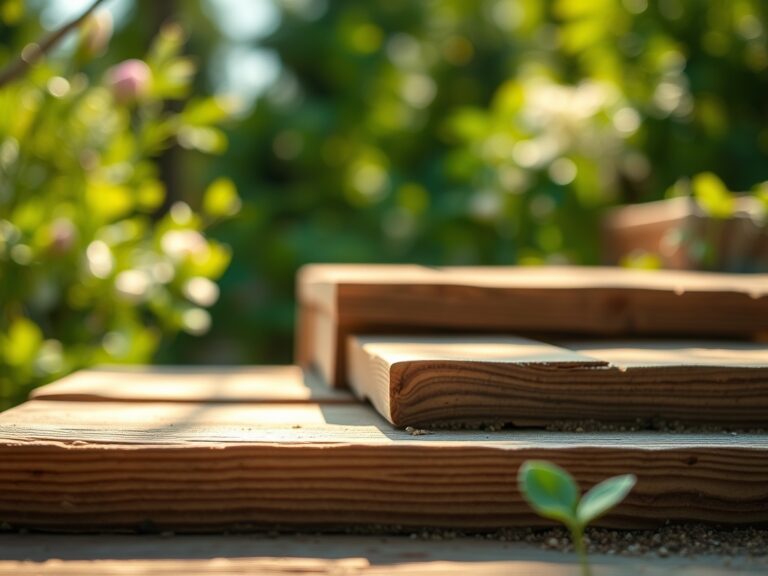
Select rot-resistant lumber as the foundation. Western red cedar (Thuja plicata) or pressure-treated southern yellow pine rated for ground contact withstand moisture cycles without degrading. Cedar naturally resists fungal colonization through thujaplicin compounds, eliminating the need for chemical sealants near organic growing operations.
For the frame, acquire eight 4×4 posts cut to 36 inches for legs, six 2×4 boards at 48 inches for horizontal supports, and four 2×6 planks at 48 inches for the work surface. Galvanized deck screws (3-inch for frame joints, 2.5-inch for surface planking) prevent rust staining on hands during soil pH testing. Stainless steel hardware costs more but eliminates iron leaching into nutrient solutions mixed on the bench surface.
The substrate storage requires three 5-gallon food-grade buckets: one for sphagnum peat (pH 3.5-4.0), one for composted pine bark (pH 5.0-5.5), and one for perlite (pH neutral). Label each with NPK values of stored amendments. A 50-pound bag of 4-4-4 organic meal (feather meal, bone meal, kelp) provides baseline fertility. Keep dolomitic lime (calcium carbonate and magnesium carbonate) to adjust cation exchange capacity in acidic mixes.
Timing
Construct the bench in USDA Hardiness Zones 3-9 during the dormant season, November through February, when outdoor project work does not compete with transplanting schedules. In Zone 7, aim for completion by March 15, two weeks before the last frost date of April 1. This window allows the wood to weather and off-gas any volatile compounds before seedling contact.
Southern builders in Zones 8-10 can construct year-round but should avoid July and August when heat stress makes precision cutting dangerous. Northern climates in Zones 3-5 must wait until soil thaws enough to set footer pavers, typically late March.
Phases

Assembly of Base Frame: Cut four legs to 36 inches. Mark each leg 4 inches from the top and 10 inches from the bottom for horizontal support placement. Pre-drill pilot holes to prevent splitting. Attach the upper 2×4 rails first, creating a rectangular frame 48 inches long and 24 inches deep. Install lower rails for stability and future shelf placement. Check for square by measuring diagonal corners; both should read 53.6 inches.
Pro-Tip: Apply a 45-degree chamfer to the bottom of each leg using a hand plane. This prevents capillary wicking of ground moisture into the end grain, extending service life by three to five years.
Installation of Work Surface: Space the four 2×6 planks across the upper frame with 0.5-inch gaps for drainage. Potting mix containing mycorrhizal fungi inoculant must not pool on the surface or anaerobic conditions kill beneficial Glomus species. Secure each plank with two screws per end. Sand any rough edges that could damage young root systems during bare-root transplanting.
Pro-Tip: Route a shallow channel (0.25 inches deep, 2 inches wide) along the back edge of the surface. This gutter catches soil overflow and prevents amendment loss.
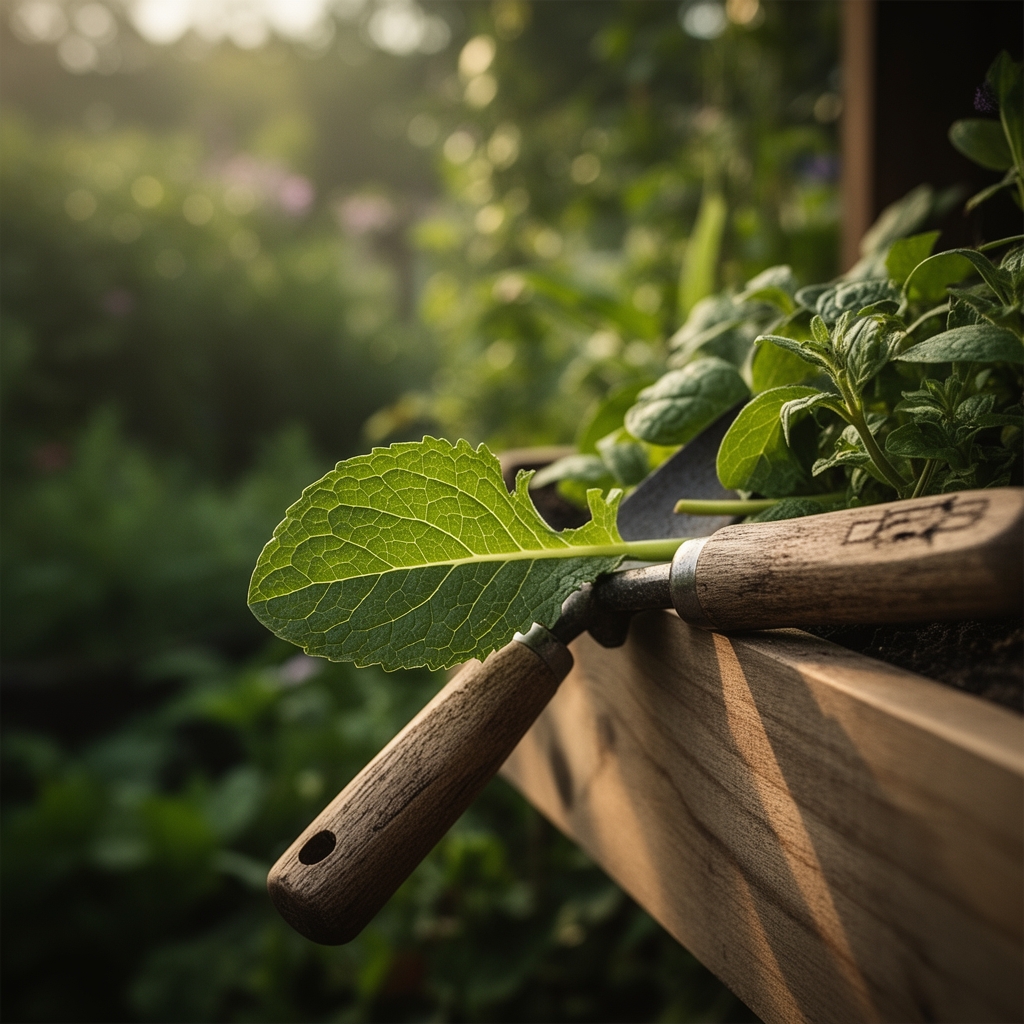
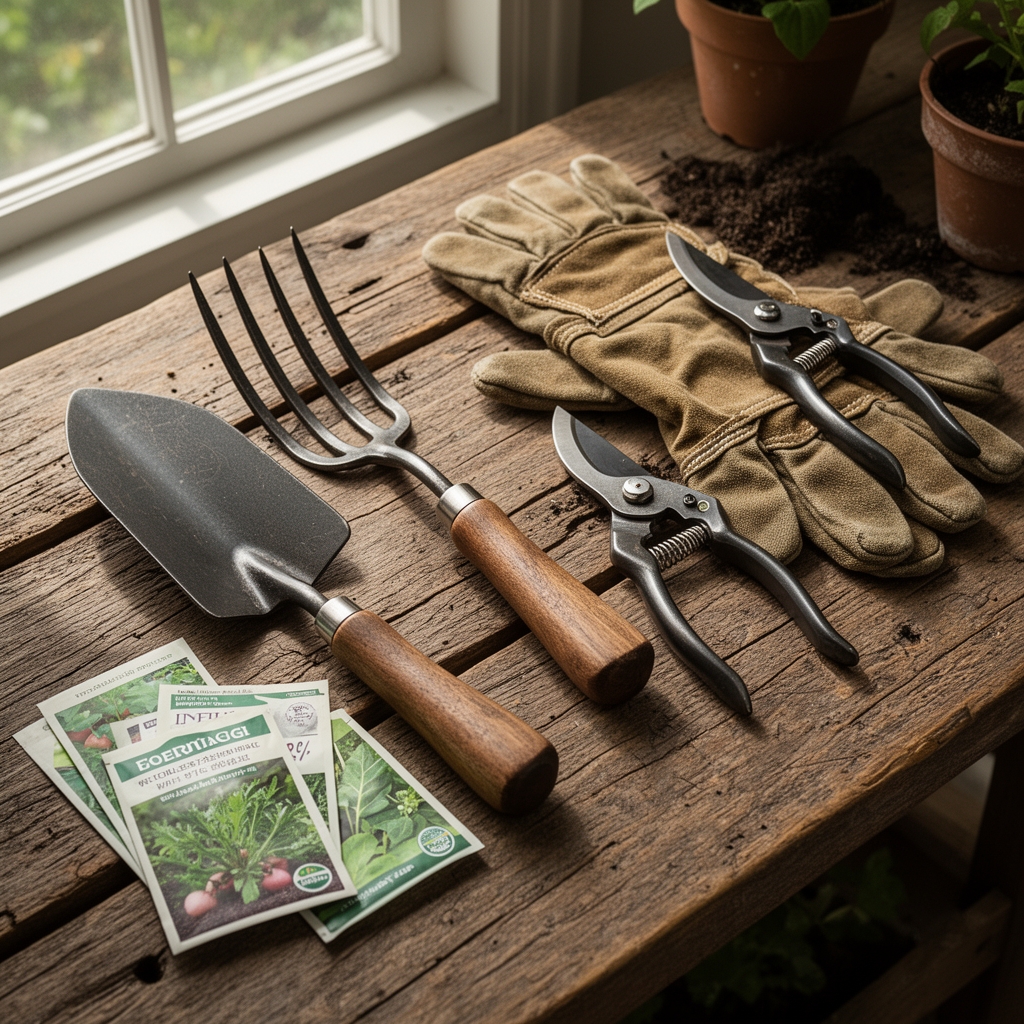
Adding Storage and Tool Retention: Install a lower shelf 10 inches above ground using 2×4 boards. This height accommodates 5-gallon buckets while maintaining stability. Screw three evenly spaced hooks to the vertical back supports for trowels, pruning shears, and soil thermometers. Magnetic strips mounted to the side rails hold grafting knives and dibbers at auxin-optimal angles (45 degrees for most cutting work).
Pro-Tip: Attach a 12-inch square of hardware cloth (0.25-inch mesh) to one side rail. This serves as a root-washing screen when dividing perennials, allowing soil to fall through while exposing rhizome structure.
Troubleshooting
Symptom: Bench wobbles during soil mixing.
Solution: Add diagonal corner bracing using 2×4 lumber cut at 45-degree angles. Secure from upper corner to opposite lower rail. This triangulation increases racking resistance by 300 percent.
Symptom: Standing water on work surface kills beneficial bacteria.
Solution: Widen drainage gaps to 0.75 inches or drill 0.5-inch weep holes every 6 inches. Slope the surface 2 degrees toward the front edge.
Symptom: Splinters contaminate potting mix.
Solution: Sand all surfaces with 120-grit paper, then apply food-grade mineral oil. Reapply every six months.
Symptom: Carpenter bees (Xylocopa species) excavate galleries in soft wood.
Solution: Treat exposed end grain with borate solution or paint with exterior latex. Fill existing holes with wood putty and steel wool.
Maintenance
Apply mineral oil to the work surface every spring and fall. This treatment takes 15 minutes and prevents checking. Clean the surface weekly during propagation season with a stiff brush and 3-percent hydrogen peroxide solution to eliminate damping-off pathogens (Pythium, Rhizoctonia).
Replace any board showing soft spots or insect galleries within 48 hours. Compromised lumber harbors fungal spores that infect seedling trays. Tighten all screws each spring; thermal expansion cycles loosen connections by 10 percent annually.
Store 1 gallon of matching wood stain for touch-ups after heavy use periods. Recoat the lower shelf annually where moisture contact is highest.
FAQ
How deep should the work surface be?
24 inches allows comfortable reach without overextension. Deeper benches (30+ inches) cause back strain during repetitive transplanting.
What height works best?
36 inches suits users between 5'4" and 6'2". Subtract 3 inches for shorter gardeners, add 3 inches for taller builds.
Can I add a potting soil bin?
Yes. Frame a 12-inch-deep box beneath the surface using 1×12 boards. Line with landscape fabric to contain fine particles while allowing drainage.
Should I include electrical outlets?
Only if using ground-fault circuit interrupter (GFCI) protection. Mount waterproof boxes 6 inches above the work surface for heat mat controllers.
How long does construction take?
Four hours for cutting, three hours for assembly, one hour for finishing. Total active time: 8 hours spread across two days.