7 Braiding Steps for Repotting a Money Tree
Damp earth carries a distinct geosmin scent when the rhizosphere is disturbed. A healthy Pachira aquatica exhibits high turgor pressure; its palmate leaves feel firm and resist bending. When the root mass begins to circle the interior of a nursery pot, the plant enters a state of restricted growth. Mastering the steps for repotting a money tree requires an understanding of drainage dynamics and vascular health. You are not merely moving a plant; you are recalibrating its access to oxygen and minerals. Proper execution ensures the central trunk remains stable while the braided stems continue their upward trajectory without bark necrosis. Neglecting this process leads to salt accumulation and root asphyxiation. This guide provides the technical framework to transition your specimen into a larger vessel while maintaining the structural integrity of the braid. Precision in substrate selection and root manipulation determines whether the plant thrives or enters a period of prolonged transplant shock.
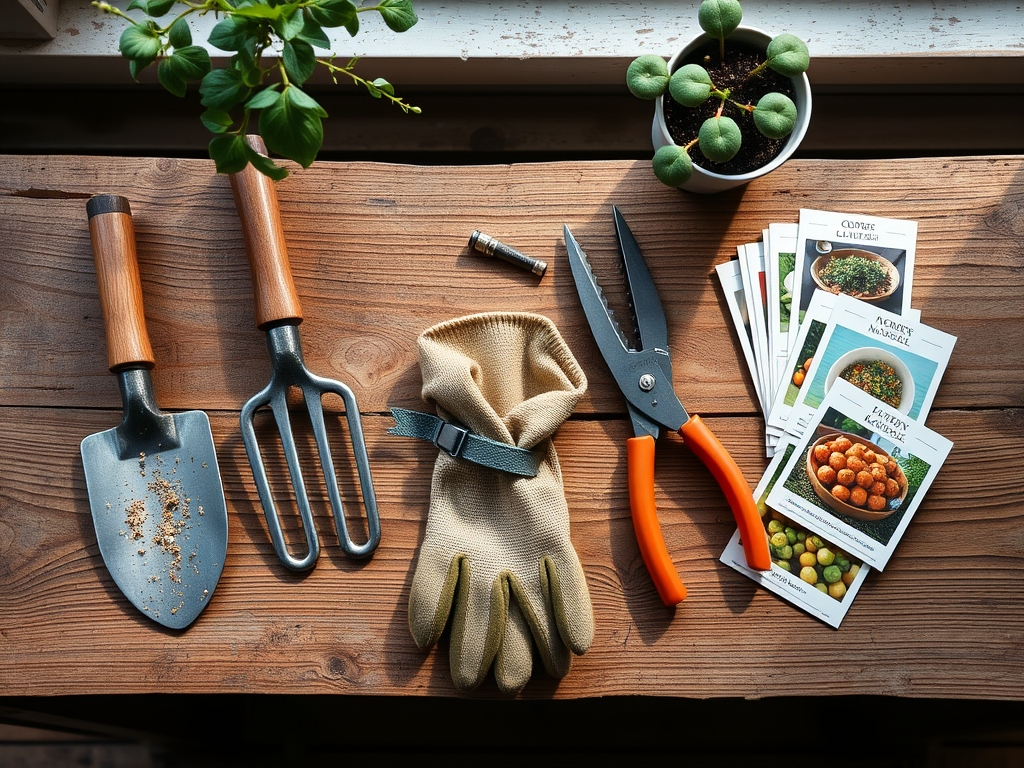
Materials:
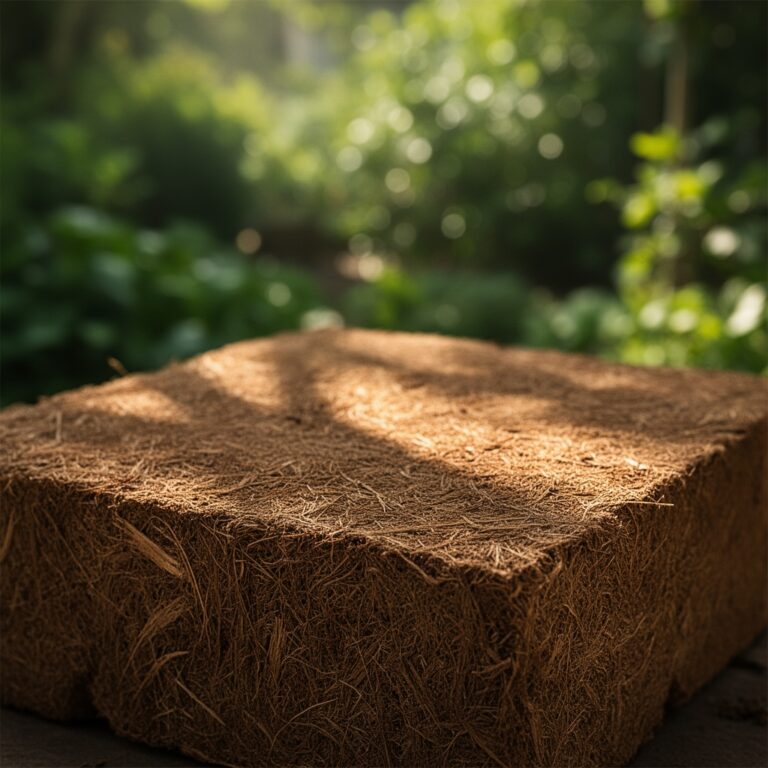
The ideal substrate for Pachira aquatica is a **friable loam** with high porosity. Aim for a **soil pH between 6.0 and 7.5**. A mixture of two parts peat moss or coconut coir, one part perlite, and one part coarse sand provides the necessary drainage. For fertilization, use a slow release formula with an **NPK ratio of 10-10-10 or 12-6-6**. High nitrogen levels support the vegetative expansion of the canopy. The pot must be **2 inches wider** than the current diameter and feature at least three unobstructed drainage holes. Avoid glazed ceramic pots without holes; they trap anaerobic bacteria. Ensure you have a **soil moisture meter** to calibrate the initial saturation levels post-transplant.
Timing:
Pachira aquatica is native to Central and South American wetlands; it thrives in USDA Hardiness Zones 10 through 12. In temperate regions, the biological clock dictates that repotting occurs during the late spring or early summer. This period aligns with the transition from semi-dormancy to active vegetative growth. During this window, increased photoperiods trigger the production of auxins, the hormones responsible for root initiation. Never repot during the winter months when the plant's metabolic rate drops. Doing so increases the risk of root rot because the plant cannot process water quickly enough to prevent fungal pathogens from colonizing the damp soil.
Phases:
Sowing the Foundation
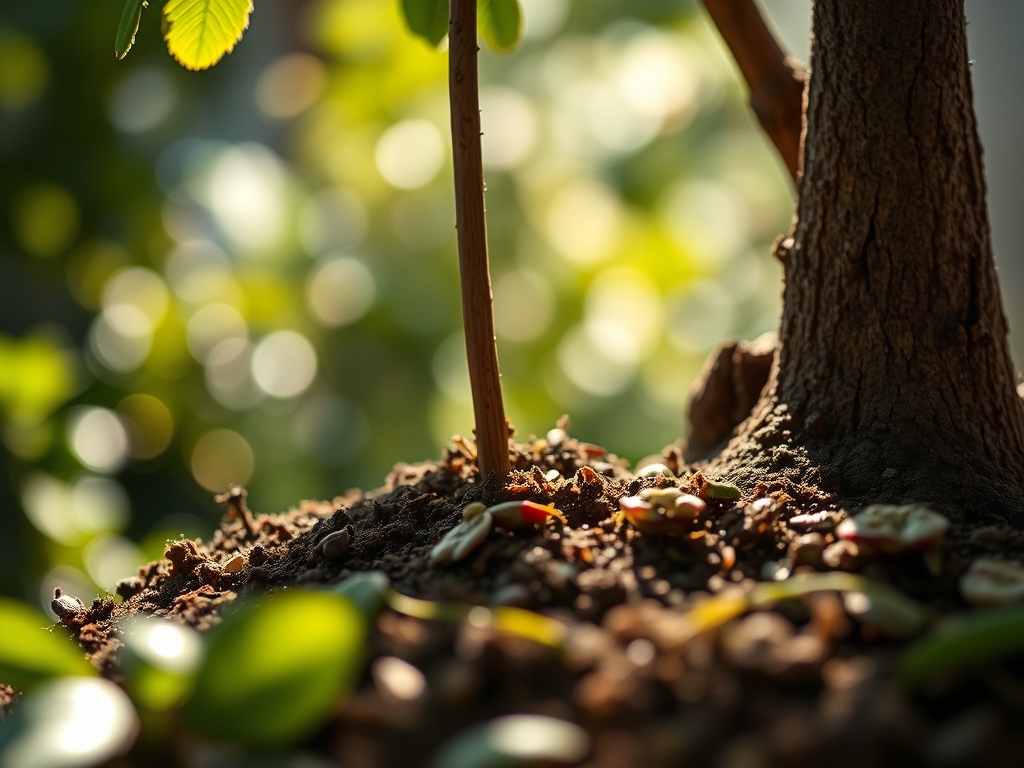
Begin by hydrating the plant 24 hours before the procedure. This ensures the cells are at maximum turgidity. Invert the pot and support the main stems. If the plant is stuck, use a hori-hori knife to slice along the inner perimeter. Once removed, inspect the root ball for circling roots. Use bypass pruners to prune any mushy, brown roots, leaving only the firm, white feeder roots.
Pro-Tip: Pruning the root tips stimulates lateral branching via the removal of apical dominance in the root system. This increases the surface area for nutrient uptake through cation exchange.
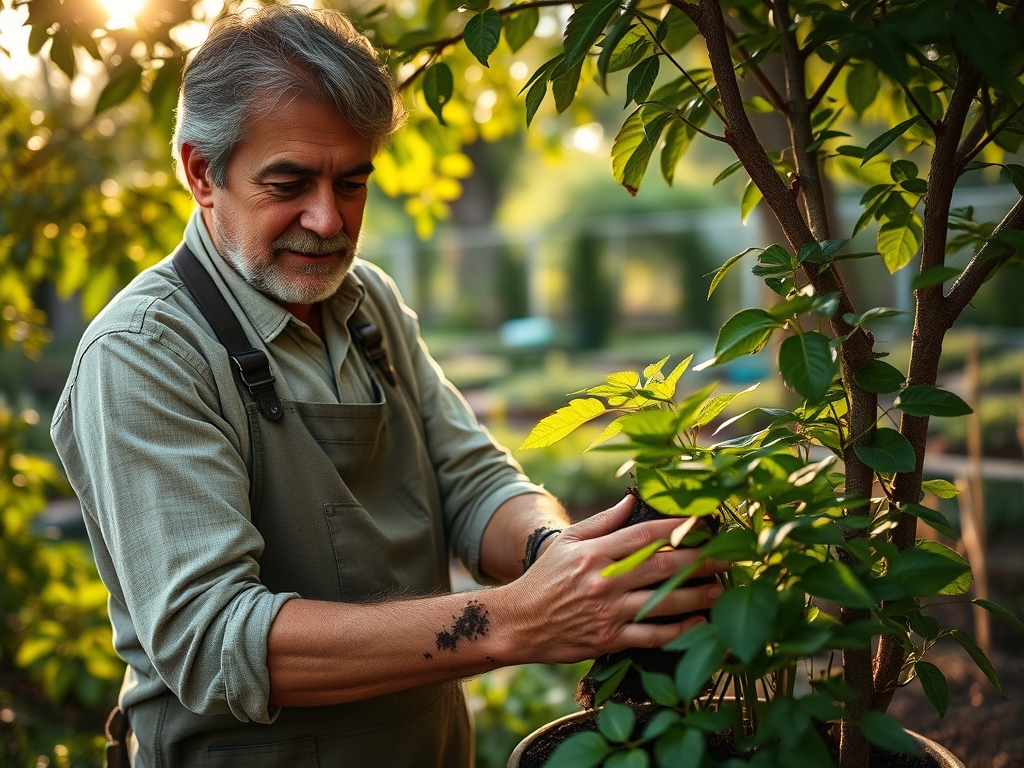
Transplanting and Braiding
Place a layer of fresh substrate in the bottom of the new container. Position the tree so the flare of the trunk sits 1 inch below the rim. As you add soil, ensure the braided stems remain tight. If the braid is loosening, use soft garden twine to secure the top section. Do not wrap the twine so tightly that it restricts the phloem, which would stop the flow of sugars to the roots.
Pro-Tip: Maintaining the braid's tension prevents mechanical stress on the vascular cambium. If the stems shift significantly, the plant may divert energy to wound repair rather than new leaf production.
Establishing the Specimen
Fill the remaining space with soil, tamping down lightly to remove large air pockets. Do not pack the soil hard; this collapses the macropores needed for oxygen diffusion. Water the plant until the effluent runs clear from the drainage holes. Place the tree in a location with bright, indirect light, approximately 100 to 200 foot-candles.
Pro-Tip: Initial deep watering settles the substrate and ensures capillary action is established between the old root ball and the new medium. This prevents the "root ball desiccation" phenomenon where the old soil dries out faster than the new soil.
The Clinic:
Physiological disorders often manifest shortly after repotting if the environment is not optimized.
- Symptom: Yellowing of lower leaves (Chlorosis).
- Solution: This typically indicates Nitrogen deficiency or overwatering. Check the soil moisture. If the soil is dry, apply a liquid 10-10-10 fertilizer at half strength.
- Symptom: Leaf drop (Abscission).
- Solution: Sudden environmental changes trigger ethylene production. Maintain a consistent temperature between 65 and 85 degrees Fahrenheit. Avoid placing the plant near HVAC vents.
- Symptom: Soft, dark spots on the trunk.
- Solution: This is a sign of Phytophthora root rot. Reduce watering frequency and ensure the soil pH has not dropped below 6.0, which can increase pathogen activity.
Fix-It for Nutrient Deficiencies: If you notice interveinal chlorosis on new growth, the plant likely lacks iron or magnesium. Ensure your water source is not overly alkaline, as high pH locks out these micronutrients.
Maintenance:
Post-repotting care requires surgical precision. Use a soil moisture meter to ensure the top 2 inches of soil are dry before adding more water. On average, the plant requires 1.5 inches of water per week delivered at the drip line. Avoid wetting the braided trunks directly; trapped moisture between the stems can lead to fungal cankers. Every six months, rotate the pot 90 degrees to prevent phototropism, which causes the tree to lean and weakens the structural integrity of the braid. Use bypass pruners to remove any "suckers" or small shoots growing from the base of the trunk; these divert energy away from the main canopy.
The Yield:
While Pachira aquatica is primarily grown for its architectural foliage, its health is measured by the "flush" of new growth. A successful repotting will result in a new set of leaves within 21 to 30 days. These leaves should emerge a pale green and darken as they harden off. To maintain "day-one" freshness and prevent dust from blocking the stomata, wipe the leaves monthly with a damp cloth. This maximizes the rate of photosynthesis and ensures the plant continues to sequester carbon efficiently.
FAQ:
How do I know when to repot?
Check the drainage holes for protruding roots or observe if water sits on the soil surface for more than 30 seconds. If the plant requires watering more than twice a week, it has likely outgrown its current vessel.
What is the best soil for a money tree?
A well-draining, peat-based mix with a pH of 6.0 to 7.5 is ideal. Incorporate perlite or coarse sand to ensure a high pore space percentage, which prevents anaerobic conditions and root rot.
Can I braid the stems myself during repotting?
Yes, but only if the stems are young and flexible. Gently cross the green wood over each other and secure the top with soft ties. Avoid forcing older, lignified wood, as this will cause the xylem to snap.
Why are the leaves turning brown after repotting?
This is often a sign of transplant shock or low humidity. Maintain humidity levels above 50 percent and ensure the plant is not in direct sunlight, which can cause rapid transpiration and leaf scorch.
How much bigger should the new pot be?
Select a container that is 2 inches larger in diameter than the previous one. A pot that is too large holds excess moisture in the "dead zone" where roots cannot reach, leading to fungal infections.