6 Training Steps to Prepare a Climbing Ivy Shelf
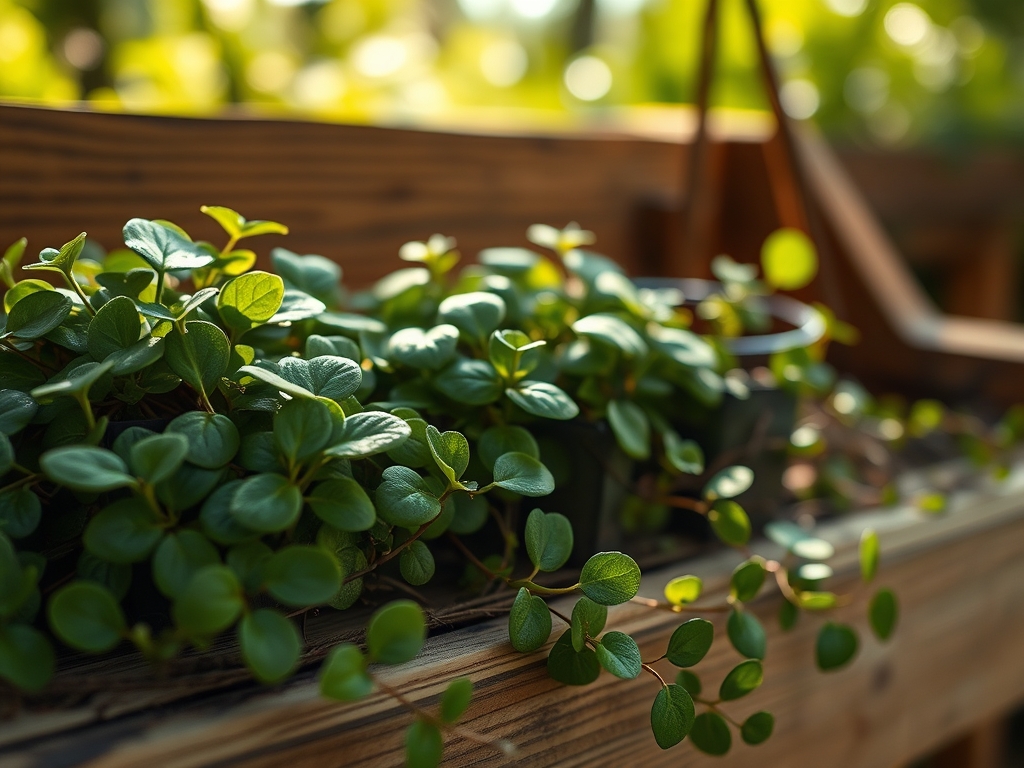
The scent of damp, mineral-rich humus and the firm turgor of a waxy leaf signal a healthy Hedera helix specimen ready for vertical integration. Successful cultivation on an indoor or outdoor ledge requires more than aesthetic placement; it demands a rigorous understanding of structural support and nutrient availability. Learning how to prepare a plant shelf for ivy involves a transition from standard container gardening to a systematic architectural approach. You must calculate the weight of saturated substrate and the tensile strength of the training wire before the first vine makes contact. Ivy exerts significant physical force as it matures; ignoring the structural requirements leads to shelf failure or root desiccation. Establishing a stable environment ensures the plant maintains a consistent transpiration rate while navigating the vertical plane. This guide outlines the mechanical and biological protocols necessary to transform a simple shelf into a thriving, vertical rhizosphere.
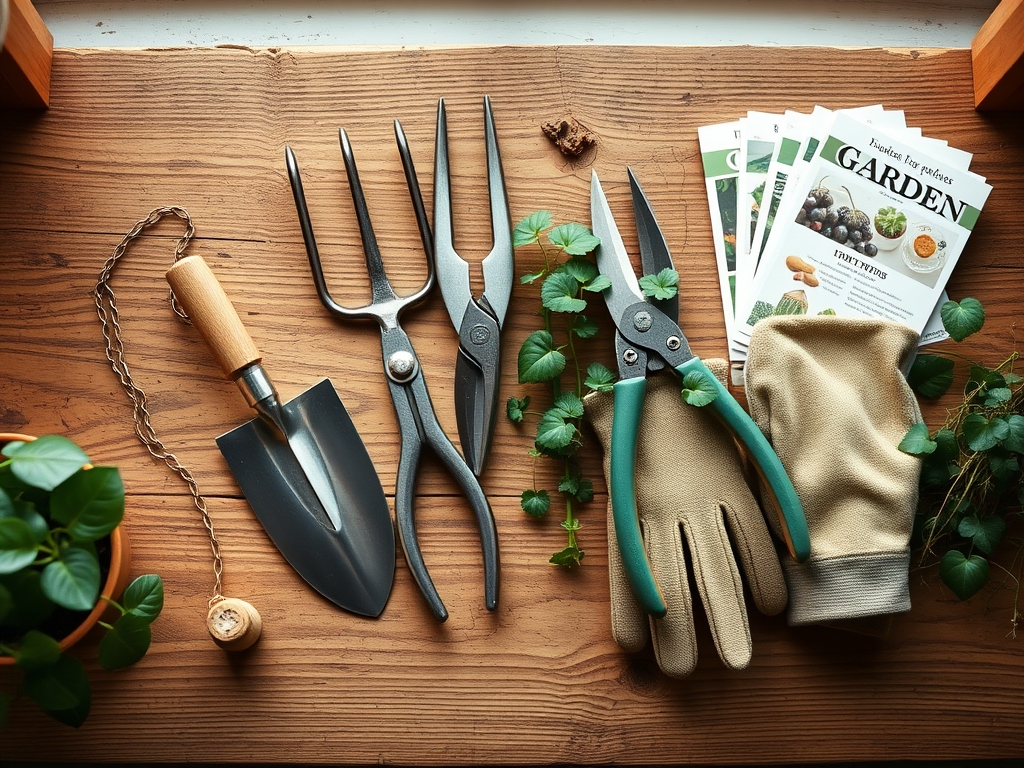
Materials:
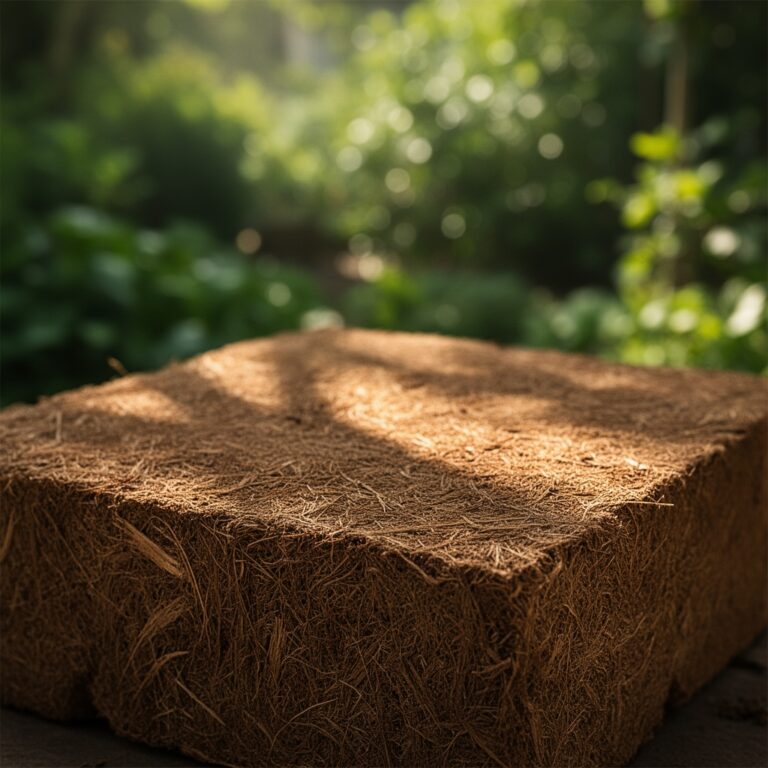
The substrate is the foundation of the shelf system. Ivy thrives in a **friable loam** with a high **Cation Exchange Capacity (CEC)** to ensure nutrient retention. Aim for a **soil pH between 6.0 and 7.5**. The physical texture must be gritty enough to prevent anaerobic conditions while retaining sufficient moisture for the adventitious roots.
- Substrate Mix: 40% composted bark, 30% perlite for aeration, and 30% sterilized sandy loam.
- NPK Ratios: During the establishment phase, use a 20-10-20 water-soluble fertilizer. High nitrogen levels (20%) are critical for foliage development and chlorophyll synthesis.
- Hardware: Stainless steel eye hooks and 16-gauge galvanized wire.
- Containers: Non-porous ceramic or heavy-duty resin pots with a minimum depth of 8 inches to accommodate the primary root mass.
Timing:
Timing follows the plant's biological clock and local climate data. For outdoor shelves, ivy should be established when soil temperatures consistently reach 50 degrees Fahrenheit. In Hardiness Zones 4 through 9, the ideal window is early spring, immediately following the last frost. This allows the plant to complete its primary vegetative growth cycle before the high-heat stress of mid-summer.
Indoor shelves are less dependent on frost dates but still respond to the photoperiod. As daylight hours increase in the spring, the plant moves out of its semi-dormant state and enters a period of rapid cell division. Initiating your shelf preparation during this transition maximizes the uptake of nutrients and ensures the ivy has the metabolic energy to adhere to its new support structure.
Phases:
Sowing and Selection
Select healthy specimens with thick stems and no signs of leaf spot. If starting from cuttings, ensure each segment has at least two nodes. Place cuttings in a sterile medium until roots reach 2 inches in length.
Pro-Tip: Ivy utilizes phototropism to orient its leaves toward light sources. By rotating the pot 90 degrees every week during the early stages, you prevent lopsided growth and ensure a dense, even canopy on the shelf.
Transplanting to the Shelf
Prepare the shelf by installing the wire grid. Space wires 4 to 6 inches apart. When moving the ivy into its permanent container, handle the root ball carefully to avoid damaging the fine root hairs. Position the plant at the same depth it was in its nursery pot; burying the crown can lead to fungal rot.
Pro-Tip: Incorporating mycorrhizal fungi into the transplant hole establishes a symbiotic relationship. These fungi extend the root system's reach, increasing the surface area for water and phosphorus absorption by up to 100 times.
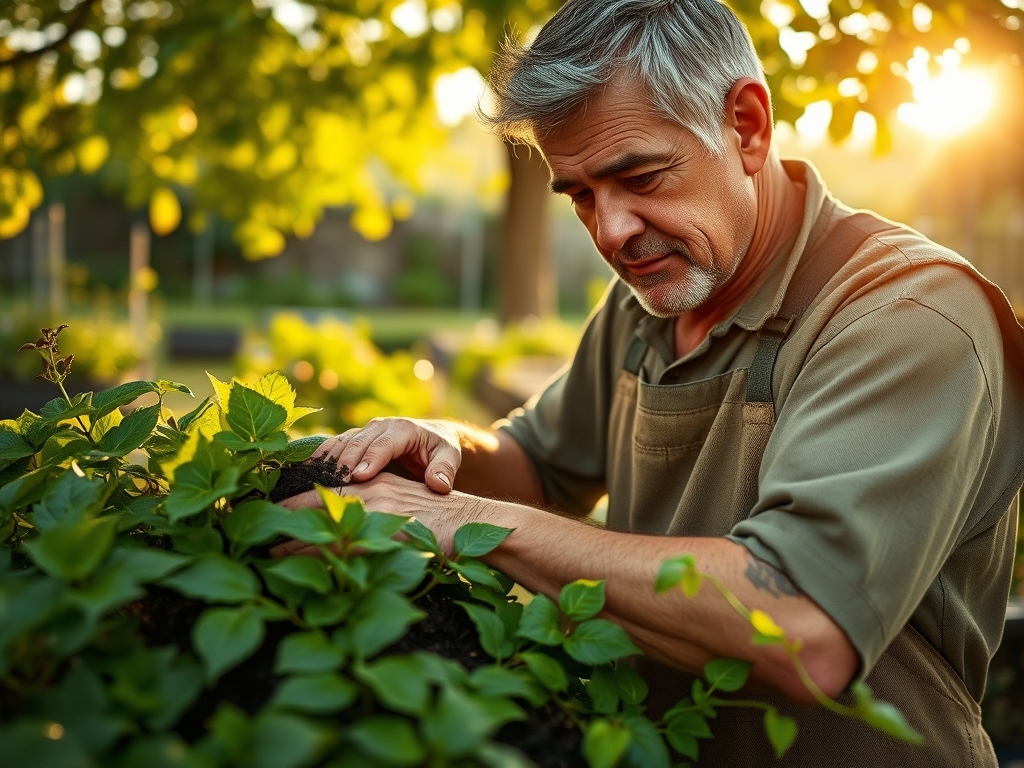
Establishing and Training
Once the ivy reaches 12 inches in length, begin weaving the runners through the wire grid. Use soft garden ties to secure the stems without constricting the vascular tissue. As the ivy grows, it will develop aerial roots that naturally cling to the structure.
Pro-Tip: Use auxin suppression to your advantage. By pinching off the terminal buds (the tips of the longest vines), you stop the flow of auxins that inhibit lateral growth. This forces the plant to push out side shoots, creating a fuller appearance on the shelf.
The Clinic:
Physiological disorders often manifest as visible changes in the foliage. Monitoring the plant daily allows for rapid intervention.
- Symptom: Yellowing of older leaves while veins remain green (Interveinal Chlorosis).
- Solution: This indicates a Magnesium deficiency. Apply a solution of 1 tablespoon of Epsom salts per gallon of water.
- Symptom: Brittle, brown leaf margins.
- Solution: Low humidity or high salt accumulation in the substrate. Flush the soil with distilled water to leach excess salts and increase ambient humidity to 50%.
- Symptom: Rapid wilting despite moist soil.
- Solution: Root rot caused by Pythium or Phytophthora. Improve drainage immediately and reduce watering frequency.
- Fix-It for Nitrogen Chlorosis: If the entire leaf turns pale green or yellow, the plant lacks nitrogen. Apply a high-nitrogen liquid fertilizer at half-strength every two weeks until the deep green color returns.
Maintenance:
Precision maintenance is the difference between a surviving plant and a thriving one. Use a soil moisture meter to ensure the substrate never drops below 20% moisture content. Ivy requires approximately 1.5 inches of water per week during the growing season. Deliver this water directly to the soil at the drip line to keep the foliage dry and prevent fungal spores from germinating.
Keep a hori-hori knife available for removing any invasive weeds that compete for nutrients in the container. For pruning, use sharp bypass pruners to make clean cuts at a 45-degree angle just above a leaf node. This encourages rapid healing and new growth. Every six months, wipe the leaves with a damp cloth to remove dust, which can block stomata and reduce photosynthetic efficiency.
The Yield:
While Hedera helix is primarily ornamental, the "yield" in this context is the harvest of healthy cuttings for propagation. To harvest, select a semi-hardwood stem that is at least 6 inches long. Use sterilized snips to cut the stem just below a node.
To maintain "day-one" freshness for these cuttings, immediately submerge the cut ends in room-temperature water. Remove the lower leaves to prevent submerged decay. These cuttings can be used to expand your shelf system or start new colonies. For the parent plant, post-harvest care involves a light application of a balanced fertilizer to compensate for the lost biomass and stimulate the axillary buds.
FAQ:
What is the best light for a plant shelf for ivy?
Ivy performs best in bright, indirect light measuring between 100 and 500 foot-candles. Direct afternoon sun can cause leaf scorch and increase the rate of transpiration beyond what the roots can support.
How do I prevent ivy from damaging the wall behind the shelf?
Maintain a 2-inch gap between the shelf and the wall. Install a physical barrier, such as a trellis or wire mesh, to ensure the aerial roots attach to the support structure rather than the drywall or masonry.
How often should I fertilize ivy on a shelf?
Apply a balanced, water-soluble fertilizer every 4 to 6 weeks during the spring and summer. Cease fertilization during the winter months when the plant enters senescence and its metabolic demands decrease significantly.
Can I grow ivy on a shelf in a bathroom?
Yes; the high humidity in bathrooms supports turgor pressure and foliar health. Ensure the room has a window or supplemental broad-spectrum LED lighting to provide the necessary photoperiod for photosynthesis.
What size pot is needed for a shelf-based ivy?
Start with a 1-gallon container for young plants. As the root system fills the space, transition to a larger vessel. A mature ivy plant typically requires a 3-gallon pot to maintain a healthy root-to-foliage ratio.