6 Sensitivity Steps for Repotting a Calathea
Damp earth yields a distinct metallic scent as the rhizosphere is disturbed; a healthy Calathea maintains high turgor pressure within its petioles to support its broad, patterned foliage. These plants are sensitive to mechanical stress and chemical imbalances. Mastering the steps for repotting a calathea requires an understanding of their delicate root systems and specific transpiration rates. You must act with precision to avoid permanent leaf desiccation or root necrosis during the transition.
Success depends on maintaining a consistent internal hydraulic state. When the root ball is exposed to ambient air, the plant begins a rapid stress response. A seasoned horticulturist recognizes that this process is not merely a change of containers but a critical intervention in the plant's metabolic cycle. The goal is to minimize the duration of root exposure while optimizing the physical properties of the new substrate. Every movement should be deliberate. By following the correct steps for repotting a calathea, you ensure the specimen continues its nyctinastic movements without the interruption of transplant shock or nutrient lockout.
Materials:
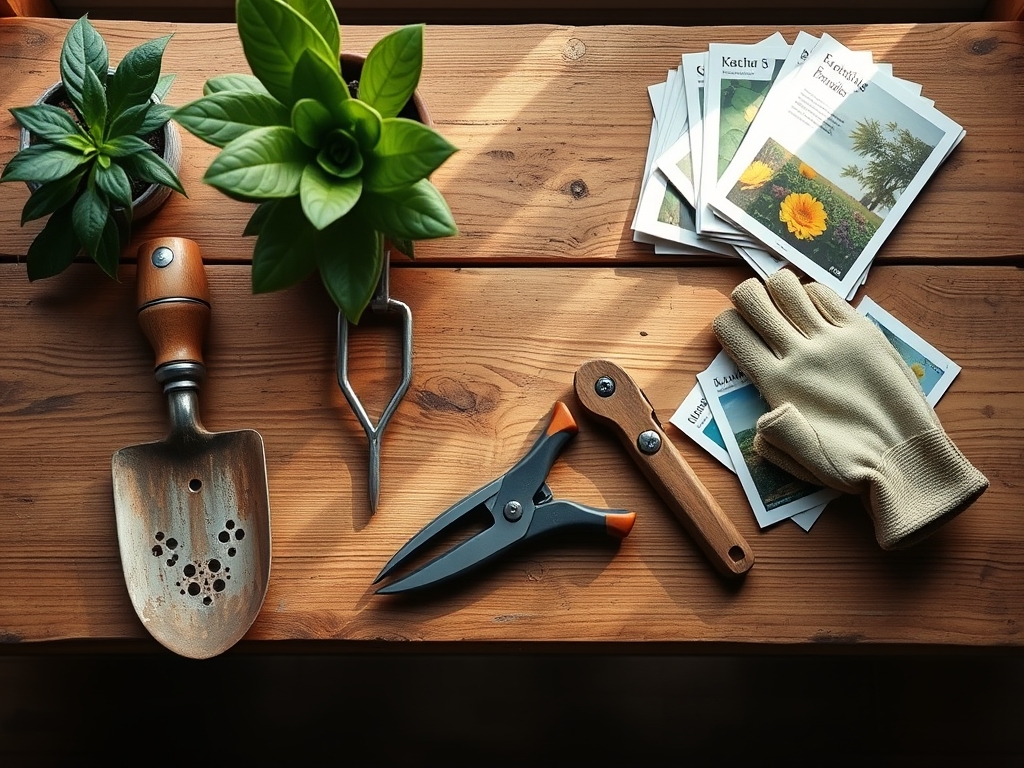
The substrate must be a friable loam with high porosity to prevent anaerobic conditions. Aim for a soil pH between 5.5 and 6.5 to ensure micronutrient availability. Calatheas are sensitive to salt accumulation; therefore, the Cation Exchange Capacity (CEC) should be managed through organic matter rather than heavy synthetic fertilizers.
Use a potting mix consisting of 2 parts peat moss or coconut coir, 1 part perlite, and 1 part pine bark. This structure facilitates a high air-to-water ratio. For initial establishment, utilize a balanced, slow-release NPK ratio of 10-10-10 at half strength. Avoid high phosphorus (P) levels immediately after repotting to prevent root burn. The container must have unobstructed drainage holes to allow for the leaching of excess minerals. Ensure all tools, including your hori-hori knife, are sterilized with 70 percent isopropyl alcohol to prevent the introduction of fungal pathogens like Pythium.
Timing:
In temperate regions, specifically Hardiness Zones 8 through 11, the ideal window for repotting is during the early spring or summer. This aligns with the plant's transition from a semi-dormant winter state to its active vegetative growth phase. The "Biological Clock" of the Calathea is governed by the photoperiod; as daylight exceeds 12 hours, the plant increases its metabolic rate and root production.
Avoid repotting during the onset of senescence or when the plant is under temperature stress. The ambient temperature should remain consistently between 65 and 85 degrees Fahrenheit. If the plant is kept in a climate-controlled environment, you can bypass frost-date windows, but you must still account for the lower light intensity of winter which slows the recovery of the root system. Repotting during peak growth ensures the plant has the hormonal drive to colonize the new substrate quickly.
Phases:
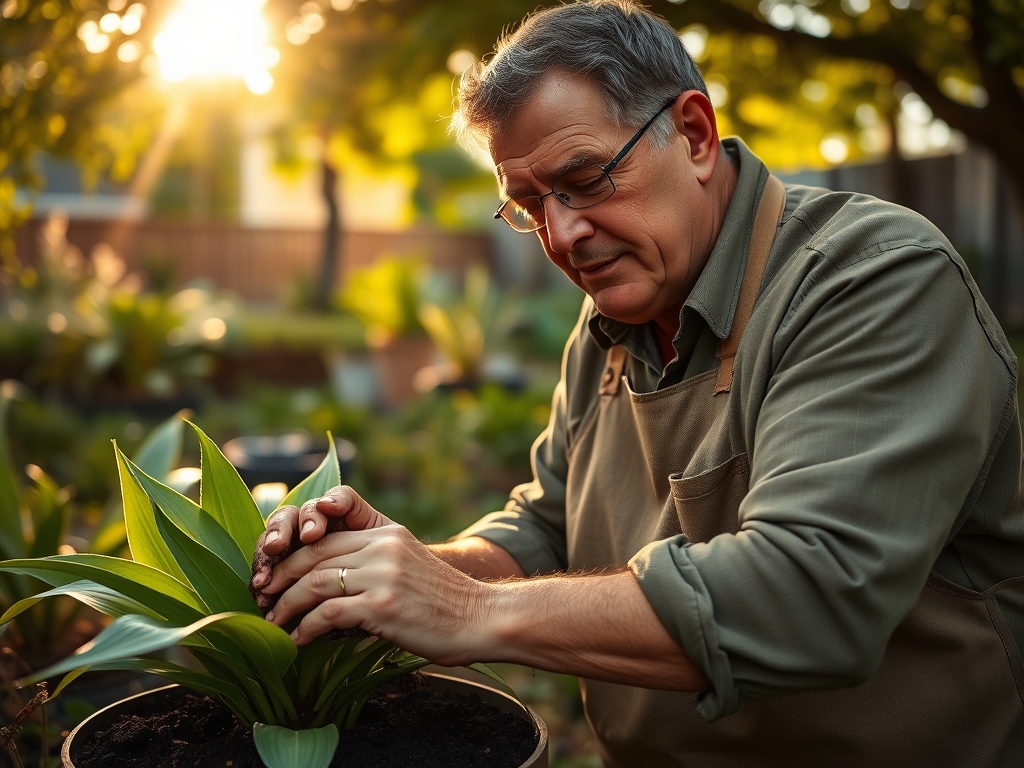
Sowing and Preparation
Before removing the plant, hydrate it thoroughly 24 hours in advance. This increases cell turgidity and makes the roots more flexible. Prepare the new vessel by placing a layer of substrate at the bottom, ensuring the final planting depth matches the original soil line.
Pro-Tip: Pre-moistening the soil mix initiates capillary action before the plant is introduced. This prevents the dry substrate from wicking essential moisture away from the root hairs immediately upon contact.
Transplanting
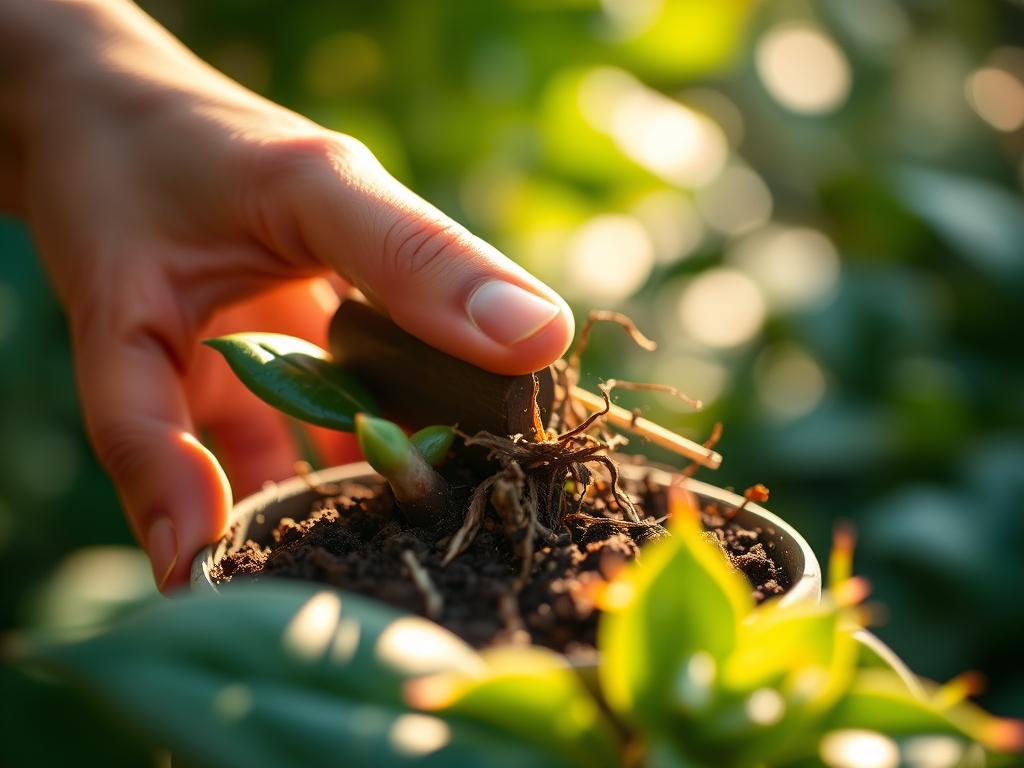
Gently invert the pot and support the base of the plant. If the plant is root-bound, use a sterilized hori-hori knife to make three or four shallow vertical incisions in the root mass. This stimulates the production of new lateral roots. Transfer the specimen to the center of the new container and fill the gaps with substrate, tamping down lightly to remove large air pockets without compressing the soil.
Pro-Tip: Stimulating the roots triggers auxin redistribution. By disrupting the circling roots, you break apical dominance within the root system, forcing the plant to allocate energy toward new, outward growth.
Establishing
Place the repotted Calathea in a location with 70 to 80 percent humidity. Avoid direct sunlight for the first 10 to 14 days to reduce the transpiration load while the roots are recovering. Maintain a consistent moisture level without saturating the soil.
Pro-Tip: High humidity reduces the vapor pressure deficit (VPD). By lowering the VPD, the plant loses less water through its stomata, allowing it to maintain hydraulic pressure while the root-to-soil contact is being re-established.
The Clinic:
Symptom: Leaf Edge Burn (Necrosis)
Solution: This is often caused by fluoride or chlorine sensitivity. Switch to distilled or rainwater.
Fix-It: Flush the substrate with three volumes of distilled water to one volume of soil to leach out accumulated salts and minerals.
Symptom: Yellowing Lower Leaves (Chlorosis)
Solution: This indicates a Nitrogen deficiency or overwatering leading to root rot.
Fix-It: Check root health. If roots are firm, apply a liquid fertilizer with a 3-1-2 NPK ratio at quarter strength to restore nitrogen levels.
Symptom: Curled Leaves and Drooping
Solution: Severe dehydration or low humidity. The plant is closing its stomata to preserve water.
Fix-It: Place the pot on a pebble tray or use a humidifier to maintain a minimum of 60 percent ambient humidity.
Maintenance:
Post-repotting care requires rigorous monitoring. Use a soil moisture meter to ensure the substrate remains in the "moist" zone, typically a reading of 4 to 7 on a standard scale. Provide approximately 1.5 inches of water per week, applied evenly around the drip line of the foliage rather than directly at the crown to prevent rot.
Pruning should be minimal during the first month. If necessary, use bypass pruners to remove only fully desiccated leaves. This ensures the plant can maximize its photosynthetic surface area during recovery. Avoid moving the plant frequently; stability in light intensity and airflow is paramount for the establishment of the new root architecture.
The Yield:
While Calatheas are grown for foliage rather than harvest, the "yield" is measured in leaf size and color intensity. To maintain "day-one" freshness and aesthetic vigor, wipe the leaves weekly with a damp cloth. This removes dust that can clog stomata and interfere with gas exchange. When a leaf reaches the end of its life cycle, cut the petiole at the soil line with a sterilized blade to allow the plant to redirect nutrients to emerging shoots.
FAQ:
How do I know when to repot?
Observe the drainage holes for emerging roots. If water runs straight through the pot or the plant wilts within 48 hours of watering, the root-to-substrate ratio is too high, requiring a larger vessel.
What is the best pot type?
Use plastic or glazed ceramic to retain moisture. Terracotta is porous and can lead to rapid desiccation of the rhizosphere, which is detrimental to Calathea species that require consistent moisture levels.
Can I divide my Calathea during repotting?
Yes. Locate the natural divisions in the rhizome and gently pull them apart. Ensure each division has at least two or three healthy leaves and a robust root system before placing them in separate containers.
Why are the leaves turning brown after repotting?
This is typically transplant shock or low humidity. Ensure the plant is not in a drafty area and maintain a VPD that favors low transpiration until the roots can effectively uptake water again.