8 Steps to Prepare a Comprehensive Tool Maintenance List
The smell of damp earth after a cold rain indicates more than just hydration; it signals the shift in soil porosity and the onset of winter dormancy. High turgor pressure in perennial stems ensures they resist snapping under ice, but this cellular health depends on the precision of your hardware. Learning how to prepare a garden for a tool maintenance list requires an audit of your inventory against the physical demands of the upcoming growing season.
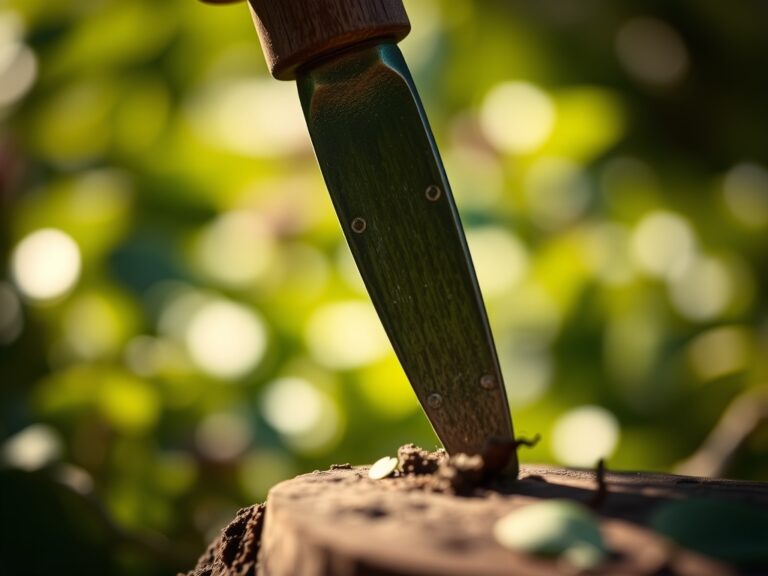
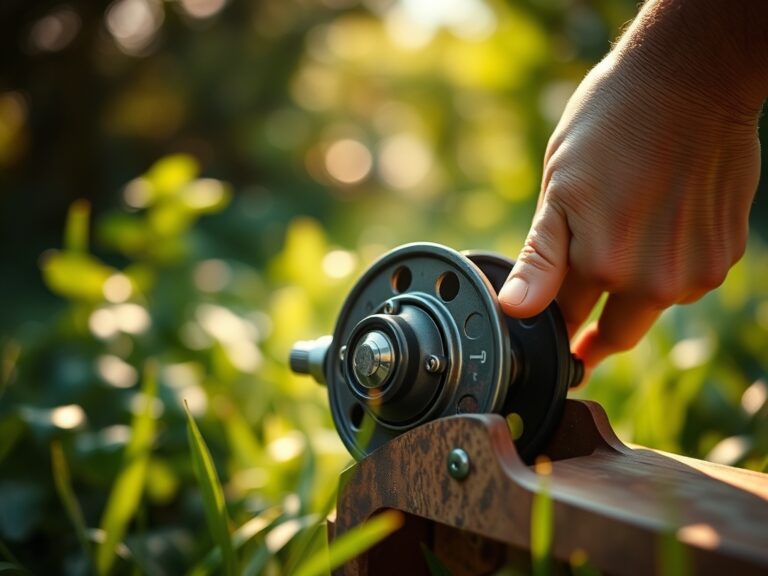
Neglected steel oxidizes, and dull bypass pruners crush vascular tissue rather than severing it. When you understand how to prepare a garden for a tool maintenance list, you ensure that every cut made in the spring promotes rapid callus formation. This technical preparation involves assessing the wear on carbon steel, the integrity of wooden handles, and the calibration of irrigation sensors. Proper maintenance prevents the introduction of pathogens into the rhizosphere during the first spring cultivation.
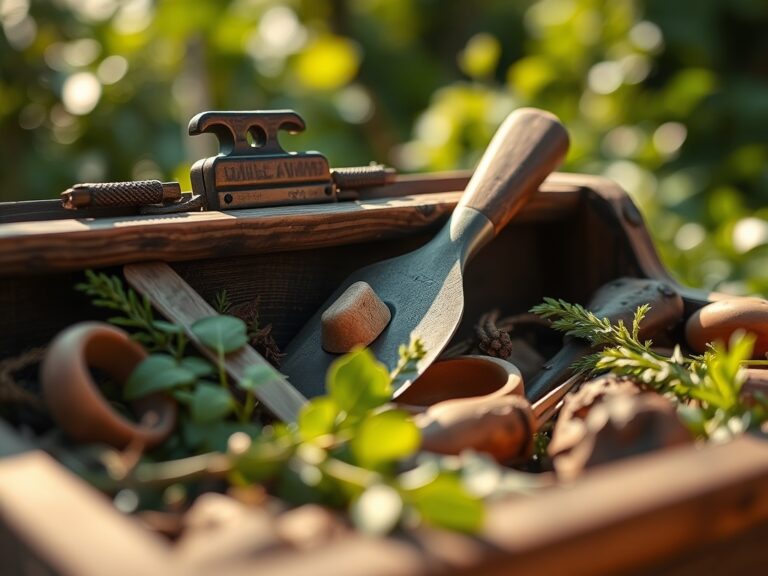
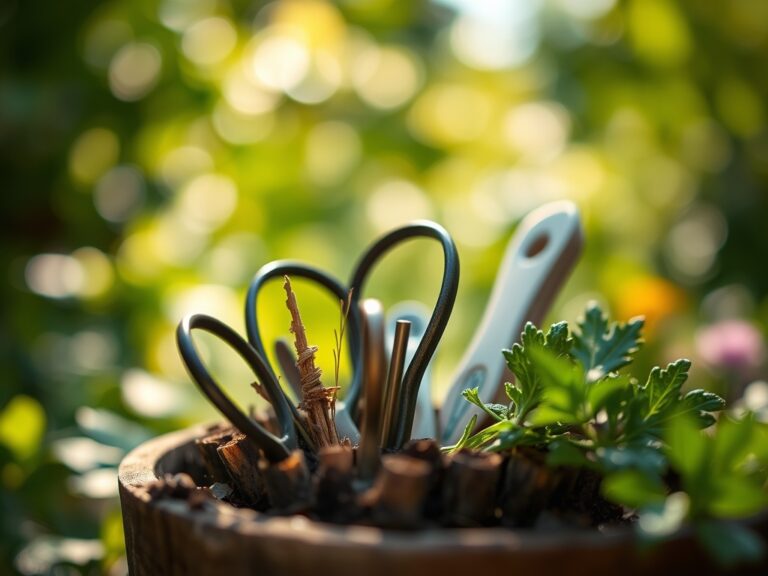
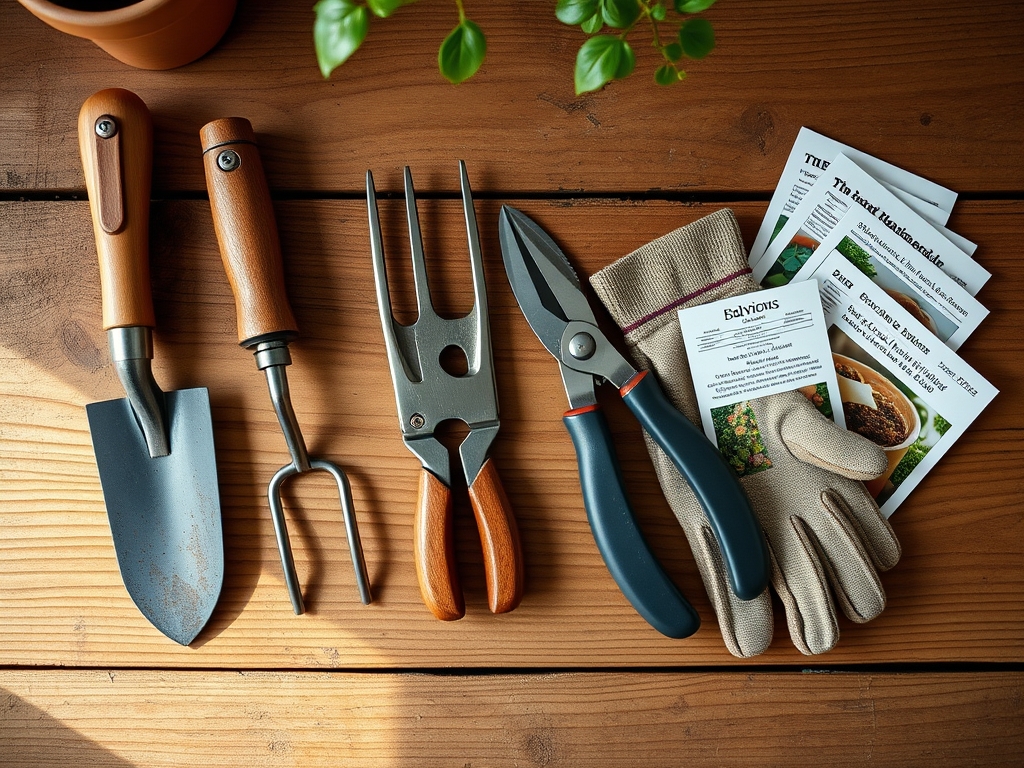
Materials:
Successful gardening starts with a substrate characterized as a friable loam. This ideal soil texture consists of approximately 40 percent sand, 40 percent silt, and 20 percent clay. Maintaining this structure requires tools that do not compact the soil profile. Before the first thaw, test your soil pH; most temperate ornamentals and vegetables thrive in a range of 6.2 to 6.8.
Specific nutrient requirements dictate your tool needs. For high-nitrogen vegetative growth, an NPK ratio of 10-5-5 is standard. During the reproductive phase, transition to a 5-10-10 ratio to support phosphorus-heavy flower and fruit development. A high Cation Exchange Capacity (CEC) above 15 meq/100g indicates the soil can hold these nutrients effectively. You will need a calibrated broadcast spreader for granular applications and a clean soil moisture meter to monitor the hydraulic conductivity of the root zone.
Timing:
Hardiness Zones dictate the operational window for tool readiness. In Zones 5 through 7, the primary maintenance window occurs between the first hard freeze and the last expected frost, typically November through March. In warmer Zones 8 through 10, the window is shorter, often restricted to the brief period of slowed metabolism in January.
The biological clock of the plant determines the urgency of tool sharpness. Pruning must occur during winter senescence, before the "sap rise" or the resumption of active transport in the xylem. If tools are not ready by the time the photoperiod reaches 12 hours, you risk pruning after the plant has already allocated energy to terminal buds. This mistiming results in a loss of vigor and a reduction in the total photosynthetic surface area for the season.
Phases:

Sowing
Precision is mandatory during the sowing phase to ensure seed-to-soil contact. Use a sharpened hori-hori knife to create furrows at a depth exactly three times the diameter of the seed. This ensures the radical can penetrate the soil while the plumule has enough stored energy to reach the surface.
Pro-Tip: Proper sowing depth prevents "damping off" by ensuring the hypocotyl is not exposed to excess surface moisture. This manages the biological why of fungal pathogen avoidance in the early rhizosphere.
Transplanting
When moving starts from 4-inch pots to the field, the goal is to minimize transplant shock. Use a clean spade to dig a hole twice the width of the root ball. Ensure the tool does not "glaze" the sides of the hole, which creates a barrier that roots cannot penetrate.
Pro-Tip: Maintaining tool sterility prevents the transfer of soil-borne oomycetes. This supports mycorrhizal symbiosis, allowing beneficial fungi to colonize the root system immediately without competition from pathogens.
Establishing
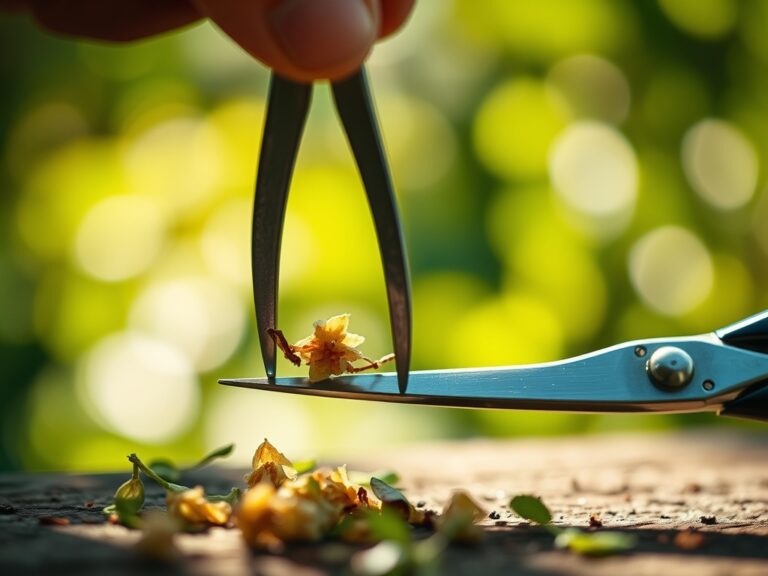
As plants move from the vegetative to the reproductive stage, structural support is required. Use sterilized snips to remove "suckers" or lateral shoots. This focuses the plant's energy on the main leader, a process known as auxin suppression.
Pro-Tip: By removing lower foliage with a sharp blade, you increase airflow and reduce humidity around the stem. This addresses the biological why of transpiration pull, ensuring the plant can efficiently move water from the roots to the upper canopy.
The Clinic:
Physiological disorders often stem from mechanical damage or nutrient imbalances. Identify these symptoms early to adjust your maintenance list.
- Nitrogen Chlorosis: Lower leaves turn a uniform pale yellow. Fix-It: Apply a quick-release 10-0-0 fertilizer and ensure your aerating tools are sharp to improve oxygen flow to the roots.
- Blossom End Rot: Dark, sunken spots on the base of fruit. This is a calcium transport issue often caused by inconsistent moisture. Fix-It: Calibrate your irrigation timer and use a soil moisture meter to maintain consistent levels.
- Interveinal Chlorosis: Yellowing between green leaf veins, indicating iron or magnesium deficiency. Fix-It: Check soil pH; if it is above 7.0, iron becomes insoluble. Use a sulfur amendment to lower pH.
- Mechanical Canker: Jagged tears on branches from dull pruners. Fix-It: Sharpen blades to a 20-degree angle using a diamond whetstone to ensure clean, self-healing wounds.
Maintenance:
Hydration must be precise. Apply 1.5 inches of water per week at the drip line, which is the outermost circumference of the plant canopy. Avoid overhead watering to prevent foliar diseases. Use bypass pruners for living tissue and anvil pruners only for dead wood to avoid crushing the cambium layer.
Clean your hori-hori knife after every use with a 10 percent bleach solution or isopropyl alcohol. This prevents the spread of viral pathogens. Check the calibration of your soil moisture meter monthly by testing it in a saturated substrate versus a dry one. Sand handles with 120-grit sandpaper and coat them with linseed oil to prevent splintering and moisture absorption.
The Yield:
Harvesting is the final mechanical interaction with the plant. For leafy greens, harvest when the turgor pressure is highest, typically before 8:00 AM. Use a sharp serrated knife to cut 1 inch above the crown to allow for "cut and come again" regrowth.
For fruiting crops, monitor the abscission layer where the fruit meets the stem. A clean separation indicates peak sugar content and physiological maturity. Post-harvest, submerge produce in 40-degree Fahrenheit water to remove field heat. This slows the rate of respiration and preserves "day-one" freshness by maintaining cellular integrity.
FAQ:
How do I clean rusted garden tools?
Use a wire brush or steel wool to remove surface oxidation. Soak the metal in white vinegar for 24 hours to dissolve deep rust. Rinse, dry thoroughly, and apply a thin coat of mineral oil to prevent future corrosion.
What is the best way to sharpen pruners?
Disassemble the tool and use a medium-grit whetstone. Follow the factory bevel, usually 20 to 25 degrees. Move the stone in a single direction away from the body. Reassemble and lubricate the pivot point with dry graphite or lithium grease.
When should I replace my garden tools?
Replace tools when the metal shows signs of structural fatigue or deep pitting that harbors bacteria. If wooden handles have cracks longer than 3 inches, they pose a safety risk and should be replaced to ensure proper leverage and grip.
How does tool maintenance affect plant health?
Sharp, sterile tools create clean wounds that the plant can seal quickly through lignification. Dull tools tear tissue, creating entry points for pathogens and increasing the metabolic cost of repair, which diverts energy away from growth and fruit production.