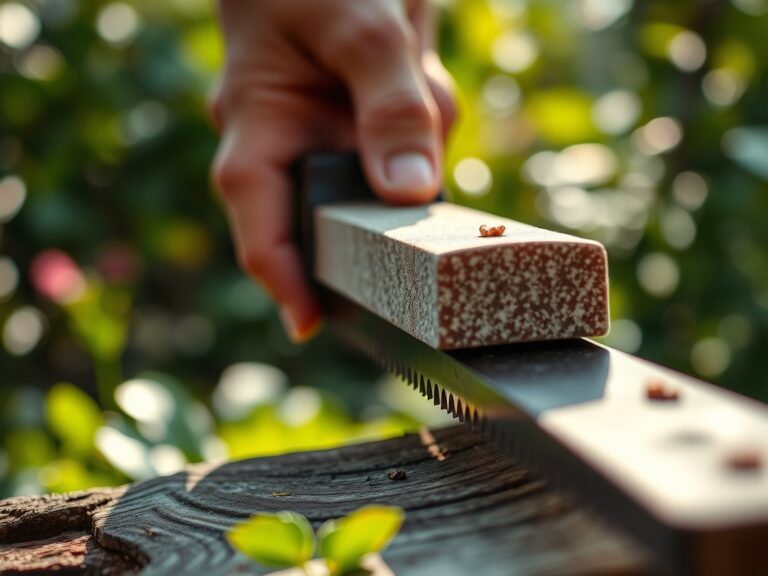
6 Steps to Sharpen a Digging Spade with a Bench Stone
The scent of damp, disturbed earth signals the beginning of the spring planting cycle. When a spade edge is dull, it fails to sever roots cleanly; instead, it crushes the vascular tissue of weeds and desired perennials alike. This blunt force trauma increases the risk of soil-borne pathogens entering the plant through ragged wounds. Precision in the garden begins with the edge of your tool. Following the correct steps for sharpening a garden spade with a stone ensures that every slice through the rhizosphere is surgical. A sharp blade reduces the physical exertion required to penetrate compacted clay or dense sod, maintaining the structural integrity of the soil profile. This process requires a bench stone, typically a dual-grit silicon carbide or aluminum oxide block, to restore the bevel. By maintaining a 45-degree angle, the gardener ensures the tool can bypass stones and roots without chipping the carbon steel. Proper maintenance of the cutting edge is as vital to horticultural success as monitoring the nitrogen levels in your compost pile.
Materials:
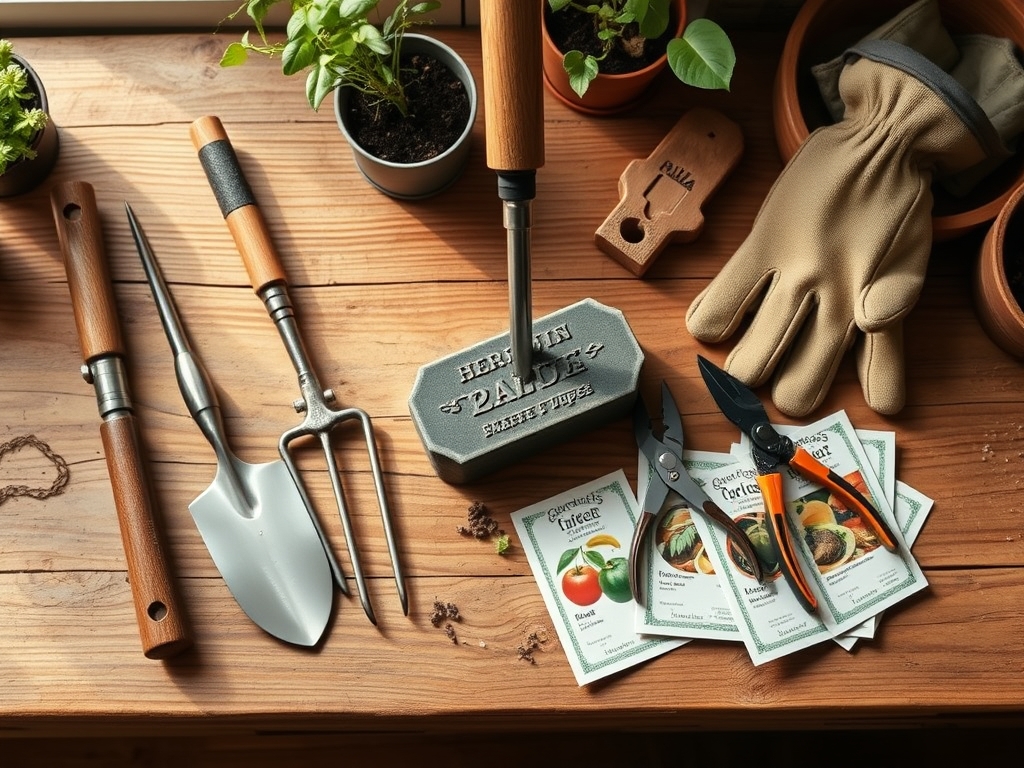
The substrate for your sharpening station should be a stable, level workbench. To understand the relationship between the tool and the earth, consider the soil it will penetrate. Ideal growing conditions often require a **friable loam** with a **pH between 6.0 and 7.0**. This texture allows for optimal gas exchange and drainage. In high-production vegetable beds, the **NPK ratio** of the soil should be balanced around **10-10-10** for general maintenance, or **5-10-10** for root crops like carrots where phosphorus and potassium are prioritized over nitrogen to prevent excessive foliage growth at the expense of taproot development. A high **Cation Exchange Capacity (CEC)** in the soil ensures that the nutrients you apply remain available to the root hairs rather than leaching away during heavy irrigation.
Timing:
Sharpening should occur during the dormant season, typically between Hardiness Zones 4 and 8 from late November to early March. This window falls after the first killing frost and before the soil reaches a consistent 50 degrees Fahrenheit, which triggers the biological clock of most temperate perennials. As plants transition from senescence (dormancy) back into their vegetative stage, the spade must be ready to divide root balls without tearing the delicate mycorrhizal networks. Timing your tool maintenance to coincide with the period before the photoperiod exceeds 12 hours ensures that your equipment is prepared for the high-demand transplanting window of early spring.
Phases:
Sowing the Edge
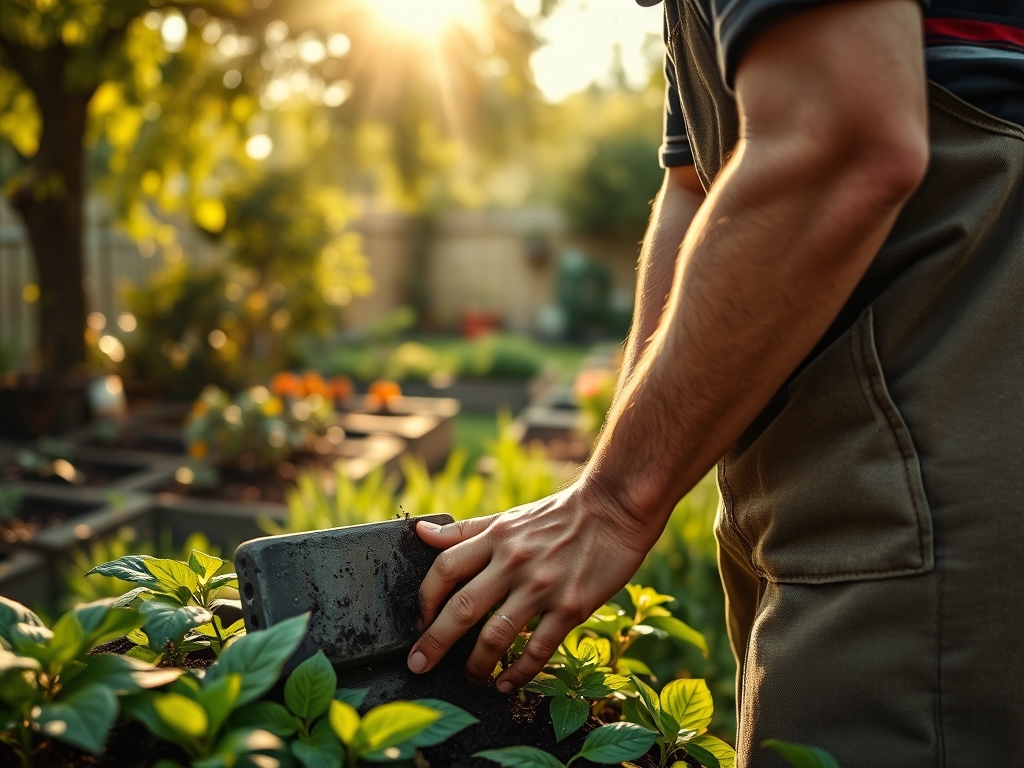
Begin by cleaning the spade with a wire brush to remove oxidized metal and desiccated organic matter. Secure the spade in a vice with the blade facing up. Use a medium-grit (240 grit) bench stone lubricated with honing oil or water. Move the stone in a circular motion along the factory bevel, typically on the front side of the spade only.
Pro-Tip: Maintaining a clean cut prevents the crushing of xylem and phloem vessels. A clean slice allows the plant to maintain turgor pressure immediately after a root-pruning event, reducing transplant shock.
Transplanting the Bevel
Once the primary bevel is established, switch to a fine-grit (600 to 1000 grit) stone. This refines the edge and removes the "wire edge" or burr that forms on the back of the blade. Lightly lap the flat back of the spade once to snap off this microscopic metal flap.
Pro-Tip: Sharp tools facilitate better mycorrhizal symbiosis. Ragged root edges rot more easily; conversely, a clean cut allows the plant to exude sugars that attract beneficial fungi, which extend the root system's reach for phosphorus.
Establishing the Finish
Wipe the blade with a rag soaked in mineral oil to prevent oxidation. The oil creates a hydrophobic barrier, protecting the steel from the acidic nature of high-organic-matter soils. Test the sharpness by slicing through a piece of heavy cardboard; it should glide without snagging.
Pro-Tip: Smooth surfaces reduce friction during soil penetration. This minimizes the disruption of auxin suppression in the roots. When roots are sliced cleanly, the plant can more efficiently redirect growth hormones to heal the wound and initiate new lateral root branching.
The Clinic:
Physiological disorders in the garden often stem from mechanical damage or nutritional imbalances.
- Symptom: Ragged, brown edges on divided perennials. Solution: Sharpen the spade. Ragged edges indicate the tool is crushing the vascular bundle, leading to localized tissue death.
- Symptom: Interveinal chlorosis (yellowing between leaf veins). Solution: This indicates a Magnesium deficiency. Apply Epsom salts or dolomitic lime if the pH is too low.
- Symptom: Stunted growth and purple-tinted leaves. Solution: This is a classic Phosphorus deficiency, common in cold soils. Ensure the spade is sharp enough to plant deeply where the soil is warmer and nutrients are more available.
- Fix-It (Nitrogen Chlorosis): If older leaves turn uniform pale yellow, the plant lacks Nitrogen. Apply a high-nitrogen fertilizer like blood meal (12-0-0) to restore chlorophyll production.
Maintenance:
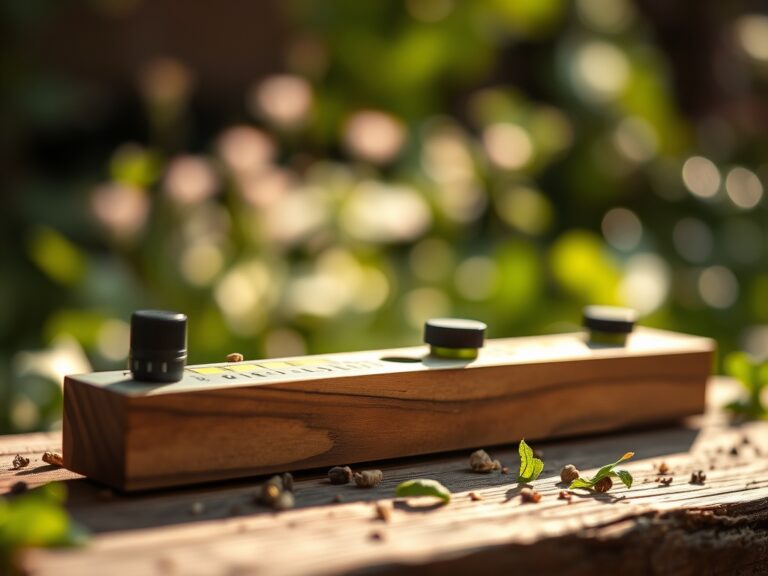
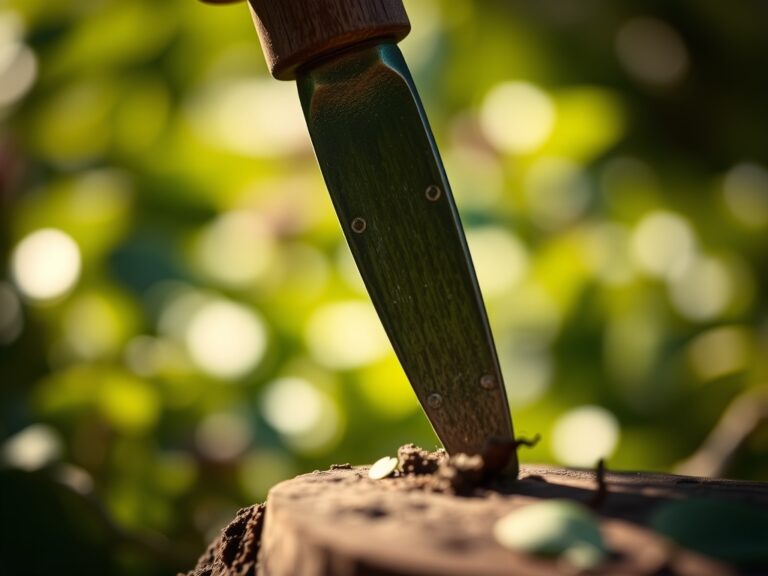
A garden requires consistent monitoring. Use a soil moisture meter to ensure the rhizosphere receives exactly 1.5 inches of water per week, delivered at the drip line to avoid fungal issues on the foliage. For precision tasks, carry a hori-hori knife for weeding and bypass pruners for removing dead wood. After every use, wipe your spade clean. If you encounter "fat clay" soils, apply a thin layer of silicone spray to the blade to prevent soil adhesion, which increases the weight and drag of the tool.
The Yield:
Harvesting is the culmination of the horticultural cycle. For leafy greens, harvest in the early morning when turgor pressure is at its peak. This ensures the cell walls are fully hydrated, providing "day-one" crispness. Use your sharpened tools to harvest root crops by loosening the soil 4 inches away from the base of the plant to avoid mechanical scarring. Once harvested, move produce to a cool, shaded area immediately to slow the rate of respiration and prevent wilting.
FAQ:
How often should I sharpen my garden spade?
Sharpen the blade every 10 to 15 hours of heavy use. If you are working in rocky soil or heavy clay, you may need to hone the edge every weekend to maintain optimal cutting efficiency and prevent physical fatigue.
Do I sharpen both sides of the spade blade?
No. Most garden spades are single-beveled. You should only sharpen the side that already has a slanted edge, usually the front. Only use the stone on the flat back side to remove the microscopic metal burr.
What is the best angle for a digging spade?
Maintain a 45-degree angle. This provides a balance between a sharp cutting edge and a durable point. An angle that is too shallow will dull quickly in the soil; an angle that is too steep will not cut roots.
Can I use a file instead of a stone?
A mill file is effective for removing large nicks or reshaping a badly damaged blade. However, a bench stone is required to achieve a refined, smooth edge that minimizes friction and protects the plant's vascular system during use.